Alpana Rangoli For Durga is a beautiful kolam pattern you can draw right at your doorstep — perfect for beginners and seasoned rangoli artists alike.
For another beginner-friendly variation, try Birds Kolam Design Simple Steps.
Learn more about the tradition of Rangoli on Wikipedia.
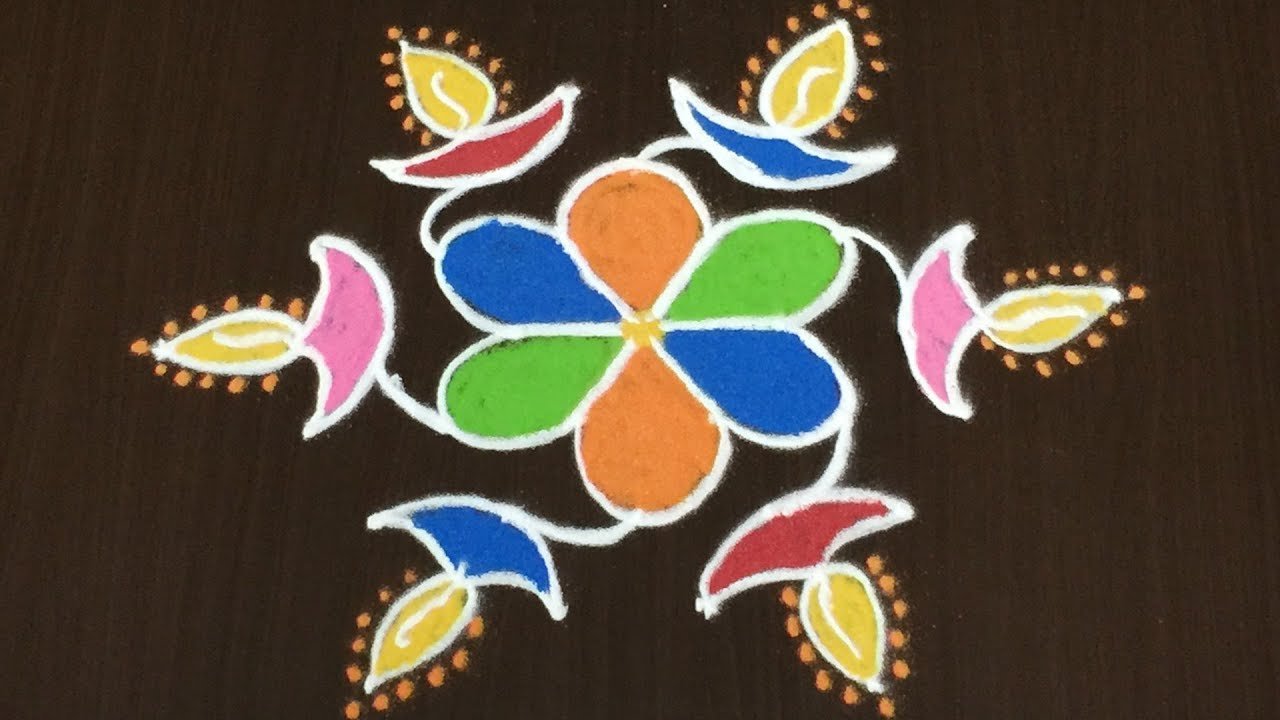
Searching for a vibrant and festive kolam for Karthikam Masam? This bright colour flower rangoli is perfect to enhance your home entrance during this sacred month. In this video, I present a beautiful puvvula muggulu design inspired by traditional South Indian kolam patterns. The floral structure is carefully arranged to create balance, symmetry, and a bold festive look. Bright colours are blended thoughtfully to highlight each petal and give the rangoli a radiant finish suitable for Karthikam Masam decoration.
We begin by outlining the basic flower framework clearly so you can follow the structure easily. Once the symmetrical layout is formed, each section is filled with vibrant shades to enhance depth and contrast. The combination of smooth curves and rich colours makes this kolam both traditional and eye-catching. How to structure a balanced flower rangoli layout How to maintain symmetry in puvvula muggulu
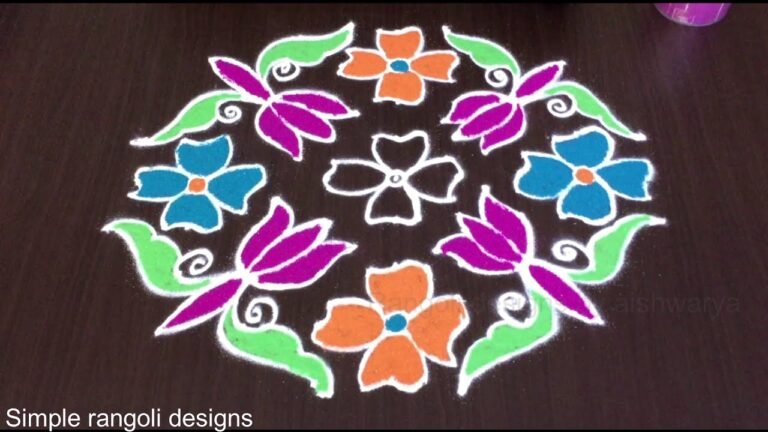
Colour placement techniques for a bright festive effect Tips to make your entrance kolam look grand and neat Karthikam Masam is known for its devotional significance, and decorating your home with colourful rangoli adds warmth and positivity to the atmosphere. This design is suitable for pooja spaces, verandas, and main entrances.
Watch till the end to see the complete transformation from outline to fully coloured floral rangoli — the final reveal showcases a glowing festive finish. If you enjoy flower-based kolams, explore more Karthikam Masam special muggulu and vibrant festival rangoli designs on the channel.
Tip: A slightly damp brush along the edges gives a sharper finish, especially for festival photographs.
About this design: Alpana Rangoli For Durga is a beginner-friendly pattern that comes together in just a few minutes. Once you have practised the alpana rangoli for durga dot grid, you can scale it up for festival mornings or scale it down for a daily doorstep. Many learners on our channel make this alpana rangoli for durga their go-to design once they get the rhythm of the curves.
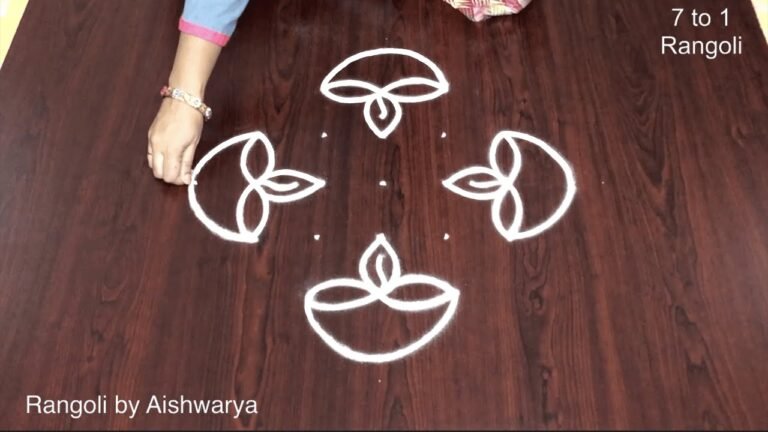
Alpana Rangoli For Durga — Step by Step Guide
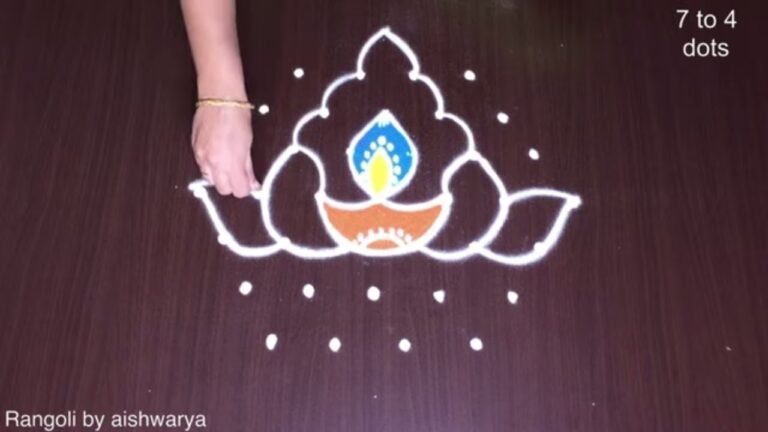
The video above shows the full sequence; the steps below summarise each stage so you can glance back as you draw.
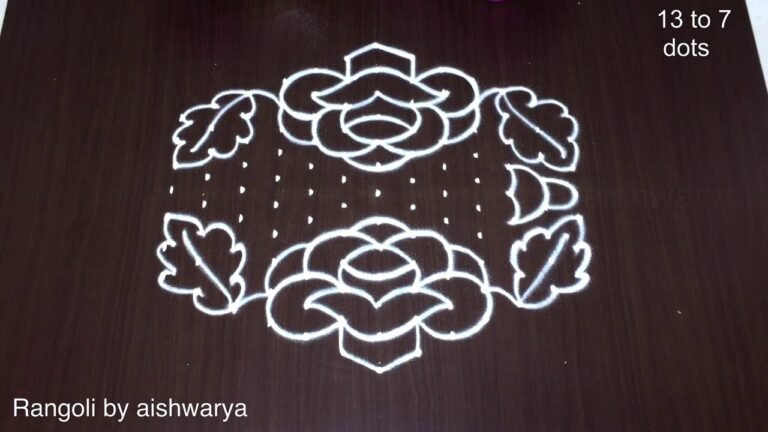
- Clear a flat surface and set down your dot grid using rice flour or chalk.
- Confirm the dot spacing is even — uneven dots are the biggest cause of wobbly curves.
- Begin tracing from the centre outward, following the curves shown in the video above.
- Fill the petals and sections with your chosen colours, working one area at a time.
- Finish the edges with a fine line for a sharp, photograph-ready result.
What You Will Learn
- Bright Colour Rangoli
- Karthikam Masam Kolam
- Puvvula Muggulu Designs
- Flower Rangoli Kolam
- Latest Karthikam Rangoli
- Karthikam Festival Kolam
Frequently Asked Questions
How do I draw this rangoli?
Start by marking an even dot grid on a flat, clean surface. Once the grid is in place, connect the dots following the curves shown in the video. Even spacing between dots is the single biggest factor for a clean finish.
Is this suitable for beginners?
Absolutely. You can pause and rewind the video at every step. The pattern is straightforward once you have the grid down.
What materials do I need?
You will need rice flour or rangoli powder (white, plus your choice of colours), a flat surface like a clean floor or courtyard, and optionally a dot stencil if you are new to grid-drawing.
How long does it take?
2 min 54 sec of video, perhaps 20 minutes of practice. The curves take a couple of attempts to feel natural, then it speeds up considerably.
Beginners often ask which design to start with. Honestly, this one. It is small enough to finish in a sitting and the curves teach you the basics of dot kolam.
Leave a Reply