Whether you are decorating for a festival or your daily morning ritual, Easy Karva Chauth Rangoli is an excellent design to keep handy.
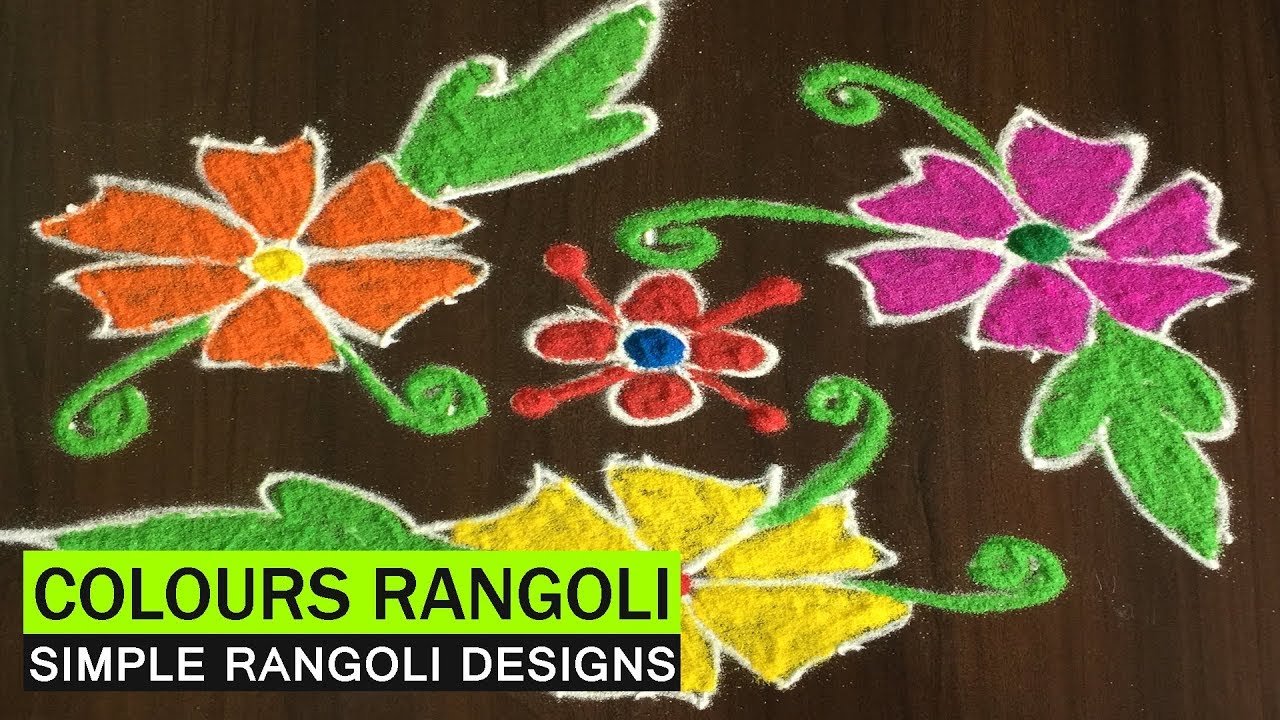
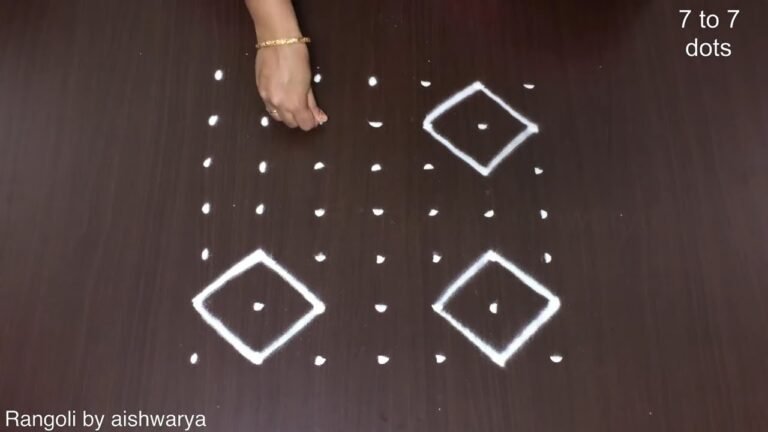
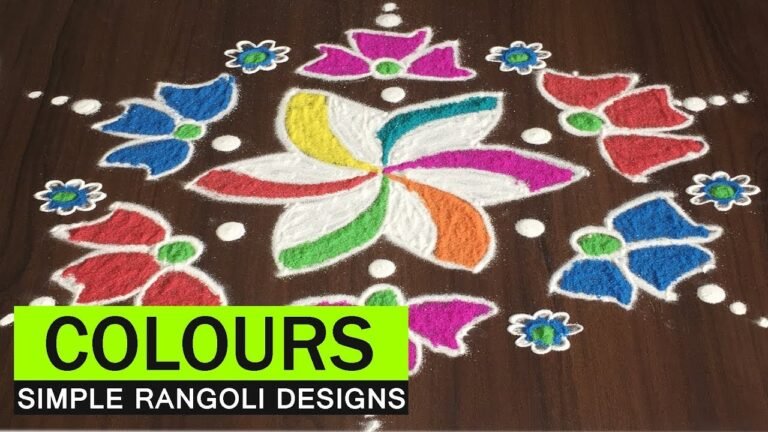
Want a simple yet eye-catching 7 dots rangoli with perfect colour balance? This creative kolangal design is ideal for beginners who want neat and vibrant results. In this video, we create a 7 dots creative colour rangoli muggulu that combines structured dot placement with smooth artistic curves. The 7-dot layout is beginner-friendly because it offers clear spacing and natural symmetry, making it easier to connect lines confidently.
🎨 What You’ll Learn in This Design: Proper placement of the 7-dot grid How to connect dots smoothly without losing symmetry
Simple colour-filling techniques for a balanced finish Tips to keep the design clean and proportionate This design works beautifully for home entrances, pooja spaces, and small celebrations. The creative colour combination enhances the pattern while maintaining traditional kolam structure. Even if you are new to dot rangoli, the 7-dot format helps you understand alignment and spacing clearly.
Watch till the end to see the complete colour transformation — the final reveal shows how simple dots can turn into a bright and elegant rangoli. If you enjoy 7-dot creative kolangal, try expanding into 7-1, 7-3, or 9-5 dot formats to build your confidence and develop stronger symmetry skills. Save this design and try it at your entrance to create a vibrant and welcoming space.
Tip: Work from the centre outward. It keeps the symmetry honest and prevents the design from drifting off-balance.
This easy Karva Chauth rangoli design features a charming 7-dot pattern that is perfect for beginners looking to create something festive and vibrant. The structured dot placement allows for a smooth connection of curves, resulting in an aesthetically pleasing design. Its simplicity is enhanced by clear symmetry and proportional spacing, making it an ideal choice for home entrances or pooja spaces during the celebration. For those interested in exploring more dot designs, the Harvest Festival Kolam 15×1 Dots offers a different variation to try.
The creative use of colors in this rangoli not only brightens up the space but also respects the traditional kolam art form. By utilizing simple color-filling techniques, you can achieve a balanced and neat finish that enhances the overall appearance. This design serves as an excellent introduction to the world of rangoli, where you can gradually progress to more complex patterns, such as the Perfect Geometrical Shapes Rangoli. To learn more about the history and significance of rangoli in Indian culture, you can visit this link.
About this design: Easy Karva Chauth Rangoli is a beginner-friendly pattern that comes together in just a few minutes. Once you have practised the easy karva chauth rangoli dot grid, you can scale it up for festival mornings or scale it down for a daily doorstep. Many learners on our channel make this easy karva chauth rangoli their go-to design once they get the rhythm of the curves.
Easy Karva Chauth Rangoli — Step by Step Guide
Below is the step-by-step breakdown. The video covers the same sequence in real time.
- Clear a flat surface and set down your dot grid using rice flour or chalk.
- Confirm the dot spacing is even — uneven dots are the biggest cause of wobbly curves.
- Begin tracing from the centre outward, following the curves shown in the video above.
- Fill the petals and sections with your chosen colours, working one area at a time.
- Finish the edges with a fine line for a sharp, photograph-ready result.
What You Will Learn
- 7 Dots Creative Rangoli
- Perfect Colour Kolangal Design
- Beginner 7 Dot Muggulu
- 7 Dot Rangoli With Colours
- Creative 7 Dots Kolam
- 7 Pulli Kolam Design
Frequently Asked Questions
How do I draw this rangoli?
Begin with the dot grid — this is the skeleton of the design. With rice flour or chalk, place each dot at equal intervals. Then trace the curves slowly, one section at a time.
Is this suitable for beginners?
Yes, and it is one we recommend to first-timers. The small grid keeps the design manageable while still teaching the core technique.
What materials do I need?
Powder (white for outlines, colours for filling), a flat surface, and a dot stencil if you want absolute precision. Beyond that, just your hand and a steady pace.
How long does it take?
You will see a 4 min 16 sec walkthrough above. Drawing it yourself is usually a 12–18 minute affair, slightly slower the first time.
Try this design tomorrow morning at your doorstep. The compact grid makes it ideal for a daily ritual, not just festival days.

Leave a Reply