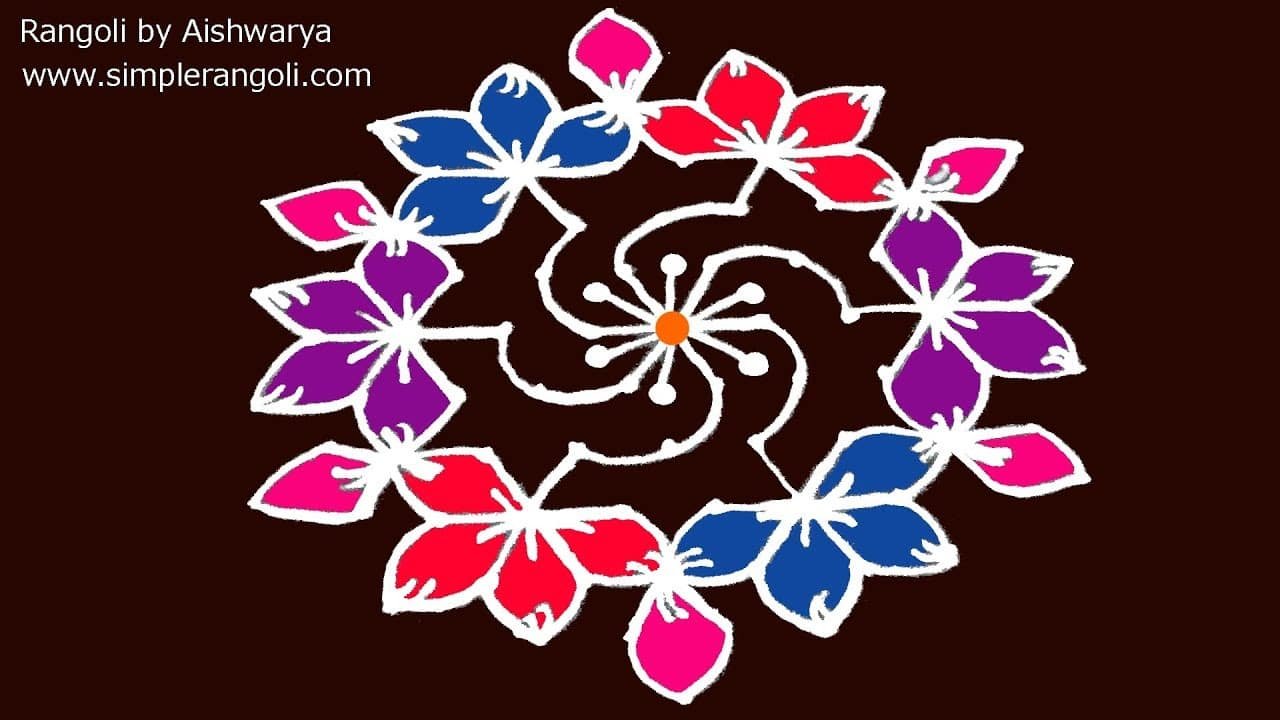
Simple Teej Festival Rangoli combines tradition with simplicity, making it one of the most rewarding designs to practice at home.
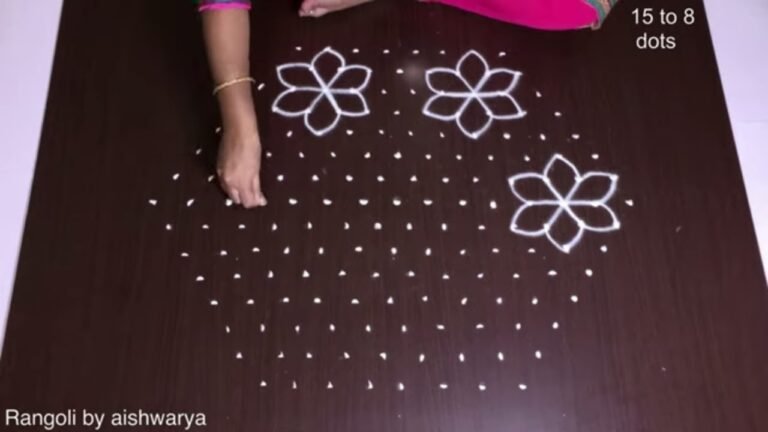
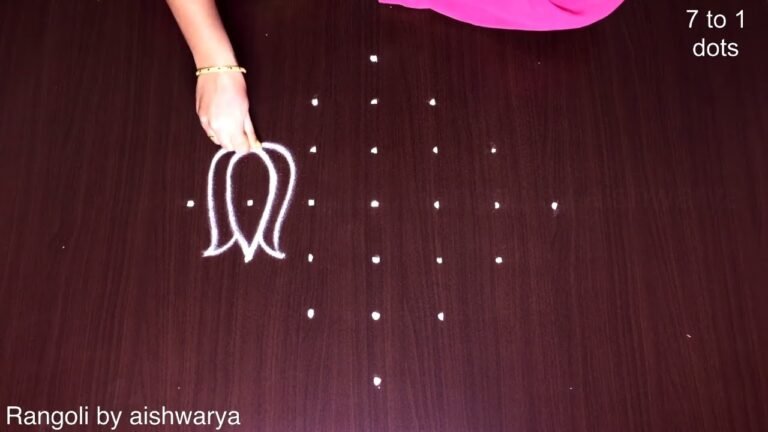
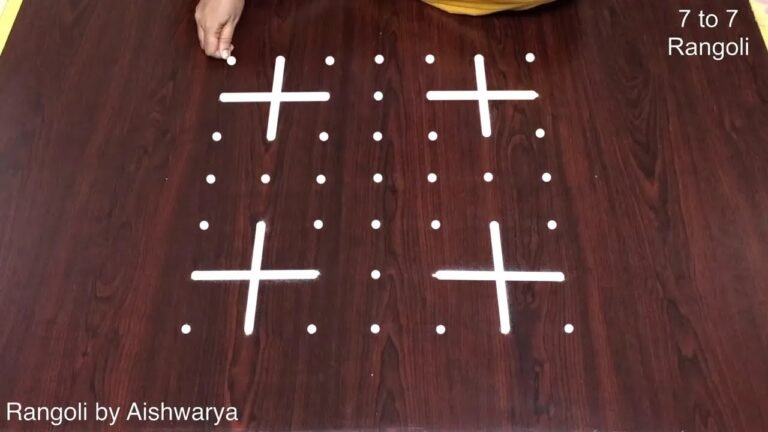
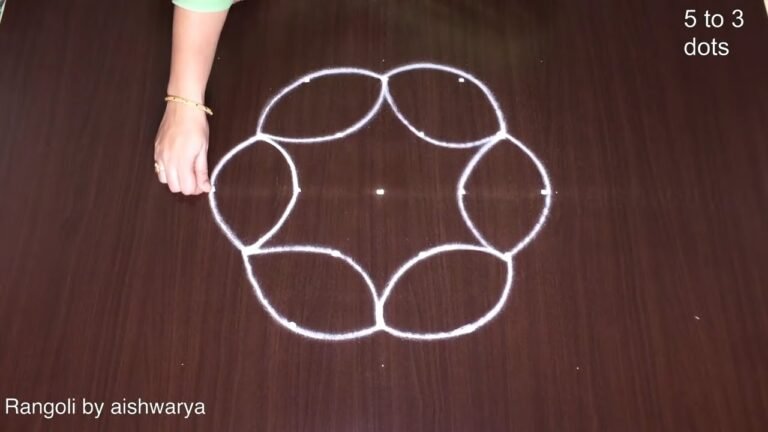
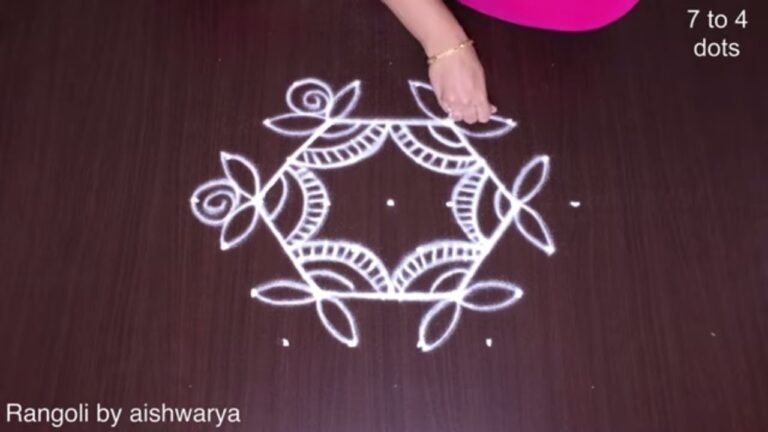
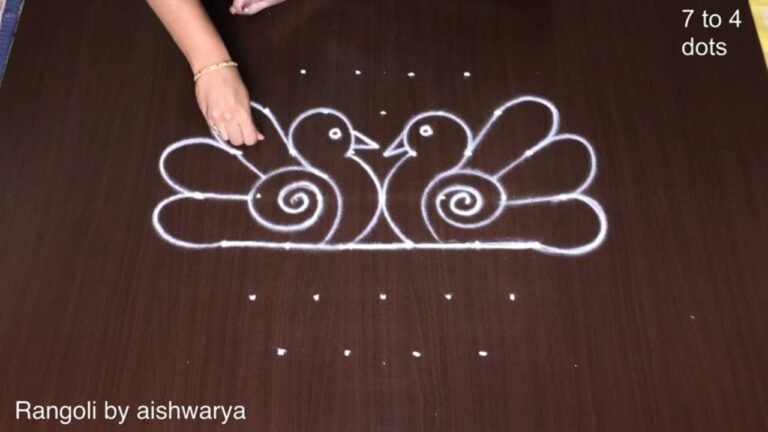
Easy and Simple colourful Rangoli Design 9×5 | Dots Flower Kolams Special Puvvula Muggulu. This tutorial will show you how to draw Beautiful Indian traditional art sankranthi muggulu patterns using materials such as dry rice flour, colored sand or flower petals rangoli design by Aishwarya. Simple rangoli designs with dots Kolam pattern is created on the floor in living rooms or courtyards. Draw the Lines step by step as it is shown in this video and will be awesome alpona Design. 😲 The rangoli design for diwali pattern here is one of the amazing latest simple kolam designs. Simple Rangoli Designs and easy rangoli designs by Aishwarya with dots for beginners and intermediate.
1. Simple rangoli 2. Rangoli kolam 3. Rangoli for diwali
4. Simple rangoli design 5. Rangoli design for diwali 6. Alpona design
7. Kolam designs 8. Easy rangoli designs 9. Sankranthi muggulu
10. Muggulu designs 11. Simple kolam 12. Easy rangoli
13. Rangoli designs with dots 14. Chukkala muggulu 15. Pongal kolam
Tip: Work from the centre outward. It keeps the symmetry honest and prevents the design from drifting off-balance.
The simple Teej festival rangoli design features an elegant 9×5 dot pattern that captures the essence of the vibrant celebrations. This design is particularly suitable for beginners, as it incorporates straightforward lines and floral motifs that can be easily adapted with colors from natural materials like rice flour or flower petals. Creating such a rangoli not only beautifies the entrance of your home but also invites blessings and positivity during the festive season. For more inspiration, you can explore 8-8 dots simple rangoli designs to enhance your skills.
This rangoli design serves as a wonderful way to participate in the Teej festivities, which celebrate the bond between married couples. With its simple yet striking appearance, it’s perfect for drawing in courtyards or living rooms, symbolizing joy and unity. As you learn to create this design, consider exploring other styles such as drawing beautiful Deepam Deepala simple kolam for a diverse range of decorative options. For a broader understanding of this art form, check out Rangoli on Wikipedia.
About this design: Simple Teej Festival Rangoli is a beginner-friendly pattern that comes together in just a few minutes. Once you have practised the simple teej festival rangoli dot grid, you can scale it up for festival mornings or scale it down for a daily doorstep. Many learners on our channel make this simple teej festival rangoli their go-to design once they get the rhythm of the curves.
Simple Teej Festival Rangoli — Step by Step Guide
Each step takes only a moment. The whole design comes together in just a few minutes once the grid is in place.
- Clear a flat surface and set down your dot grid using rice flour or chalk.
- Confirm the dot spacing is even — uneven dots are the biggest cause of wobbly curves.
- Begin tracing from the centre outward, following the curves shown in the video above.
- Fill the petals and sections with your chosen colours, working one area at a time.
- Finish the edges with a fine line for a sharp, photograph-ready result.
What You Will Learn
- Simple Rangoli Designs
- Rangoli
- Muggulu
- Rangoli Designs
- Rangoli Kolam
- Kolam
Frequently Asked Questions
How do I draw this rangoli?
The grid comes first. Use a soft chalk to dot the surface, count twice to confirm the spacing, then start connecting them following the video. Work from the centre outward.
Is this suitable for beginners?
Yes, and it is one we recommend to first-timers. The small grid keeps the design manageable while still teaching the core technique.
What materials do I need?
White rice flour for the outline, coloured powders for the fill, and a clean dry floor. That is the essentials list — you can add a stencil if you prefer.
How long does it take?
About 4 min 6 sec on screen, perhaps 15 minutes for a relaxed first attempt. By the second try most people are noticeably quicker.
Once you get the rhythm of this design, try scaling it up or experimenting with colours. The grid stays the same; the personality changes.
Leave a Reply