Whether you are decorating for a festival or your daily morning ritual, Vasant Panchami Special Rangoli is an excellent design to keep handy.
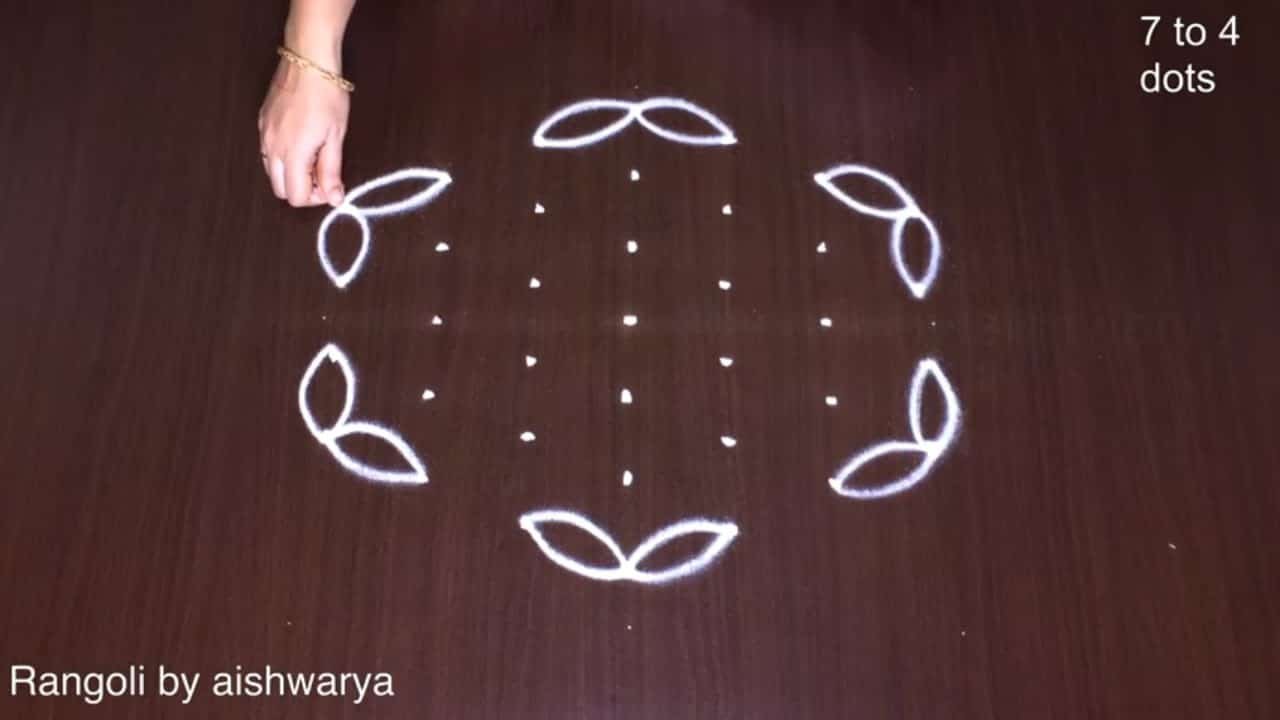
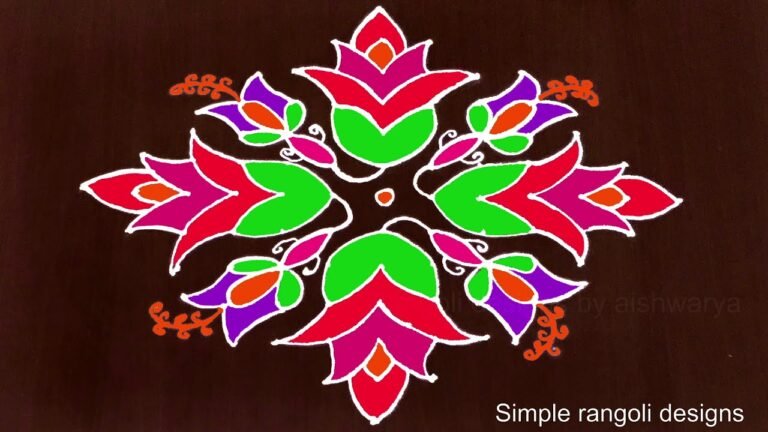
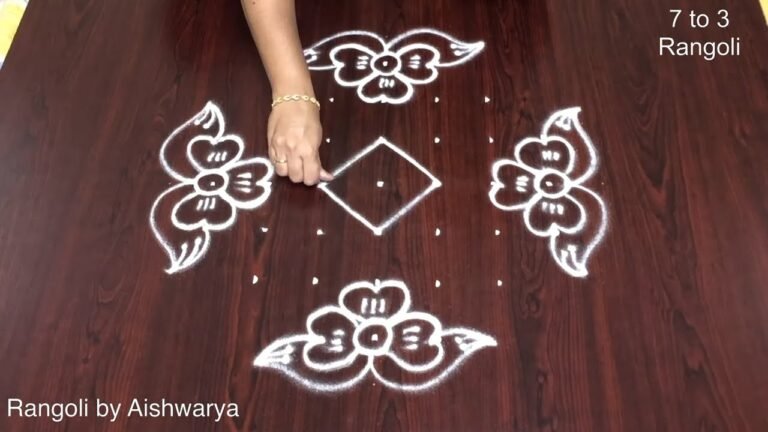
Vasant Panchami Special Rangoli Designs | New Apartment Kolam 7 by 4 dots Muggulu | Rangoli Thank you so much for watching Channel
My Rangoli Channel Contains : Rangoli Designs Sankranthi Muggulu
Diwali Rangoli Ratham Muggulu Kolam Designs
Muggulu Designs Chukkala Muggulu Easy Rangoli
Simple Rangoli Easy Rangoli Designs Dhanurmasam Muggulu
Melikala Muggulu Geethala Muggulu Sivarathri Muggulu
Tip: Use chalk to lightly mark your dot grid first — it wipes away cleanly once your rangoli is finished.
The Vasant Panchami special rangoli is a beautiful celebration of the arrival of spring and is often associated with the worship of Goddess Saraswati. This design typically features a 7 by 4 dots layout, allowing for intricate patterns that can symbolize knowledge and wisdom. The use of bright yellow colors, reminiscent of mustard flowers, is common, reflecting the essence of this joyful festival. For those interested in exploring more about rangoli, you can read about its rich history and cultural significance.
<p.Beginner artists can easily create this rangoli by using simple techniques, such as outlining the design with white rice flour or colored powders. Adding floral motifs and geometric shapes enhances the visual appeal, making it an inviting sight for guests. For inspiration on related designs, consider checking out the Traditional Friday Diya Pulli Designs Rangoli or the Very Easy Super Flower Poo Kolams Muggulu. These patterns can be adapted to suit the vibrant spirit of Vasant Panchami.
About this design: Vasant Panchami Special Rangoli is a beginner-friendly pattern that comes together in just a few minutes. Once you have practised the vasant panchami special rangoli dot grid, you can scale it up for festival mornings or scale it down for a daily doorstep. Many learners on our channel make this vasant panchami special rangoli their go-to design once they get the rhythm of the curves.
Vasant Panchami Special Rangoli — Step by Step Guide
These steps are written for absolute beginners. Watch once, draw once, then watch again — that is how the pattern locks in.
- Lay a hexagonal dot grid, 7 to 4: rows of 4, 5, 6, 7, 6, 5 and 4 dots, so the outline of the grid is a six-sided shape.
- At the exact centre draw a small oval ring with a single dot inside it.
- Sweep six broad crescent blades out of that ring, evenly spaced, each one tapering to a point and all curving the same way so the centre reads as a spinning pinwheel; fill every blade with fine parallel stripes following its curve.
- Around the pinwheel draw a chain of six large round loops, one facing each blade gap, so that neighbouring loops cross where they meet and the crossings sit on a rough hexagon.
- Inside each of the six loops draw a small three-lobed cluster with a dot in each lobe, and set it toward the inner side of the loop.
- Beside every cluster add a fan of straight radiating lines with a scalloped outer rim, opening away from the centre, and curl one spiral above the fan and one below it.
- At each of the six points where two loops cross, plant a pointed leaf aimed outward and fill it with slanted parallel stripes.
- Finally, beyond each crossing draw an arrow pointing away from the design: a short straight stroke tipped with a round dot and crossed by two chevrons near the tip.
What You Will Learn
- Simple Rangoli Designs
- Rangoli
- Muggulu
- Rangoli Designs
- Rangoli Kolam
- Kolam
Frequently Asked Questions
How do I draw this rangoli?
Begin with the dot grid — this is the skeleton of the design. With rice flour or chalk, place each dot at equal intervals. Then trace the curves slowly, one section at a time.
Is this suitable for beginners?
Yes — this design is shaped specifically with newcomers in mind. The dot grid is small enough to manage, and the curves are gentle. Most learners get it right by the second try.
What materials do I need?
White rice flour for the outline, coloured powders for the fill, and a clean dry floor. That is the essentials list — you can add a stencil if you prefer.
How long does it take?
8 min 33 sec of video, perhaps 20 minutes of practice. The curves take a couple of attempts to feel natural, then it speeds up considerably.
If you draw this and would like a follow-up design at the same skill level, leave a comment on the video — we read every one and queue up requests.

Leave a Reply