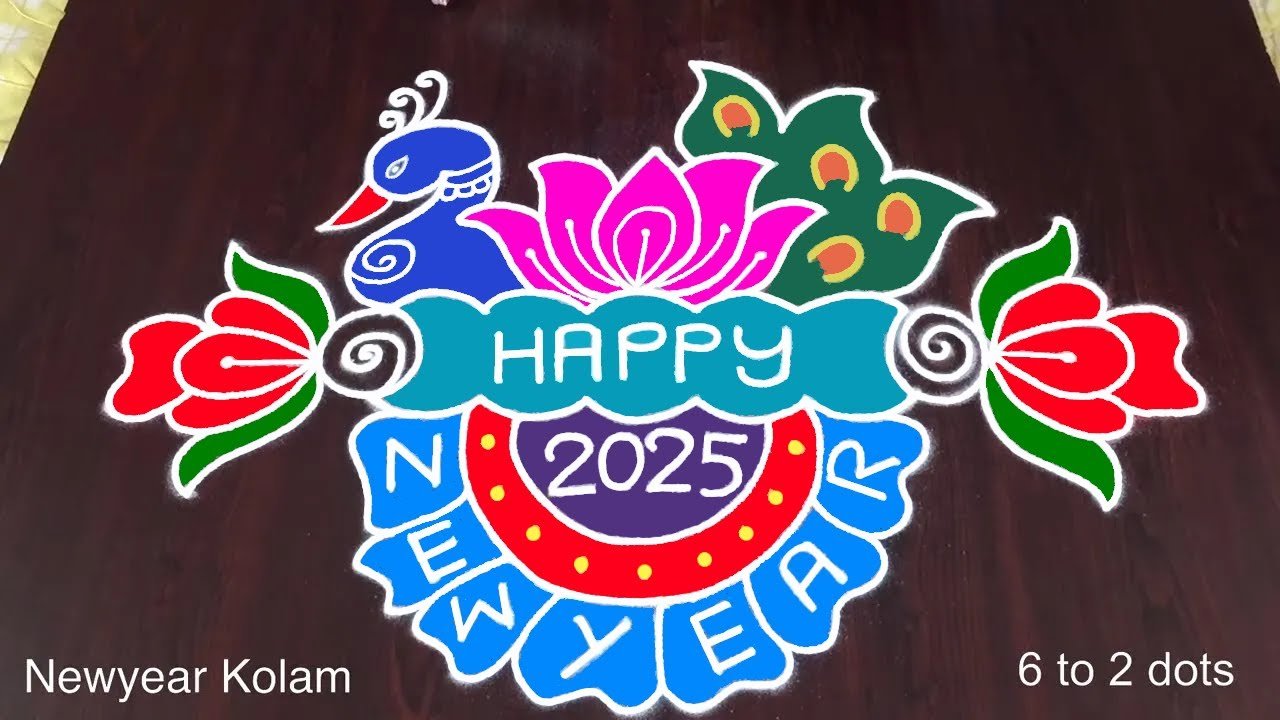
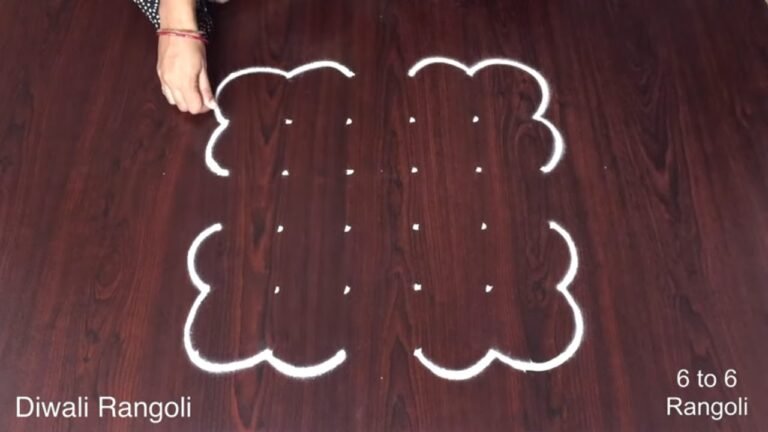
Add a touch of charm to your doorway with 6 To 2 Dots — clean lines, balanced symmetry, and easy to scale.
This tutorial will show you how to draw Rangoli Designs for New Year patterns using materials such as dry rice flour, colored sand or flower petals Rangoli designs by Aishwarya. Simple rangoli Pulli Kolam pattern is created on the floor in living rooms or courtyards. Draw the Lines step by step as it is shown in this video and will be awesome Rangoli Design. 😲 The 6 to 2 Dots Kolam pattern here is one of the amazing latest kolam designs. Simple Rangoli Designs and Latest Muggulu 2025 by Aishwarya with dots for beginners and intermediate.
1. Simple New Year Rangoli 2. New Year Kolam 2025 3. Easy Rangoli Designs
4. Simple Rangoli 5. New Year Special Rangoli 6. Padi Kolam
7. Ratham Muggulu 8. New Year Kolam 9. Rangoli Designs Simple
10. New Year Muggulu 2025 11. Chukkala Muggulu 12. Thipkyanchi Rangoli Designs
13. Simple Karthigai Kolam 14. New Year Rangoli Designs 2025 15. ठिपक्यांची रांगोळी
Tip: Use chalk to lightly mark your dot grid first — it wipes away cleanly once your rangoli is finished.
The 6 to 2 Dots Kolam is a delightful design ideal for beginners looking to explore traditional rangoli art. This pattern is especially popular during festive occasions like the New Year, symbolizing new beginnings and prosperity. The simplicity of drawing this kolam using just six dots in one row to two dots in another allows for creativity while keeping the design manageable. For those interested in expanding their skills, you might enjoy trying the Big Creative Deepam Rangoli or the 11 by 6 Simple Kolam as well.
Creating a 6 to 2 Dots Kolam can be a meditative practice, bringing peace and joy as you draw. The use of vibrant colors enhances the visual appeal, making it a perfect addition to your home decor during festive times. As you explore this art form further, consider learning about the history and cultural significance of rangoli by visiting this informative link. You might also want to experiment with designs like the 9 to 3 Dots Roja Puvvula Muggulu for added inspiration.
6 To 2 Dots — Step by Step Guide
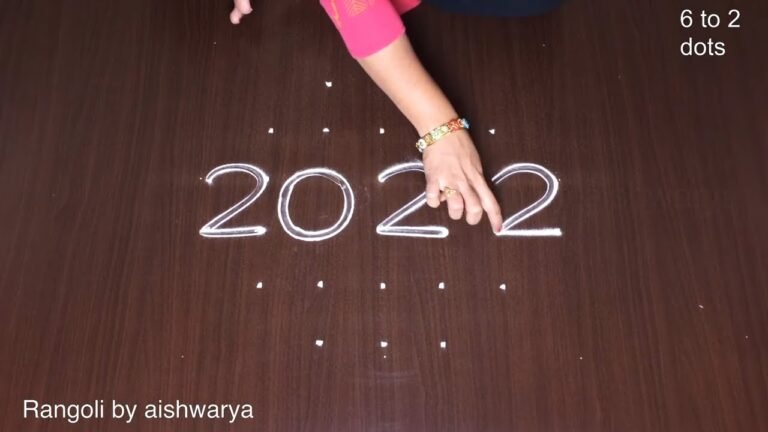
If you have drawn dot rangoli before, this will feel familiar. If you have not, the dot grid will guide you.
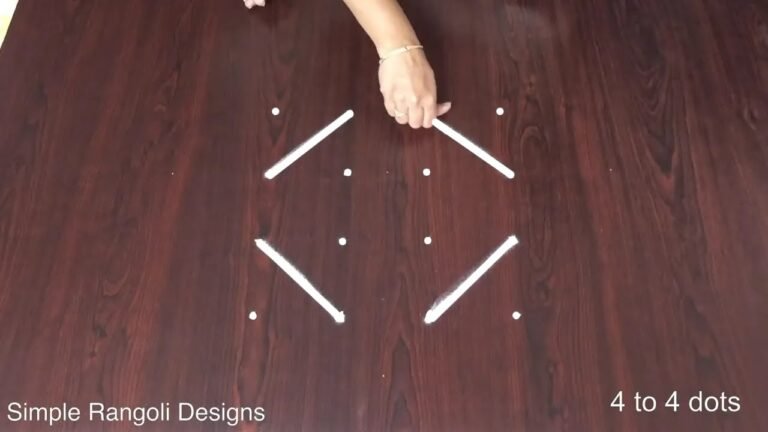
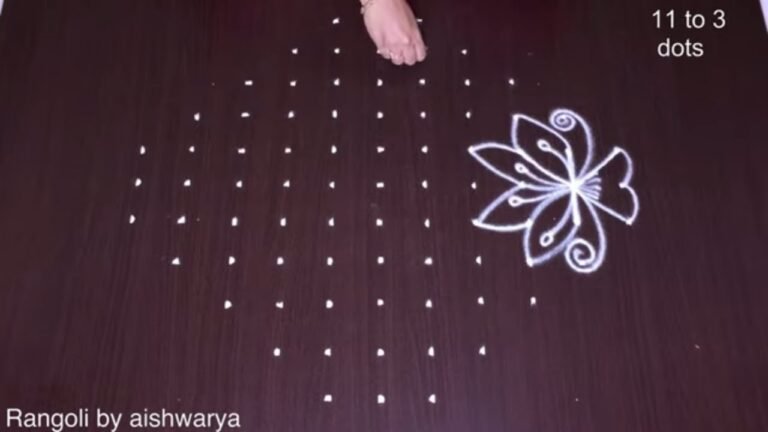
- Clear a flat surface and set down your dot grid using rice flour or chalk.
- Confirm the dot spacing is even — uneven dots are the biggest cause of wobbly curves.
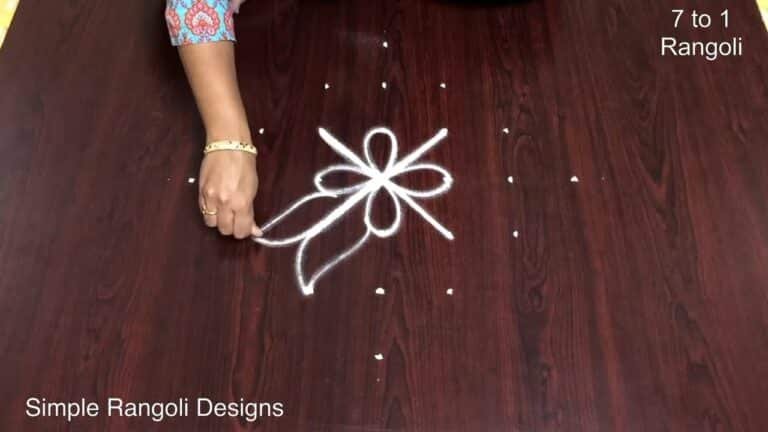
- Begin tracing from the centre outward, following the curves shown in the video above.
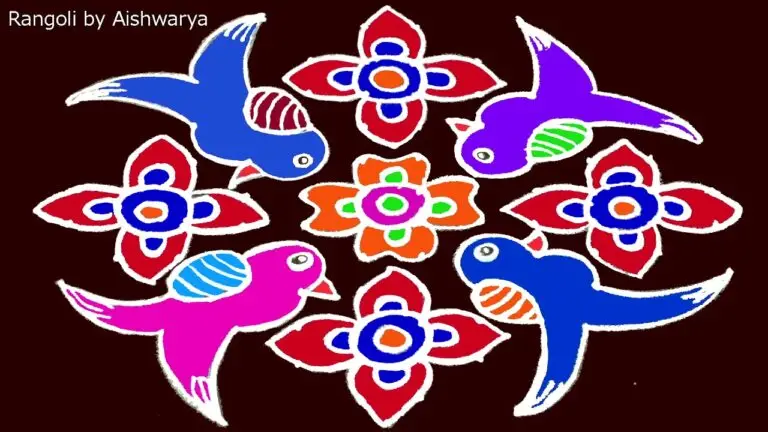
- Fill the petals and sections with your chosen colours, working one area at a time.
- Finish the edges with a fine line for a sharp, photograph-ready result.
What You Will Learn
- Rangoli
- Kolam
- Muggulu
- Rangoli For New Year
- New Year Rangoli Designs
- Happy New Year Rangoli
Frequently Asked Questions
How do I draw this rangoli?
Start by marking an even dot grid on a flat, clean surface. Once the grid is in place, connect the dots following the curves shown in the video. Even spacing between dots is the single biggest factor for a clean finish.
Is this suitable for beginners?
Beginner-friendly is exactly the right description. The video walks through every line clearly and you can match the pace.
What materials do I need?
White rice flour for the outline, coloured powders for the fill, and a clean dry floor. That is the essentials list — you can add a stencil if you prefer.
How long does it take?
The full demonstration takes 4 min 57 sec. Most people find their own drawing time settles to about 15 minutes once the grid is familiar.
Once this design feels familiar, switch the colours or rotate the grid by a step. Small tweaks keep daily kolam practice interesting.
Leave a Reply