If you enjoy dot-grid muggulu, Daily Rangoli Designs Easy is a satisfying pattern that comes together in just a few minutes.
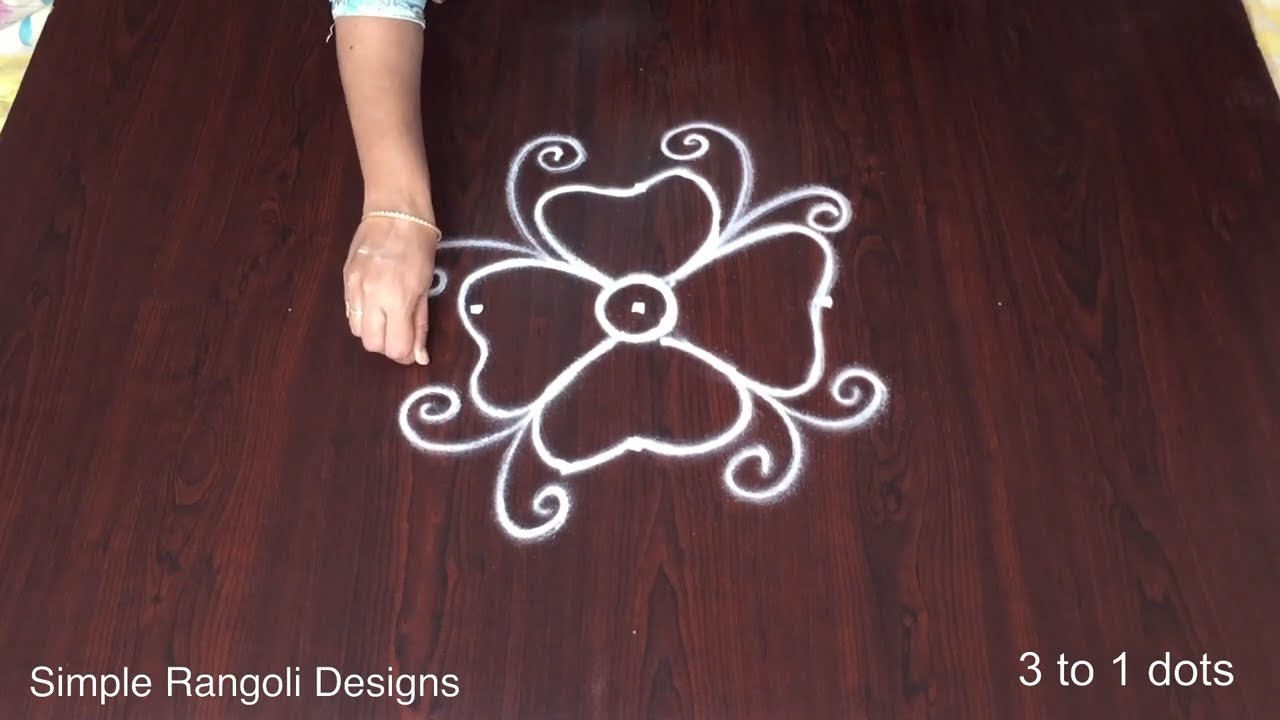
Daily Rangoli Designs Easy Border 🌹 3 to 1 dots Muggulu 🌹 Kolam Easy Method Thank you so much for watching Channel
Chapters: 0:00 Intro 0:05 Daily Rangoli Designs Easy Border
3:00 Kolam Easy Method My Simple Rangoli Designs Channel Contains : Rangoli designs
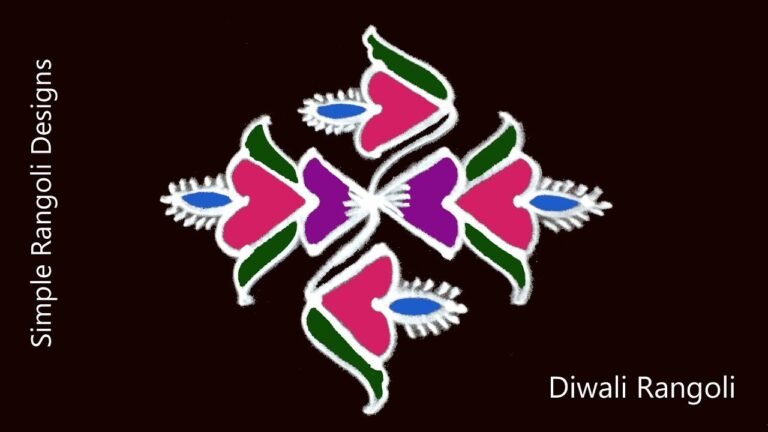
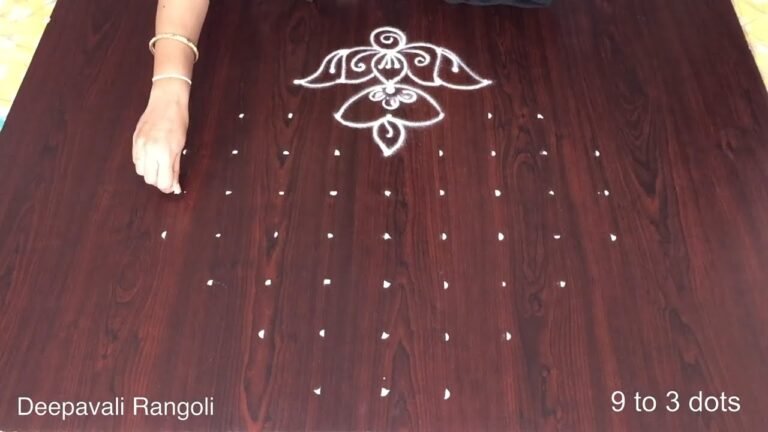
Sankranthi muggulu Diwali rangoli Kolam designs
Simple rangoli Easy rangoli designs Pongal kolams
New year rangoli designs Ratham muggulu Muggulu designs
Tip: Work from the centre outward. It keeps the symmetry honest and prevents the design from drifting off-balance.
This design belongs to the broader tradition of rangoli and kolam art practised across South India. Explore more in our 3 to 1 dots Rangoli Designs collection.
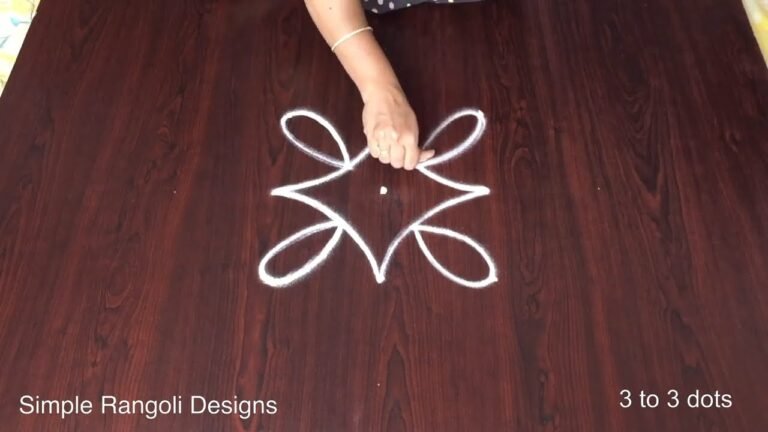
This daily rangoli design, featuring a 3 to 1 dots pattern, offers a charming and simple way to enhance your home with vibrant art. Perfect for beginners, this design involves creating a border that can beautifully frame your entrance or pooja area. The easy method of execution makes it a delightful addition to any festive occasion, allowing even those new to the art of muggulu to participate. Explore other beginner-friendly designs like the Simple 10-2 Dots Rangoli Design to further hone your skills.
The 3 to 1 dots rangoli is not only an artistic expression but also a wonderful way to welcome guests during festivals. This design can be customized with various colors and motifs, adding personal flair to your celebrations. For those looking for inspiration for different occasions, check out the Easy Pongal Pot Kolam that captures the spirit of the festival. To learn more about the cultural significance and variations of rangoli, you can visit this page.
Daily Rangoli Designs Easy — Step by Step Guide
If you have drawn dot rangoli before, this will feel familiar. If you have not, the dot grid will guide you.
- Clear a flat surface and set down your dot grid using rice flour or chalk.
- Confirm the dot spacing is even — uneven dots are the biggest cause of wobbly curves.
- Begin tracing from the centre outward, following the curves shown in the video above.
- Fill the petals and sections with your chosen colours, working one area at a time.
- Finish the edges with a fine line for a sharp, photograph-ready result.
What You Will Learn
- Simple Rangoli Designs
- Rangoli
- Muggulu
- Rangoli Designs
- Rangoli Kolam
- Kolam
Frequently Asked Questions
How do I draw this rangoli?
The grid comes first. Use a soft chalk to dot the surface, count twice to confirm the spacing, then start connecting them following the video. Work from the centre outward.
Is this suitable for beginners?
Yes — this design is shaped specifically with newcomers in mind. The dot grid is small enough to manage, and the curves are gentle. Most learners get it right by the second try.
What materials do I need?
White rice flour for the outline, coloured powders for the fill, and a clean dry floor. That is the essentials list — you can add a stencil if you prefer.
How long does it take?
A 5 min 46 sec video shows the complete sequence. On paper or floor, expect to spend around a quarter of an hour from grid to finished pattern.
Try it once, share your version with a friend, and keep exploring our collection — there is a design here for every festival, every entrance, and every skill level.
Leave a Reply