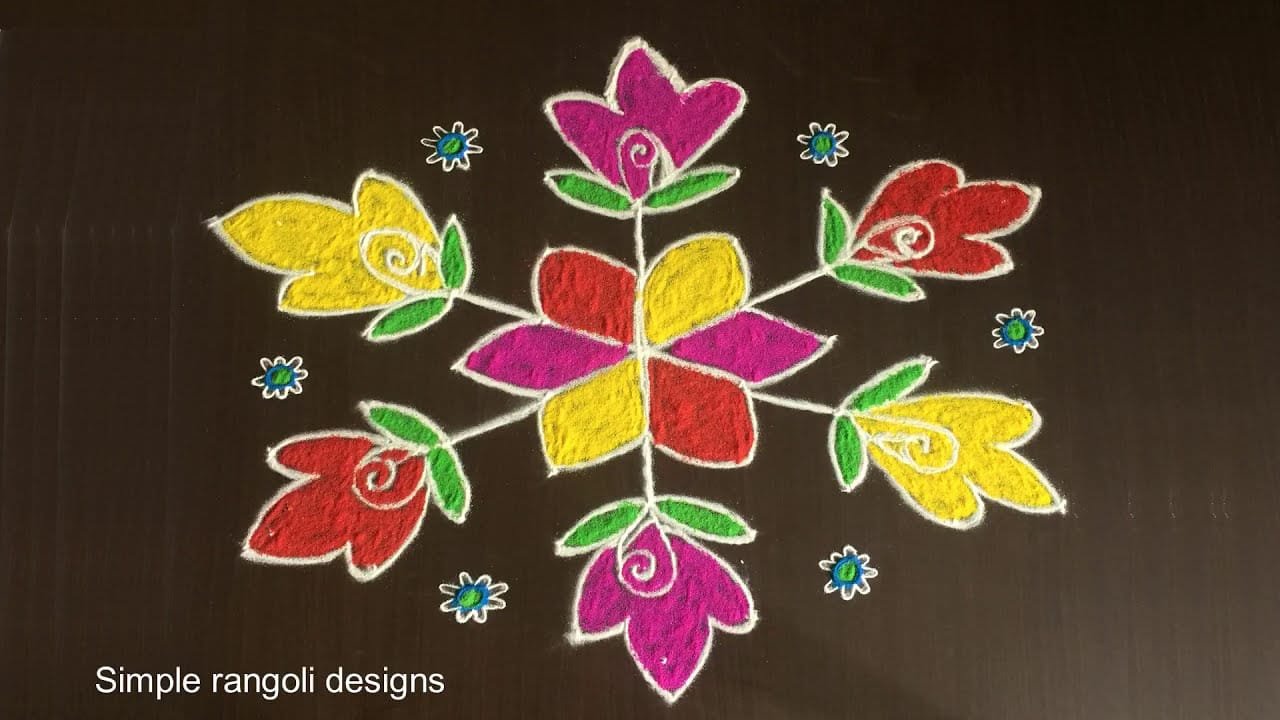
Easy Navratri Rangoli 9 is a beautiful kolam pattern you can draw right at your doorstep — perfect for beginners and seasoned rangoli artists alike.
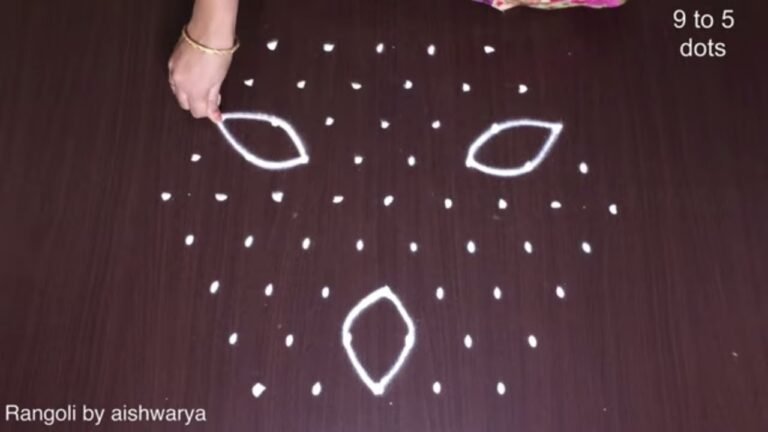
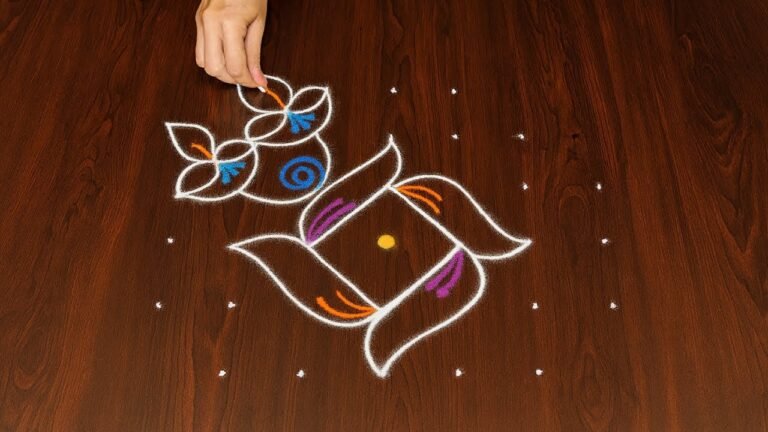
Looking for a beautiful 9 by 5 dots rangoli for Navratri or Dussehra? This easy festive kolam design is perfect for creating a traditional and vibrant entrance. In this video, we create a 9 by 5 dots Navratri rangoli, using a structured decreasing grid that gives a naturally balanced shape. The 9-5 format provides enough space for graceful curves while keeping the design symmetrical and neat.
How to place the 9 by 5 decreasing dots correctly Connecting the dots to build a strong symmetrical base Smooth curve techniques for a polished finish
Simple enhancements to make it festival-ready Navratri and Dussehra are celebrated with devotion, color, and decorative entrances. Drawing a kolam during these days enhances the festive atmosphere and welcomes positivity into the home. This design combines simplicity with elegance, making it suitable for both beginners and regular kolam enthusiasts. Watch till the end to see the complete symmetrical reveal — the final alignment shows how structured dots create a rich and balanced festival kolam.
If you enjoy 9 by 5 dot kolam, explore other Navratri grids like 7-4 and 11-6 to expand your seasonal rangoli collection and strengthen your dot-series creativity. Save this design for Navratri or Dussehra and recreate it for a graceful festive entrance.
Tip: Use chalk to lightly mark your dot grid first — it wipes away cleanly once your rangoli is finished.
This easy Navratri rangoli design, crafted using a 9 by 5 dot grid, is perfect for both novices and seasoned kolam creators. The structured decreasing pattern allows for graceful curves while maintaining a symmetrical look, making it visually appealing. During the festive season, a well-drawn kolam not only enhances the entrance of your home but also brings in a sense of joy and positivity. For those who enjoy exploring different designs, you might find inspiration in Every Day Morning Rangoli posts.
The Navratri festival is a time of devotion and celebration, and this rangoli design captures that spirit beautifully. As you create this vibrant pattern, you will learn essential techniques for dot placement and smooth curves, which are crucial for achieving a polished finish. For more intricate designs, consider looking at Lotus Flowers Rangoli Designs for Sankranti, which can add an extra touch of elegance to your festive creations. To learn more about the cultural significance of rangoli, you can visit this page.
9 By 5 Dots — Step by Step Guide
Below is the step-by-step breakdown. The video covers the same sequence in real time.
- Clear a flat surface and set down your dot grid using rice flour or chalk.
- Confirm the dot spacing is even — uneven dots are the biggest cause of wobbly curves.
- Begin tracing from the centre outward, following the curves shown in the video above.
- Fill the petals and sections with your chosen colours, working one area at a time.
- Finish the edges with a fine line for a sharp, photograph-ready result.
What You Will Learn
- 9 By 5 Dots Navratri Rangoli
- Dussehra Special Kolam 9-5
- Navrathri Muggulu With Dots
- 9-5 Dots Rangoli Design
- Easy Navratri Kolam 9 By 5
- 9 By 5 Pulli Kolam
Frequently Asked Questions
How do I draw this rangoli?
Start by marking an even dot grid on a flat, clean surface. Once the grid is in place, connect the dots following the curves shown in the video. Even spacing between dots is the single biggest factor for a clean finish.
Is this suitable for beginners?
Yes, and it is one we recommend to first-timers. The small grid keeps the design manageable while still teaching the core technique.
What materials do I need?
Just three things: powder (white plus any colours you want), a flat dry surface, and a few minutes of focus. A small bowl per colour helps keep things tidy.
How long does it take?
A 3 min 26 sec video shows the complete sequence. On paper or floor, expect to spend around a quarter of an hour from grid to finished pattern.
Try this design tomorrow morning at your doorstep. The compact grid makes it ideal for a daily ritual, not just festival days.


Leave a Reply