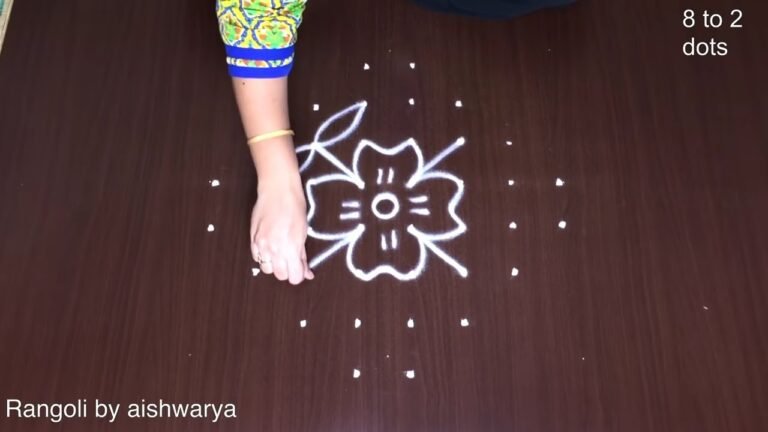
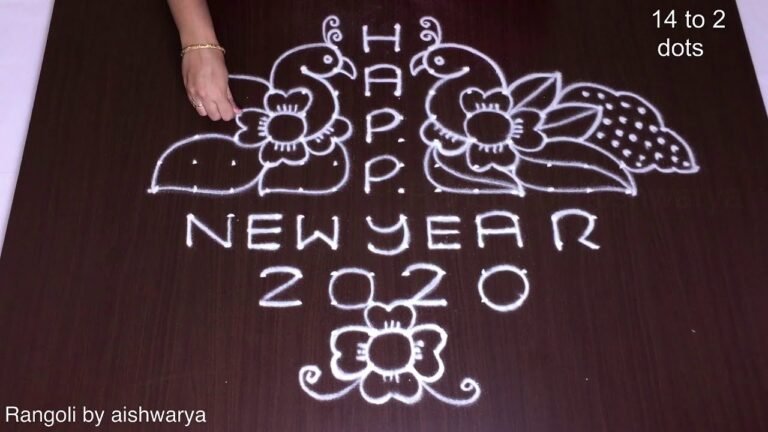
Onam Flower Rangoli is a beautiful kolam pattern you can draw right at your doorstep — perfect for beginners and seasoned rangoli artists alike.
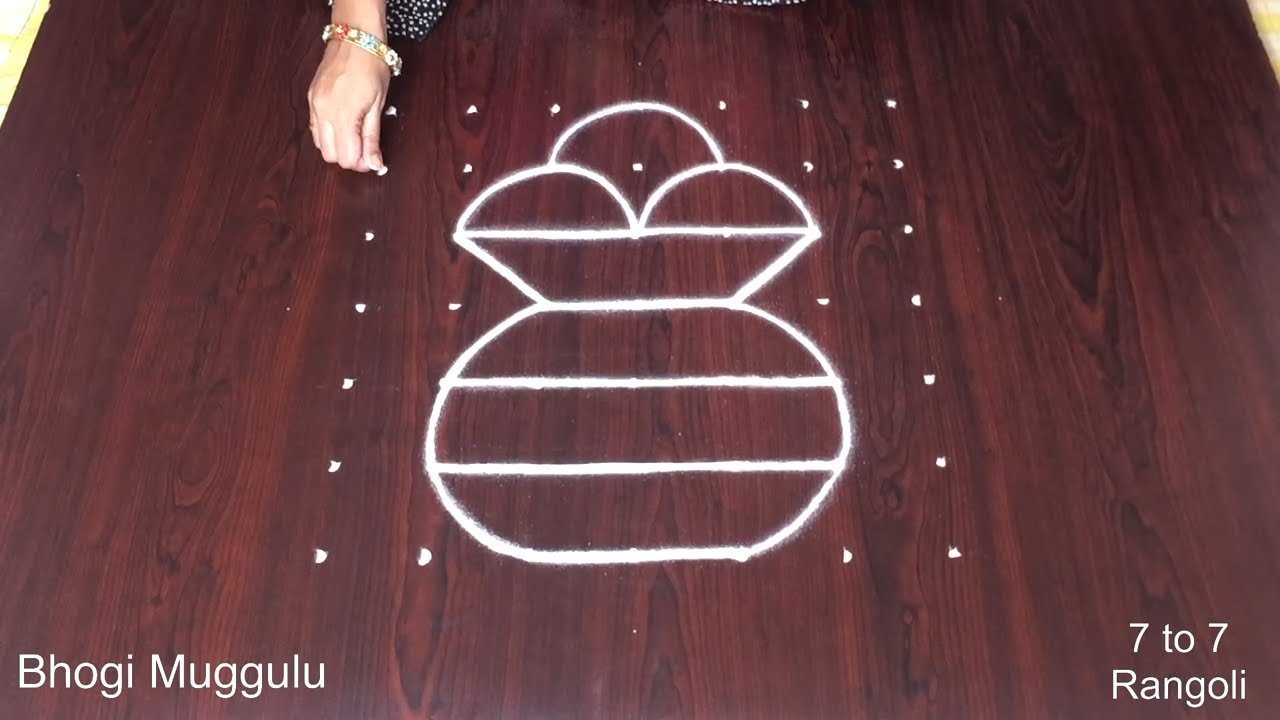
Thai Pongal Kolam Designs 🌼 Rangoli Bhogi Muggulu Simple 🌼 Pongal Pot Kolangal Thank you so much for watching Channel
For another beginner-friendly variation, try 7 Into 7 Dots Festival Rangoli.
My Rangoli Channel Contains : Rangoli Designs Sankranthi Muggulu
Diwali Rangoli Ratham Muggulu Kolam Designs
Muggulu Designs Chukkala Muggulu Easy Rangoli
Simple Rangoli Easy Rangoli Designs Dhanurmasam Muggulu
Melikala Muggulu Geethala Muggulu Sivarathri Muggulu
Tip: A slightly damp brush along the edges gives a sharper finish, especially for festival photographs.
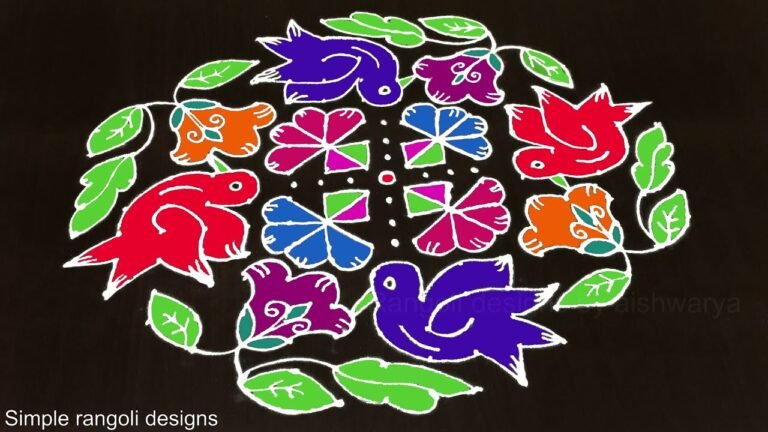
The Onam Flower Rangoli, also known as Pookalam, is a vibrant and intricate design that celebrates the harvest festival of Onam in Kerala. Typically created using brightly colored flower petals, this rangoli design is laid out in a circular pattern with varying colors that symbolize prosperity and joy. Beginners can start with simple designs and gradually incorporate more complex patterns. For inspiration, you might explore related designs such as 11 by 6 Simple Kolam or 7 Se 7 Flower Rangoli.
The beauty of the Onam Flower Rangoli lies in its artistic representation of nature and the festive spirit. Each arrangement tells a story, often reflecting local traditions and cultural significance. As you learn to craft this stunning design, you will not only improve your skills but also connect with the rich heritage of Indian art. For more information on the tradition and various styles, you can visit this Wikipedia page on rangoli.
Onam Flower Rangoli — Step by Step Guide
These steps are written for absolute beginners. Watch once, draw once, then watch again — that is how the pattern locks in.
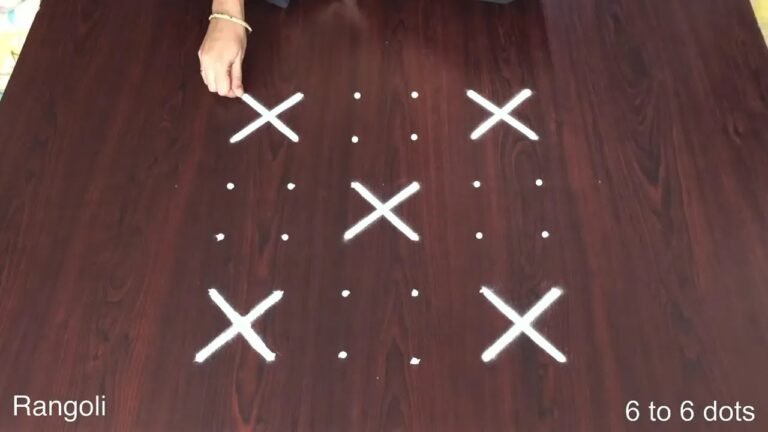
- Clear a flat surface and set down your dot grid using rice flour or chalk.
- Confirm the dot spacing is even — uneven dots are the biggest cause of wobbly curves.
- Begin tracing from the centre outward, following the curves shown in the video above.
- Fill the petals and sections with your chosen colours, working one area at a time.
- Finish the edges with a fine line for a sharp, photograph-ready result.
What You Will Learn
- Simple Rangoli Designs
- Rangoli
- Muggulu
- Rangoli Designs
- Rangoli Kolam
- Kolam
Frequently Asked Questions
How do I draw this rangoli?
The grid comes first. Use a soft chalk to dot the surface, count twice to confirm the spacing, then start connecting them following the video. Work from the centre outward.
Is this suitable for beginners?
Yes — this design is shaped specifically with newcomers in mind. The dot grid is small enough to manage, and the curves are gentle. Most learners get it right by the second try.
What materials do I need?
White rice flour for the outline, coloured powders for the fill, and a clean dry floor. That is the essentials list — you can add a stencil if you prefer.
How long does it take?
The tutorial is 4 min 15 sec long. With practice the actual drawing settles around 10 minutes; the first time will likely take twice that.
After you draw this, take a picture before the day blows it away. Kolam is impermanent by design, but a photo lets you revisit the version you drew.

Leave a Reply