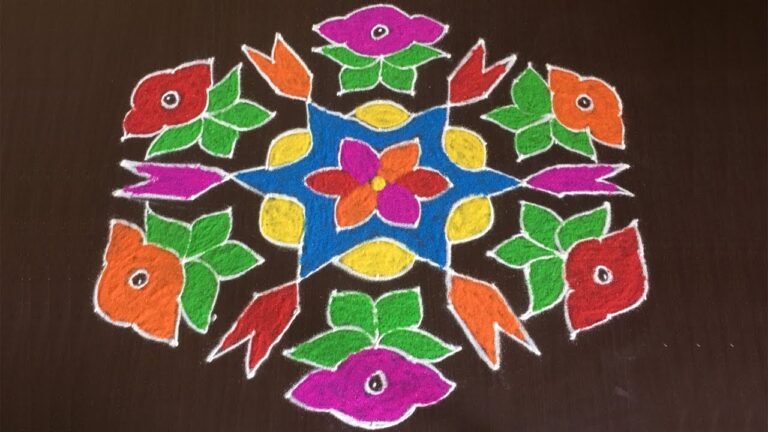
Add a touch of charm to your doorway with Vibrant Holi Rangoli — clean lines, balanced symmetry, and easy to scale.
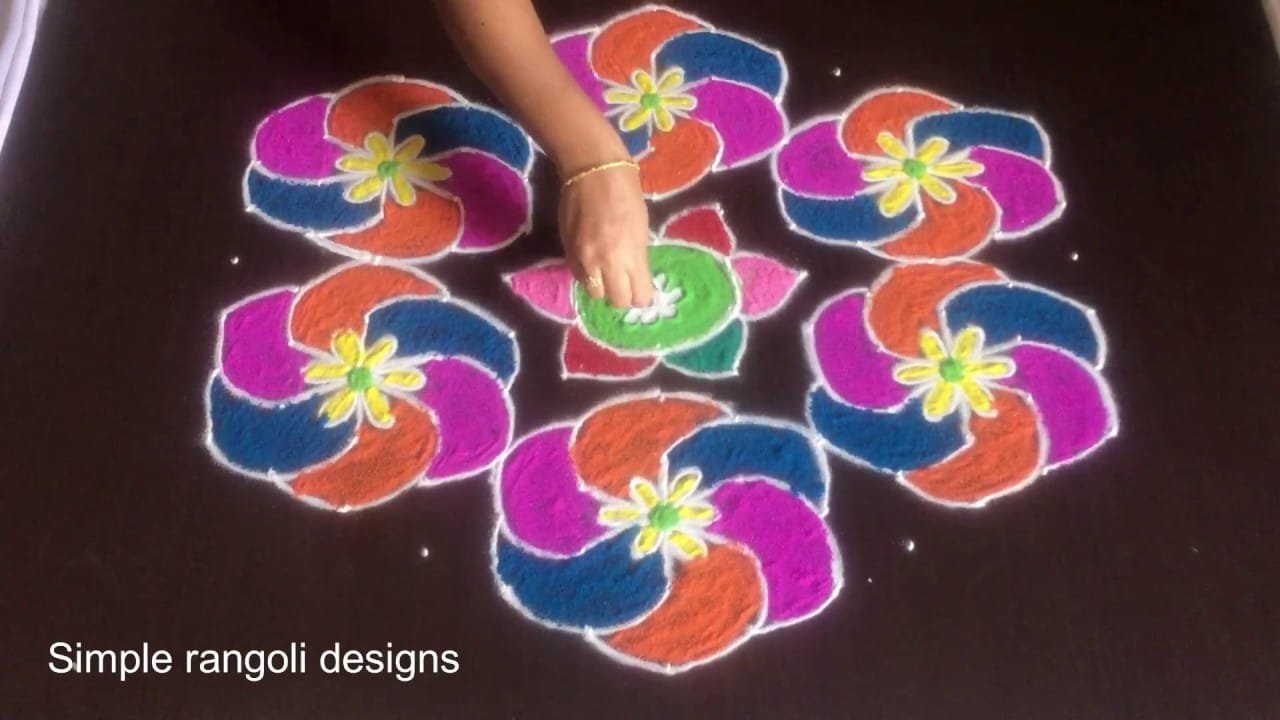
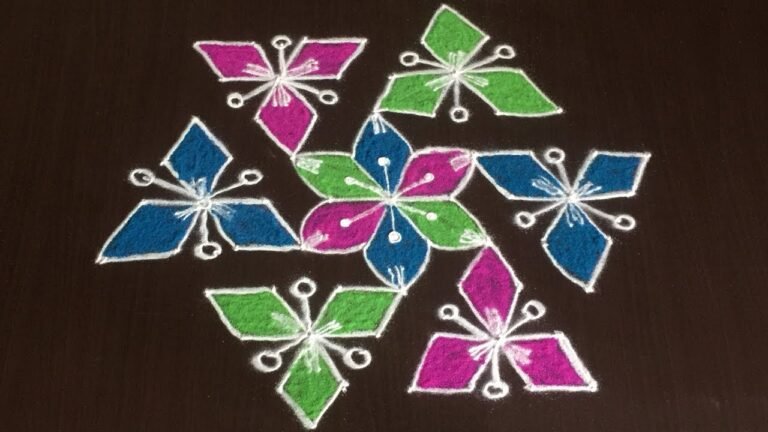
Looking for a vibrant 13-7 dots flower kolam that’s both grand and easy to draw? This latest colourful rangoli design blends symmetry, structure, and festive elegance. In this video, we create a 13-7 dots colourful flower kolam, built on a wide decreasing grid that allows layered petals to spread beautifully across the layout. The 13 to 7 format offers enough space for detailed curves while maintaining perfect alignment.
🌸 What You’ll Learn Step by Step: Proper placement of the 13-7 decreasing dot grid Forming smooth and symmetrical flower petals
Maintaining balance along the central axis Simple colour-filling techniques for a vibrant finish The 13-7 grid creates a bold visual presence, making it ideal for spacious entrances and festive decorations. Even though the layout is larger than beginner grids, the structured dot placement naturally guides spacing and proportion.
Adding colours enhances the floral pattern and makes the kolam look lively and eye-catching. Watch till the end to see the complete colour transformation — the final symmetrical reveal highlights how the 13-7 dot structure turns into a stunning and elegant kolam. If you enjoy large floral grids, explore other formats like 11-6 and 15-8 to expand your creative rangoli collection.
Save this design and recreate it to brighten your entrance beautifully.
Tip: Use chalk to lightly mark your dot grid first — it wipes away cleanly once your rangoli is finished.
This vibrant Holi rangoli design, featuring a 13-7 dot grid, is perfect for welcoming the festive spirit into your home. The structured layout allows for intricate flower petals that radiate beauty and joy. Each petal is crafted with care, ensuring symmetry and balance along the central axis. This larger grid may seem challenging at first, but it offers an excellent opportunity for learners to practice their skills while creating a stunning piece that can be admired by all. If you’re looking for simpler designs, you might also enjoy exploring 8-8 Dots Simple Rangoli Designs.
The vibrant colours used in this rangoli not only enhance its visual appeal but also reflect the joyous essence of Holi. As the design comes together, the layered petals create a lively atmosphere, making it an ideal decoration for entrances or communal spaces. The techniques showcased in the video ensure that even beginners can achieve a polished finish. For those interested in more festive designs, consider checking out how to Draw Beautiful Deepam Deepala Simple Kolam. To learn more about the cultural significance of rangoli, visit this page.
About this design: Vibrant Holi Rangoli is a beginner-friendly pattern that comes together in just a few minutes. Once you have practised the vibrant holi rangoli dot grid, you can scale it up for festival mornings or scale it down for a daily doorstep. Many learners on our channel make this vibrant holi rangoli their go-to design once they get the rhythm of the curves.
Vibrant Holi Rangoli — Step by Step Guide
Pace yourself through the steps — kolam rewards patience more than speed.
- Clear a flat surface and set down your dot grid using rice flour or chalk.
- Confirm the dot spacing is even — uneven dots are the biggest cause of wobbly curves.
- Begin tracing from the centre outward, following the curves shown in the video above.
- Fill the petals and sections with your chosen colours, working one area at a time.
- Finish the edges with a fine line for a sharp, photograph-ready result.
What You Will Learn
- 13-7 Dots Colourful Flower Kolam
- Latest Easy Rangoli 13-7
- Floral Muggulu With Colours 13-7
- 13-7 Dots Kolam Design
- Large Grid Flower Rangoli
- 13-7 Pulli Kolam
Frequently Asked Questions
How do I draw this rangoli?
Set down the dot grid in pencil or chalk, then follow the loops one petal at a time. If a curve goes off, wipe it and retry — kolam is forgiving.
Is this suitable for beginners?
Yes, and it is one we recommend to first-timers. The small grid keeps the design manageable while still teaching the core technique.
What materials do I need?
Just three things: powder (white plus any colours you want), a flat dry surface, and a few minutes of focus. A small bowl per colour helps keep things tidy.
How long does it take?
The video clocks in at 7 min 51 sec. Allow about quarter of an hour to draw the design at a comfortable pace.
There is real pleasure in finishing a kolam at your own doorstep — even more so when the pattern is one you have practised before. Make this one of those.
Leave a Reply