Drawing 5 Dots Daily Rangoli is a relaxing, almost meditative practice. The dots guide your hand and the design unfolds naturally.

Easy Creative Kolam 🌼 5 dots Daily Rangoli 🌼 Muggulu 🌼 Rangoli Aishwarya Thank you so much for watching Channel
2:23 5 dots Daily Rangoli 5:40 Easy Creative Kolam My Ram Rangoli Channel Contains :
Rangoli Designs Sankranthi Muggulu Diwali Rangoli
Ratham Muggulu Kolam Designs Muggulu Designs
Chukkala Muggulu Easy Rangoli Simple Rangoli
Easy Rangoli Designs Dhanurmasam Muggulu Pongal Kolams
Tip: Practice on paper first if you are new to dot kolam. The grid is the same; only the surface changes.
This design belongs to the broader tradition of rangoli and kolam art practised across South India. Explore more in our 5 to 1 dots Rangoli Designs collection.
The 5 dots daily rangoli is a delightful and simple design that is perfect for beginners looking to add a touch of beauty to their homes. Typically created with just five dots arranged in a specific pattern, this design can be enhanced with colors and intricate details, making it versatile for different occasions. It is often drawn during festivals and daily rituals, allowing practitioners to express their creativity while keeping the tradition alive. For more ideas, check out the Traditional Friday Diya Pulli Designs Rangoli for inspiration.
This rangoli design not only serves as an artistic expression but also holds cultural significance in Indian households. The simplicity of the 5 dots allows for various interpretations, and artists can easily modify it to suit personal preferences or festive themes. As you become more comfortable with this pattern, you may want to explore other related designs, such as the 13 To 7 Chukkalu Deepawali Rangoli. For those interested in learning more about the art of rangoli, visit this page for a deeper understanding.
5 Dots Daily Rangoli — Step by Step Guide
Below is the step-by-step breakdown. The video covers the same sequence in real time.
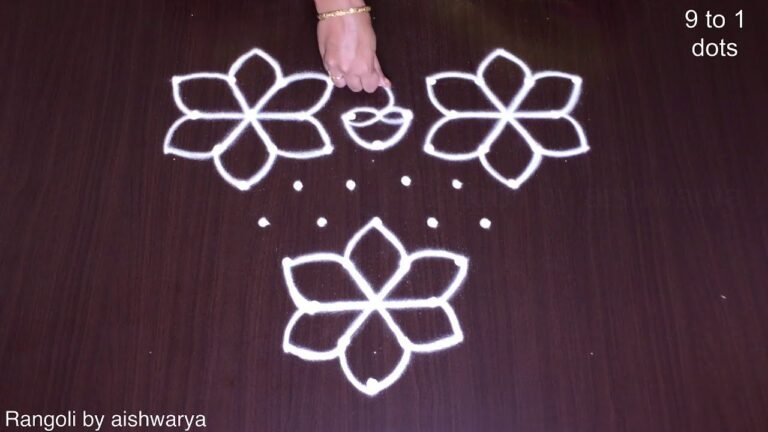
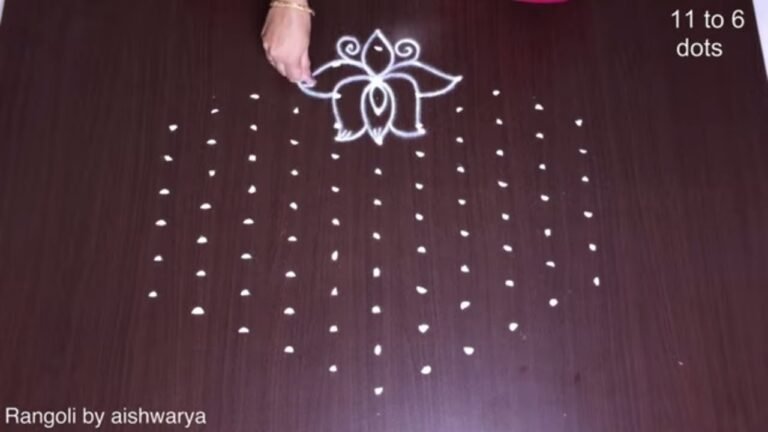
- Clear a flat surface and set down your dot grid using rice flour or chalk.
- Confirm the dot spacing is even — uneven dots are the biggest cause of wobbly curves.
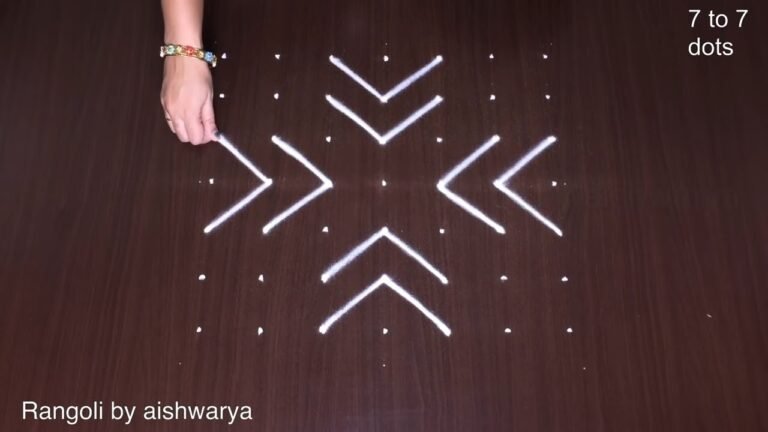
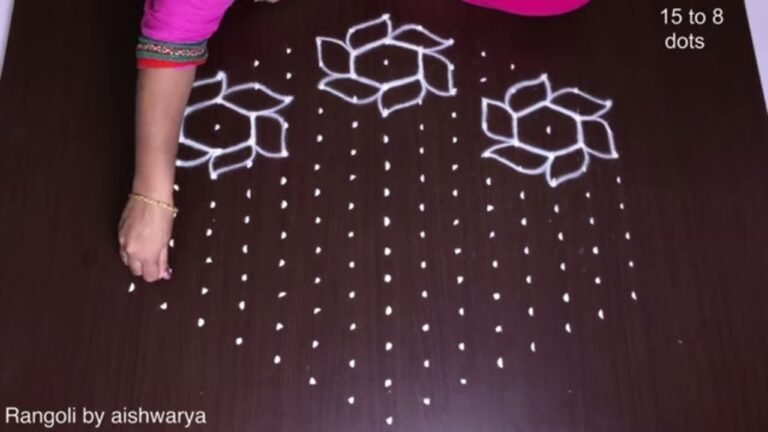
- Begin tracing from the centre outward, following the curves shown in the video above.
- Fill the petals and sections with your chosen colours, working one area at a time.
- Finish the edges with a fine line for a sharp, photograph-ready result.
What You Will Learn
- Simple Rangoli Designs
- Rangoli
- Muggulu
- Rangoli Designs
- Rangoli Kolam
- Kolam
Frequently Asked Questions
How do I draw this rangoli?
Begin with the dot grid — this is the skeleton of the design. With rice flour or chalk, place each dot at equal intervals. Then trace the curves slowly, one section at a time.
Is this suitable for beginners?
It is one of the more forgiving designs in our collection. Beginners often pick it as a confidence-builder before moving on to larger grids.
What materials do I need?
Rice flour, coloured rangoli powders, and a clean stretch of floor or paper. Some draw with chalk first to set the grid before powdering over it.
How long does it take?
Plan for roughly 8 min 25 sec to watch and 15 minutes to draw. The second attempt is always cleaner than the first — that is the nature of dot kolam.
If you enjoyed this design, browse our other dot-pattern tutorials — they share the same approach and build naturally on the techniques here.

Leave a Reply