Birds Rangoli Designs With is the kind of design that looks intricate but is genuinely beginner-friendly once you follow the dot grid.
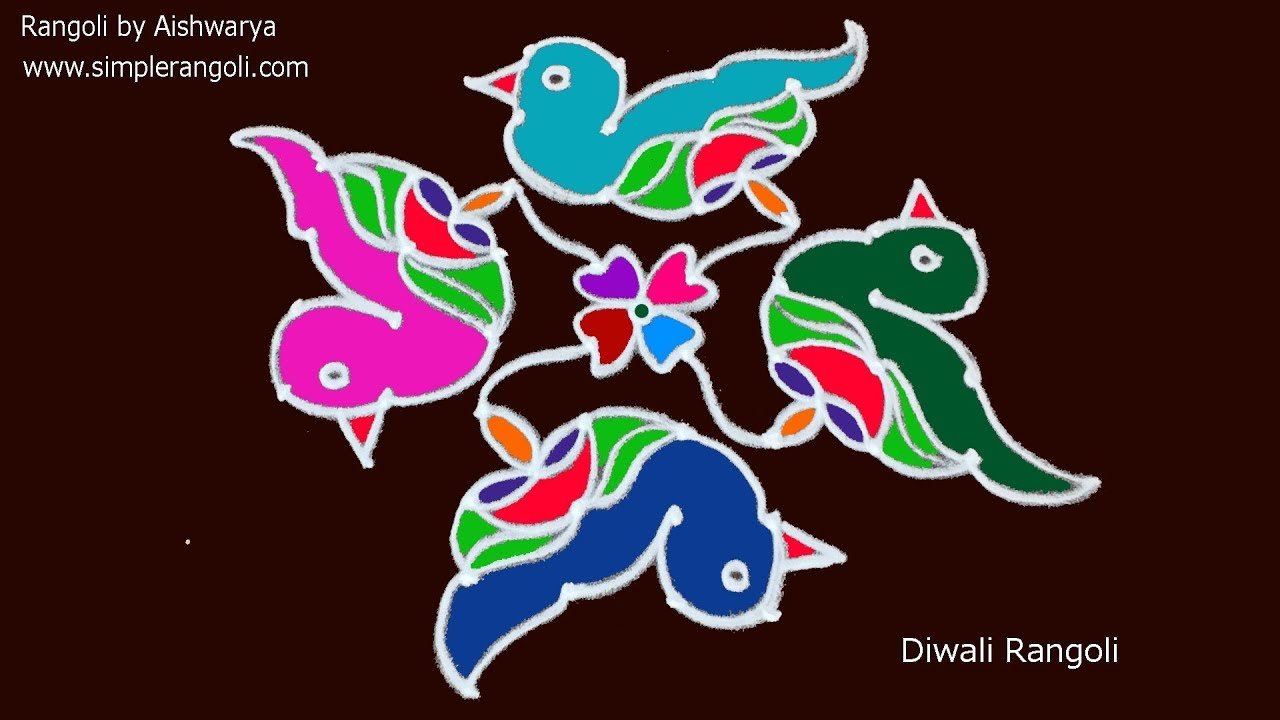
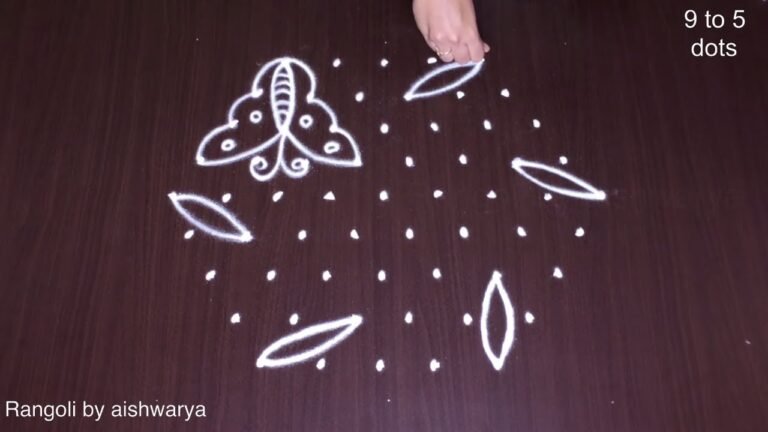
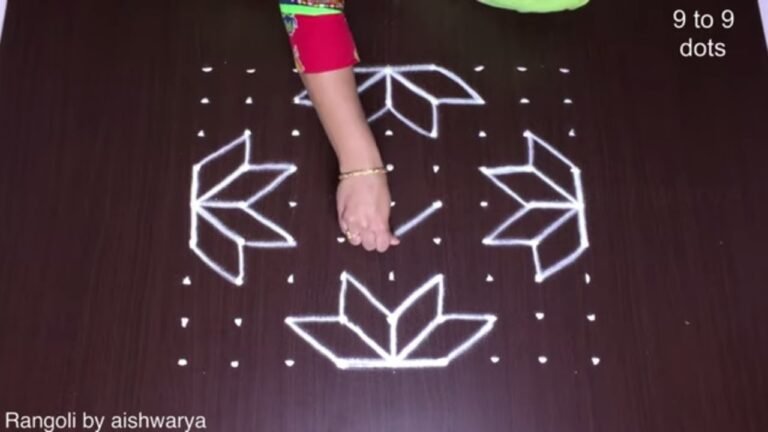
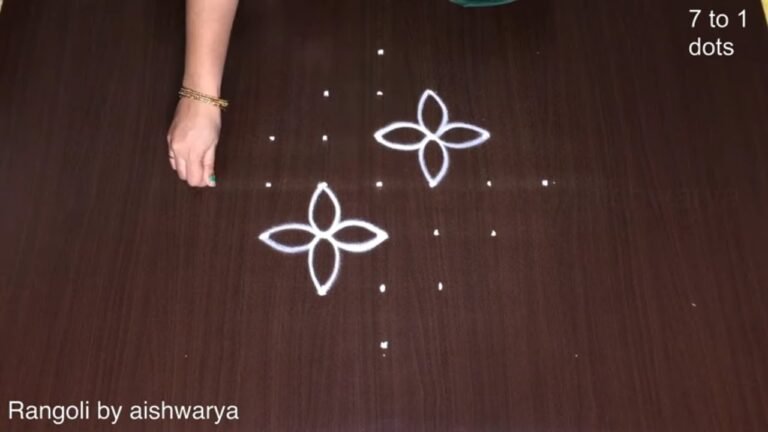
Very Easy 4 Birds Rangoli Designs With Colours | 8*4 Different Style Kolam in Front of the Doorstep. This tutorial will show you how to draw Beautiful Indian traditional art sankranthi muggulu patterns using materials such as dry rice flour, colored sand or flower petals rangoli design by Aishwarya. Simple rangoli designs with dots Kolam pattern is created on the floor in living rooms or courtyards. Draw the Lines step by step as it is shown in this video and will be awesome alpona Design. 😲 The rangoli design for diwali pattern here is one of the amazing latest simple kolam designs. Simple Rangoli Designs and easy rangoli designs by Aishwarya with dots for beginners and intermediate.
1. Simple rangoli 2. Rangoli kolam 3. Rangoli for diwali
4. Simple rangoli design 5. Rangoli design for diwali 6. Alpona design
7. Kolam designs 8. Easy rangoli designs 9. Sankranthi muggulu
10. Muggulu designs 11. Simple kolam 12. Easy rangoli
13. Rangoli designs with dots 14. Chukkala muggulu 15. Pongal kolam
Tip: Use chalk to lightly mark your dot grid first — it wipes away cleanly once your rangoli is finished.
The birds rangoli designs with 8 to 4 dots offer a delightful way to celebrate festivals like Sankranthi. These designs typically feature charming depictions of birds, symbolizing joy and freedom. The simplicity of this style makes it an excellent choice for beginners who are just starting to explore the world of kolam. Incorporating colorful elements like flower petals or colored sand can enhance the visual appeal, making the entrance of your home vibrant and welcoming. For more inspiration, you might enjoy exploring the Traditional Flower Kolam With 14×2 designs.
Creating a birds rangoli is not just about the final product; it’s also about the meditative process of drawing the intricate patterns. The 8 to 4 dot arrangement allows for creativity while still maintaining a structured approach. This balance between order and artistic expression is what makes rangoli such a cherished tradition in Indian households. If you are looking for additional designs to try, consider checking out the Latest Flower Rangoli Designs for further inspiration or delve into the rich history of this art form on Wikipedia.
Birds Rangoli Designs — Step by Step Guide
If you have drawn dot rangoli before, this will feel familiar. If you have not, the dot grid will guide you.
- Clear a flat surface and set down your dot grid using rice flour or chalk.
- Confirm the dot spacing is even — uneven dots are the biggest cause of wobbly curves.
- Begin tracing from the centre outward, following the curves shown in the video above.
- Fill the petals and sections with your chosen colours, working one area at a time.
- Finish the edges with a fine line for a sharp, photograph-ready result.
What You Will Learn
- Simple Rangoli Designs
- Rangoli
- Muggulu
- Rangoli Designs
- Rangoli Kolam
- Kolam
Frequently Asked Questions
How do I draw this rangoli?
The grid comes first. Use a soft chalk to dot the surface, count twice to confirm the spacing, then start connecting them following the video. Work from the centre outward.
Is this suitable for beginners?
Absolutely. You can pause and rewind the video at every step. The pattern is straightforward once you have the grid down.
What materials do I need?
Just three things: powder (white plus any colours you want), a flat dry surface, and a few minutes of focus. A small bowl per colour helps keep things tidy.
How long does it take?
About 2 min 47 sec on screen, perhaps 15 minutes for a relaxed first attempt. By the second try most people are noticeably quicker.
This is one of those designs that grows on you. The first attempt is for learning; the second is for muscle memory; the third is when it starts to feel like your own.


Leave a Reply