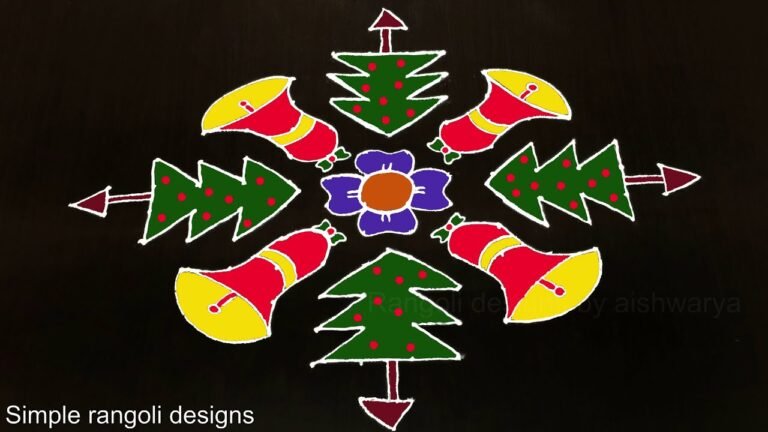
Step By Step Muggulu is a beautiful kolam pattern you can draw right at your doorstep — perfect for beginners and seasoned rangoli artists alike.
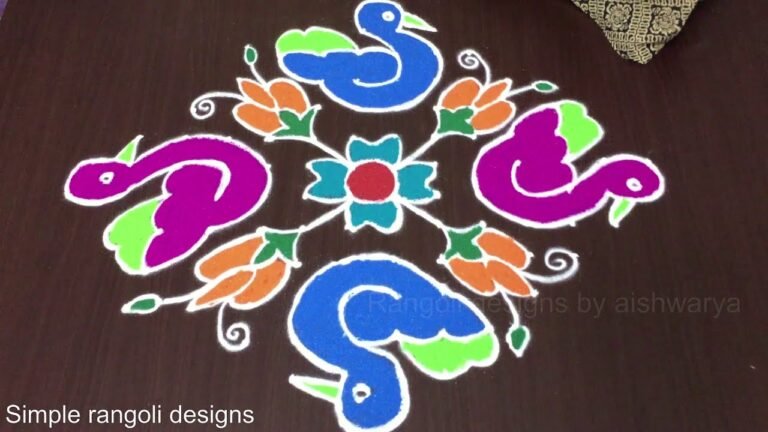
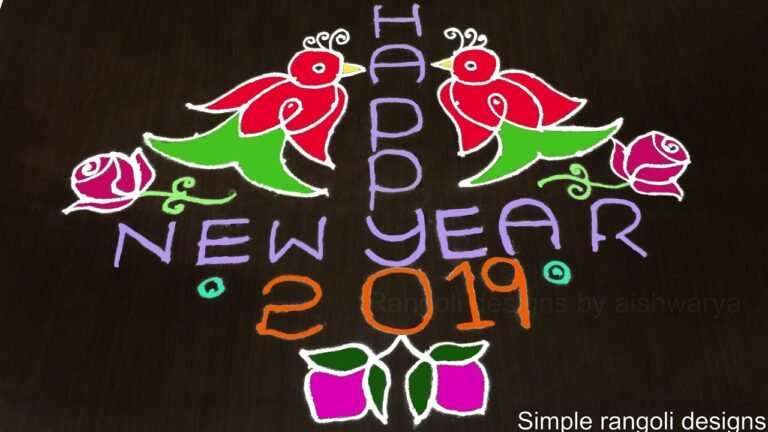
For another beginner-friendly variation, try Birds Kolam Design Simple Steps.
Learn more about the tradition of Rangoli on Wikipedia.
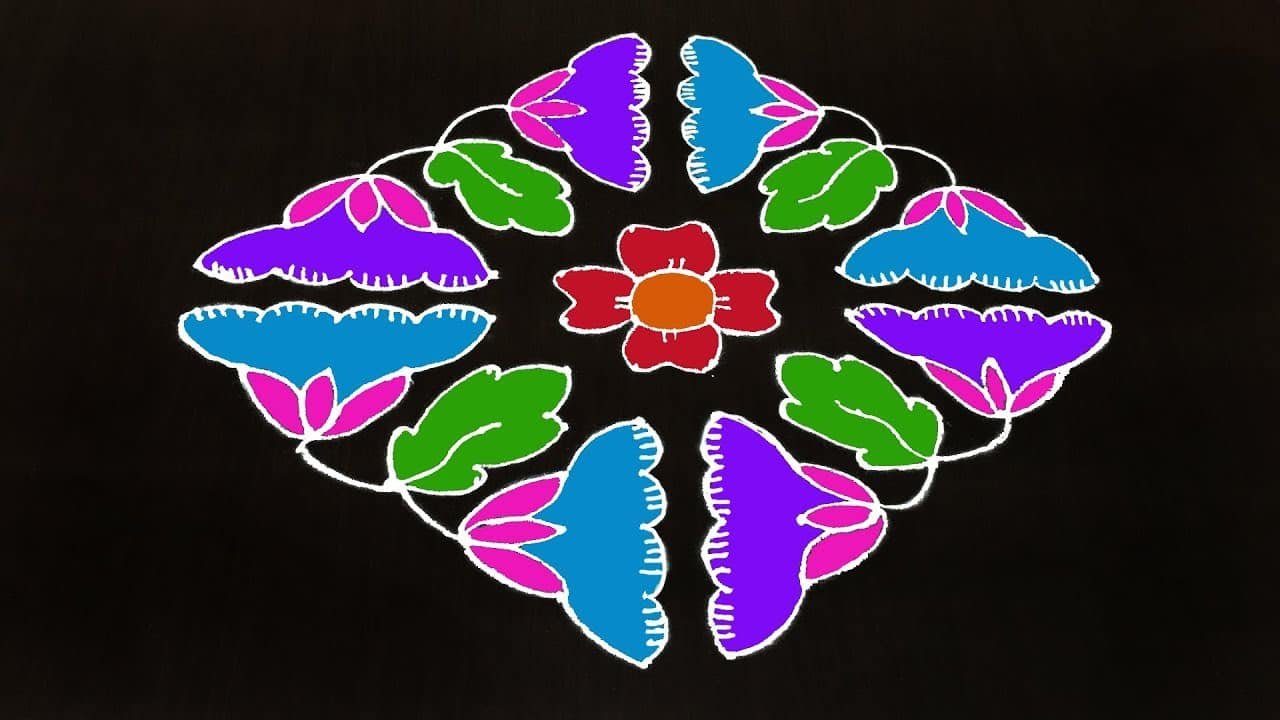
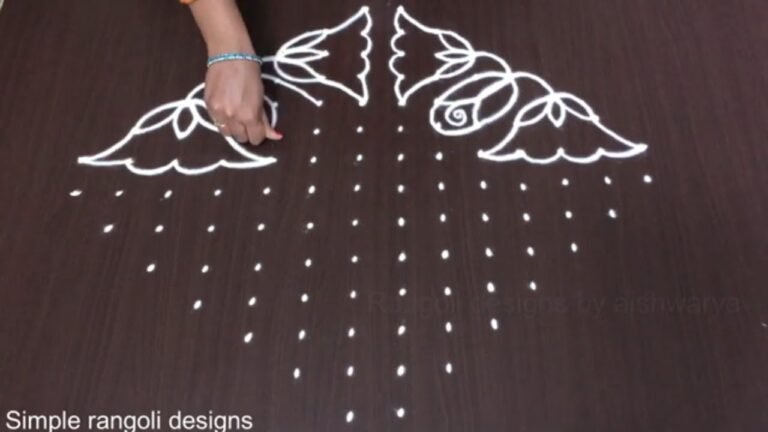
Want to draw a vibrant kolam using a long dot grid? This 14 by 2 dots colourful rangoli is simple, elegant, and explained step by step. In this video, I guide you through creating a 14×2 straight dot grid kolam that is perfect for narrow entrances and compact spaces. The rectangular layout gives the design a clean and structured appearance, while the colourful detailing adds a bright and festive touch.
We begin by placing a neat 14 by 2 straight dot structure, carefully aligned to maintain proper spacing and symmetry. Then, the outer framework is formed by smoothly connecting the dots into a balanced and attractive pattern. As the design develops, inner detailing enhances the structure and gives the kolam a refined finish. Finally, colours are added thoughtfully to highlight each section and bring the design to life. How to construct a proper 14–2 straight dot grid How to maintain symmetry in narrow rectangular kolams
How to connect dots smoothly for a clean look Colour filling techniques for a vibrant finish This colourful muggulu is ideal for doorsteps, verandas, and apartment entrances. The structured grid ensures a neat result while keeping the design beginner-friendly.
Watch till the end to see the full transformation from simple dots to a complete colourful kolam — the final reveal highlights a beautifully balanced design. If you enjoy structured dot kolams, explore more 14 by 2 dots rangoli, step-by-step muggulu, and creative narrow-grid patterns on the channel.
Tip: Use chalk to lightly mark your dot grid first — it wipes away cleanly once your rangoli is finished.
About this design: Step By Step Muggulu is a beginner-friendly pattern that comes together in just a few minutes. Once you have practised the step by step muggulu dot grid, you can scale it up for festival mornings or scale it down for a daily doorstep. Many learners on our channel make this step by step muggulu their go-to design once they get the rhythm of the curves.
Step By Step Muggulu — Step by Step Guide
Each step takes only a moment. The whole design comes together in just a few minutes once the grid is in place.
- Clear a flat surface and set down your dot grid using rice flour or chalk.
- Confirm the dot spacing is even — uneven dots are the biggest cause of wobbly curves.
- Begin tracing from the centre outward, following the curves shown in the video above.
- Fill the petals and sections with your chosen colours, working one area at a time.
- Finish the edges with a fine line for a sharp, photograph-ready result.
What You Will Learn
- 14 By 2 Dots Rangoli
- Amazing Colour Kolam 14X2
- Step By Step 14 2 Muggulu
- 14 By 2 Dots Kolam Design
- 14 2 Chukkala Muggulu
- Straight Dot Grid Rangoli
Frequently Asked Questions
How do I draw this rangoli?
Begin with the dot grid — this is the skeleton of the design. With rice flour or chalk, place each dot at equal intervals. Then trace the curves slowly, one section at a time.
Is this suitable for beginners?
It is one of the more forgiving designs in our collection. Beginners often pick it as a confidence-builder before moving on to larger grids.
What materials do I need?
Powder (white for outlines, colours for filling), a flat surface, and a dot stencil if you want absolute precision. Beyond that, just your hand and a steady pace.
How long does it take?
You will see a 4 min 11 sec walkthrough above. Drawing it yourself is usually a 12–18 minute affair, slightly slower the first time.
If you enjoyed this design, browse our other dot-pattern tutorials — they share the same approach and build naturally on the techniques here.
Leave a Reply