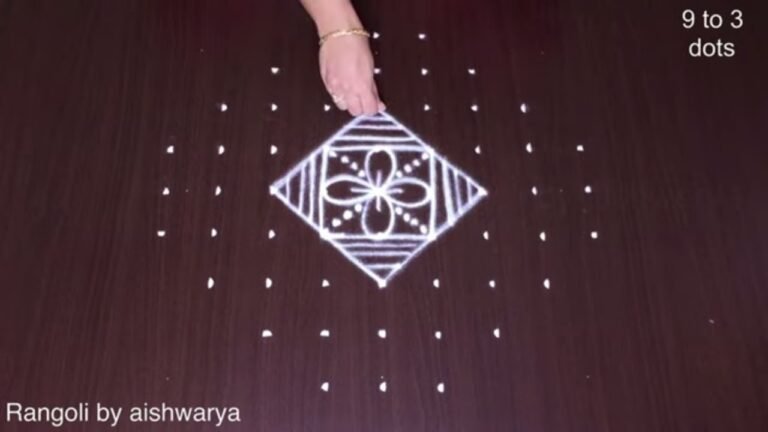
There is something timeless about 13 Dots Lotus Rangoli — the symmetry, the rhythm of the dots, and the soft curves it produces.
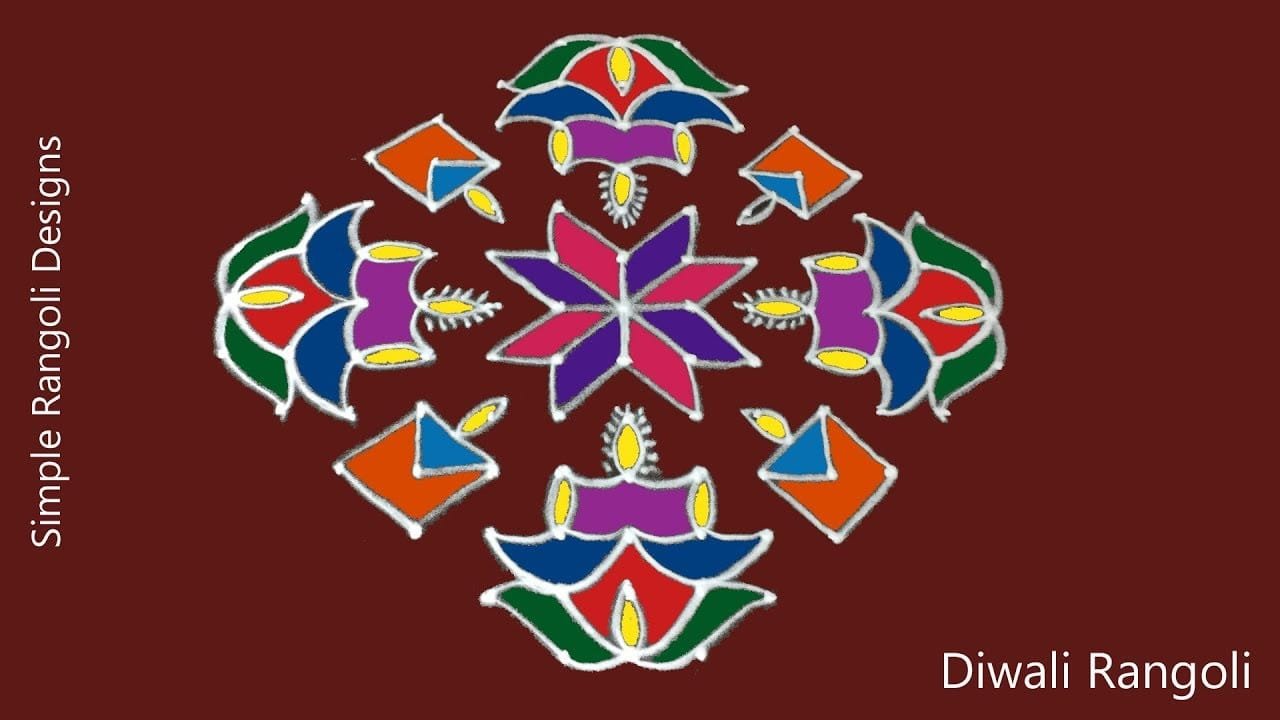
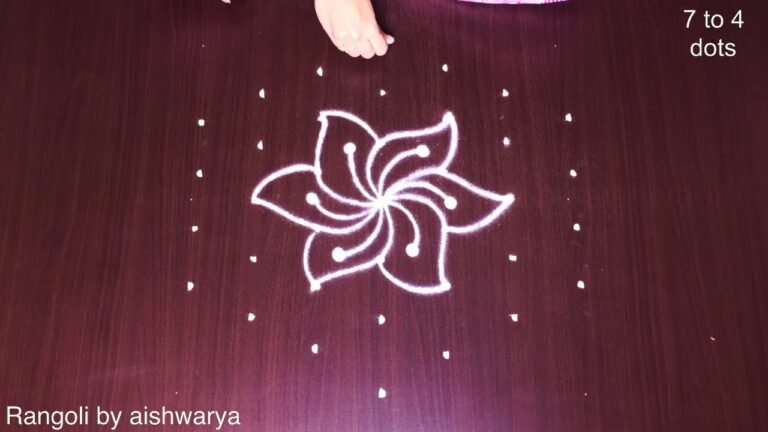
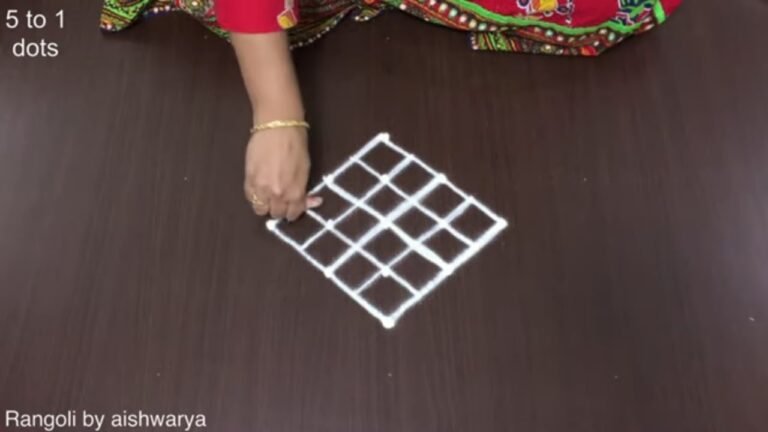
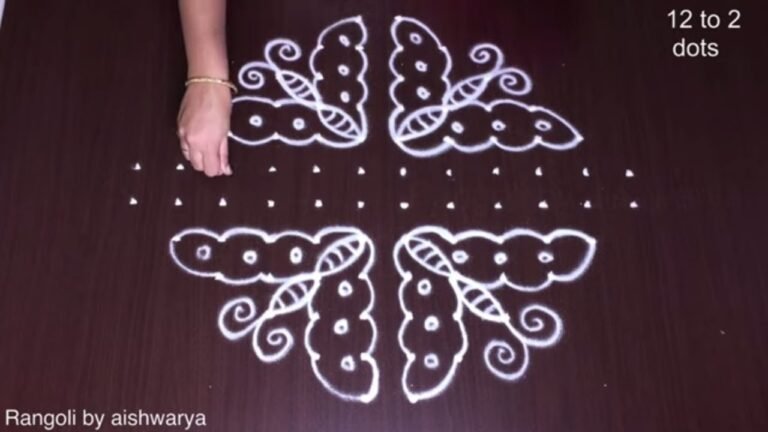
Easy Vibrant kolam designs for Varalakshmi Vratham | 13 dots Lotus rangoli Simple muggulu. This tutorial will show you how to draw Beautiful Indian traditional art sankranthi muggulu patterns using materials such as dry rice flour, colored sand or flower petals Rangoli designs by Aishwarya. Simple rangoli designs with dots Kolam pattern is created on the floor in living rooms or courtyards. Draw the Lines step by step as it is shown in this video and will be awesome Rangoli Design. 😲 The rangoli design for diwali pattern here is one of the amazing latest simple kolam designs. Simple Rangoli Designs and easy rangoli designs by Aishwarya with dots for beginners and intermediate.
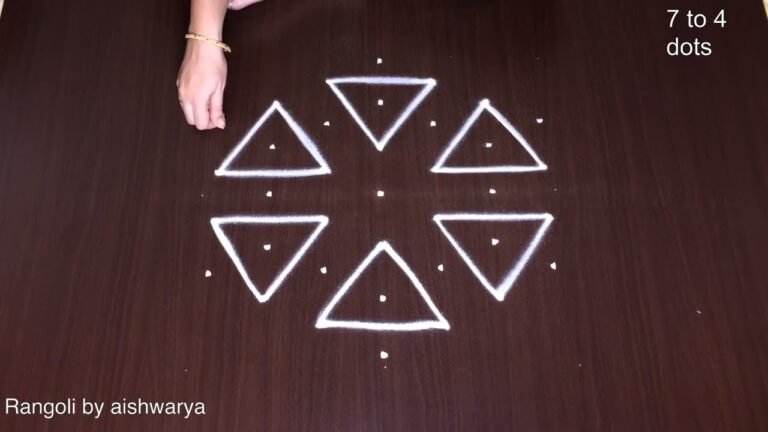
1. Diwali Rangoli 2. Pongal kolams 3. Easy rangoli designs
4. Rangoli design 5. Chukkala muggulu 6. Dot rangoli designs
7. Rangoli for diwali 8. Rangoli Simple 9. Easy rangoli designs
10. Kolam designs 11. Simple rangoli design 12. Muggulu designs
13. Muggulu designs with dots 14. Small rangoli designs 15. Muggulu chukkala muggulu
Tip: Work from the centre outward. It keeps the symmetry honest and prevents the design from drifting off-balance.
The 13 dots lotus rangoli is a beautiful design that captures the essence of traditional Indian art. Typically created for festivals like Varalakshmi Vratham, this pattern symbolizes prosperity and purity. Drawing this rangoli involves connecting the dots in a way that forms the petals of a lotus flower, making it an ideal choice for beginners. For those looking for similar designs, exploring Friday Designs 6 Into 6 Lakshmi Kolam can provide additional inspiration.
This simple muggulu design can be made using materials like rice flour or colored sand, allowing for vibrant variations. The lotus motif is not only aesthetically pleasing but also conveys a sense of tranquility in your living space. As you practice this art, you might also be interested in Easy Rangoli Designs for Diwali With 5 to 5 Dots, which showcases other beginner-friendly patterns. For a broader understanding of rangoli, you can learn more about its history and significance on Wikipedia.
13 Dots Lotus Rangoli — Step by Step Guide
These steps are written for absolute beginners. Watch once, draw once, then watch again — that is how the pattern locks in.
- Clear a flat surface and set down your dot grid using rice flour or chalk.
- Confirm the dot spacing is even — uneven dots are the biggest cause of wobbly curves.
- Begin tracing from the centre outward, following the curves shown in the video above.
- Fill the petals and sections with your chosen colours, working one area at a time.
- Finish the edges with a fine line for a sharp, photograph-ready result.
What You Will Learn
- Simple Rangoli Designs
- Rangoli
- Muggulu
- Rangoli Designs
- Rangoli Kolam
- Kolam
Frequently Asked Questions
How do I draw this rangoli?
The grid comes first. Use a soft chalk to dot the surface, count twice to confirm the spacing, then start connecting them following the video. Work from the centre outward.
Is this suitable for beginners?
It is one of the more forgiving designs in our collection. Beginners often pick it as a confidence-builder before moving on to larger grids.
What materials do I need?
White rice flour for the outline, coloured powders for the fill, and a clean dry floor. That is the essentials list — you can add a stencil if you prefer.
How long does it take?
A 3 min 50 sec video shows the complete sequence. On paper or floor, expect to spend around a quarter of an hour from grid to finished pattern.
If you draw this and would like a follow-up design at the same skill level, leave a comment on the video — we read every one and queue up requests.

Leave a Reply