This 6 into 6 lakshmi tutorial walks you through every step from the dot grid to the final pattern.

For another beginner-friendly variation, try Happy Pongal Kolam.
Learn more about the tradition of Rangoli on Wikipedia.
If you enjoy dot-grid muggulu, Friday Designs 6 Into is a satisfying pattern that comes together in just a few minutes.
Looking for a simple and neat 6×6 dots rangoli design? This beginner-friendly kolam is perfect for small entrances and festive mornings. If you love creating rangoli with dots, this easy 6 by 6 grid design will help you improve symmetry and smooth curves. The structured square layout makes this a perfect beginners kolam with dots, especially if you are just starting your dot kolam journey.
In this video, I show step by step how to draw a beautiful 6 to 6 dots rangoli using a clear and balanced structure. This simple dot kolam transforms a small 6×6 grid into an elegant pattern that looks traditional yet easy to recreate. How to construct a proper 6 by 6 dots kolam grid How to maintain symmetry in easy dot rangoli
How to refine curves in classic chukki rangoli designs How to draw neat chukkala muggulu designs for home decoration This design is also known as tipkyanchi rangoli design, tipkyachi rangoli, or dot wali rangoli in different regions. Whether you are searching for rangoli dakhva or preparing for a friendly rangoli spardha, this compact layout is perfect for quick and beautiful results.
Because of its size, it works well as a small rangoli with dots for apartments, doorsteps, pooja spaces, and daily decoration. The clean square grid makes it one of the most popular dot kolam designs for beginners. Watch till the end to see how a simple 6×6 grid becomes a balanced and elegant kolam. Try it and share your experience in the comments!
Tip: Keep your powder bowl close to your dominant hand. Small movements give cleaner curves.
This design belongs to the broader tradition of rangoli and kolam art practised across South India. Explore more in our 6 to 6 dots Rangoli Designs collection.
About this design: 6 Into 6 Lakshmi is a beginner-friendly pattern that comes together in just a few minutes. Once you have practised the 6 into 6 lakshmi dot grid, you can scale it up for festival mornings or scale it down for a daily doorstep. Many learners on our channel make this 6 into 6 lakshmi their go-to design once they get the rhythm of the curves.
6 Into 6 Lakshmi — Step by Step Guide
Here is how to draw it, line by line. Take your time on the corners and the symmetry will take care of itself.
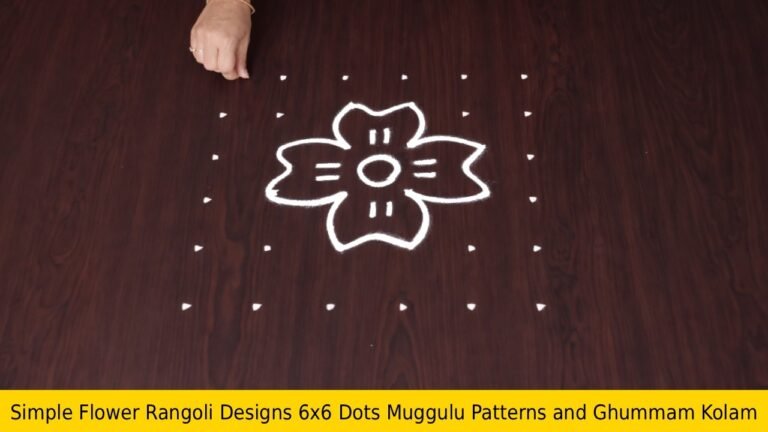
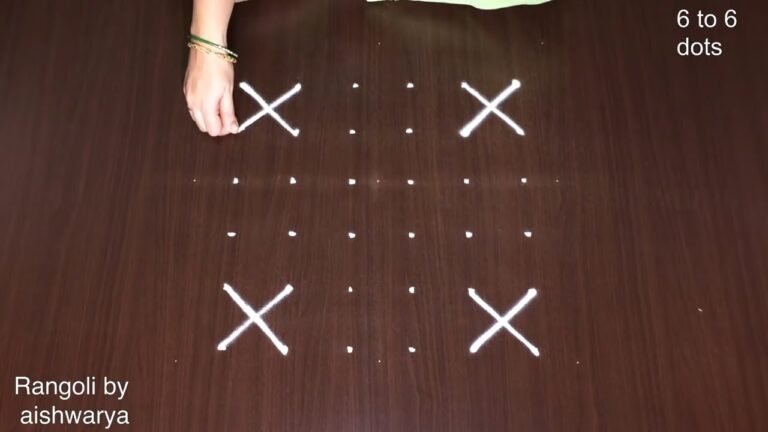
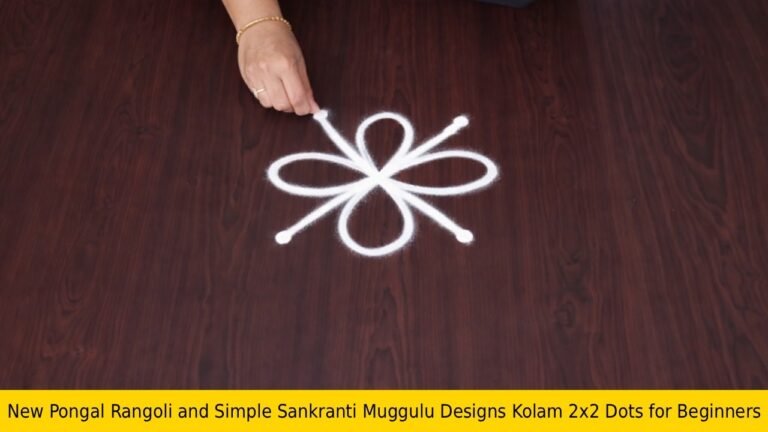
- Mark the 6-by-6 dot grid.
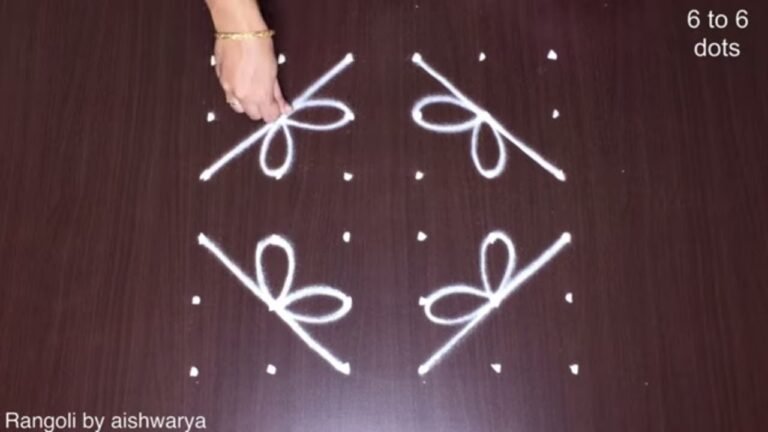
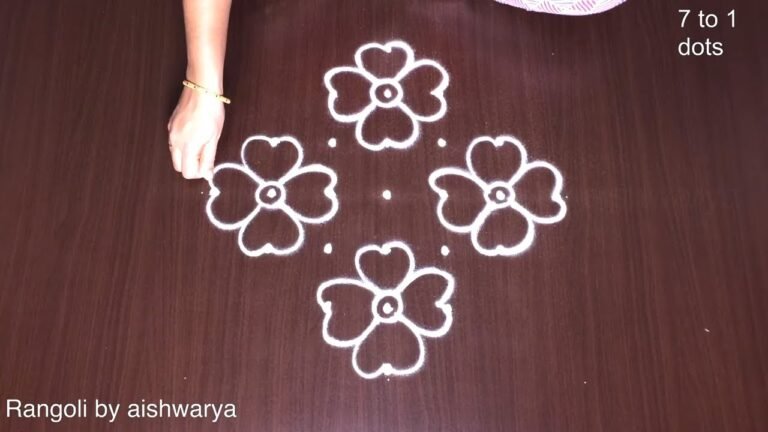
- In the centre, draw a four-petal clover flower — four rounded heart-petals meeting in the middle.
- Around it, in a three-by-three layout, place eight leaf-sprays — each a pair of pointed leaves with a small curl — one at every side and corner.
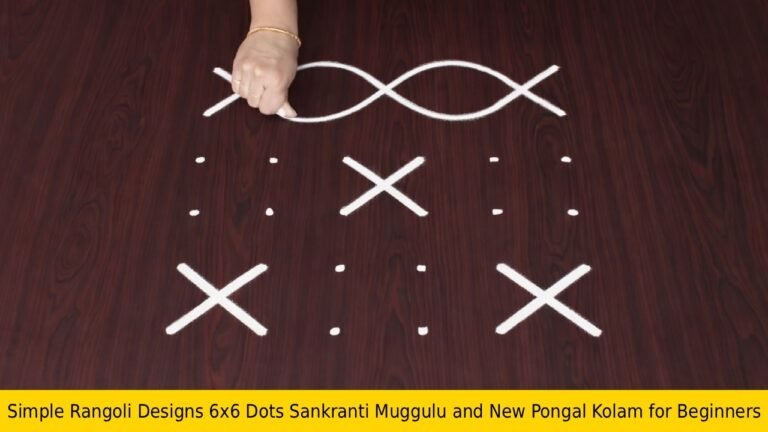
- Link the sprays with light curls so they flow around the centre.
- Keep the nine units evenly spaced and symmetric.
- Outline in white and colour.
What You Will Learn
- 6X6 Dots Rangoli
- Beginners Kolam With Dots
- Rangoli Please
- Kolam Video
- Rangoli Spardha
- Simple Chukki Rangoli
Frequently Asked Questions
How do I draw this rangoli?
It looks complex but follows a simple rhythm: dots first, then loops. Mark the grid, take a breath, and trace the curves at a steady pace. The pattern emerges on its own.
Is this suitable for beginners?
Yes, and it is one we recommend to first-timers. The small grid keeps the design manageable while still teaching the core technique.
What materials do I need?
You will need rice flour or rangoli powder (white, plus your choice of colours), a flat surface like a clean floor or courtyard, and optionally a dot stencil if you are new to grid-drawing.
How long does it take?
You will see a 7 min 10 sec walkthrough above. Drawing it yourself is usually a 12–18 minute affair, slightly slower the first time.
Save this design for your next festival morning. The pattern is small enough to draw quickly but striking enough to make a real impression at the doorstep.
Leave a Reply