Beginners Chukki Diya Kolangal is the kind of design that looks intricate but is genuinely beginner-friendly once you follow the dot grid.

Beginners Chukki Diya Kolangal Karthika Pournami | Deepam Muggulu 7 Se 1 Rangoli | RamRangoli Thank you so much for watching Channel
My Ram Rangoli Channel Contains : Rangoli Designs Sankranthi Muggulu
Diwali Rangoli Ratham Muggulu Kolam Designs
Muggulu Designs Chukkala Muggulu Easy Rangoli
Simple Rangoli Easy Rangoli Designs Dhanurmasam Muggulu
Melikala Muggulu Geethala Muggulu Sivarathri Muggulu
Tip: Use chalk to lightly mark your dot grid first — it wipes away cleanly once your rangoli is finished.
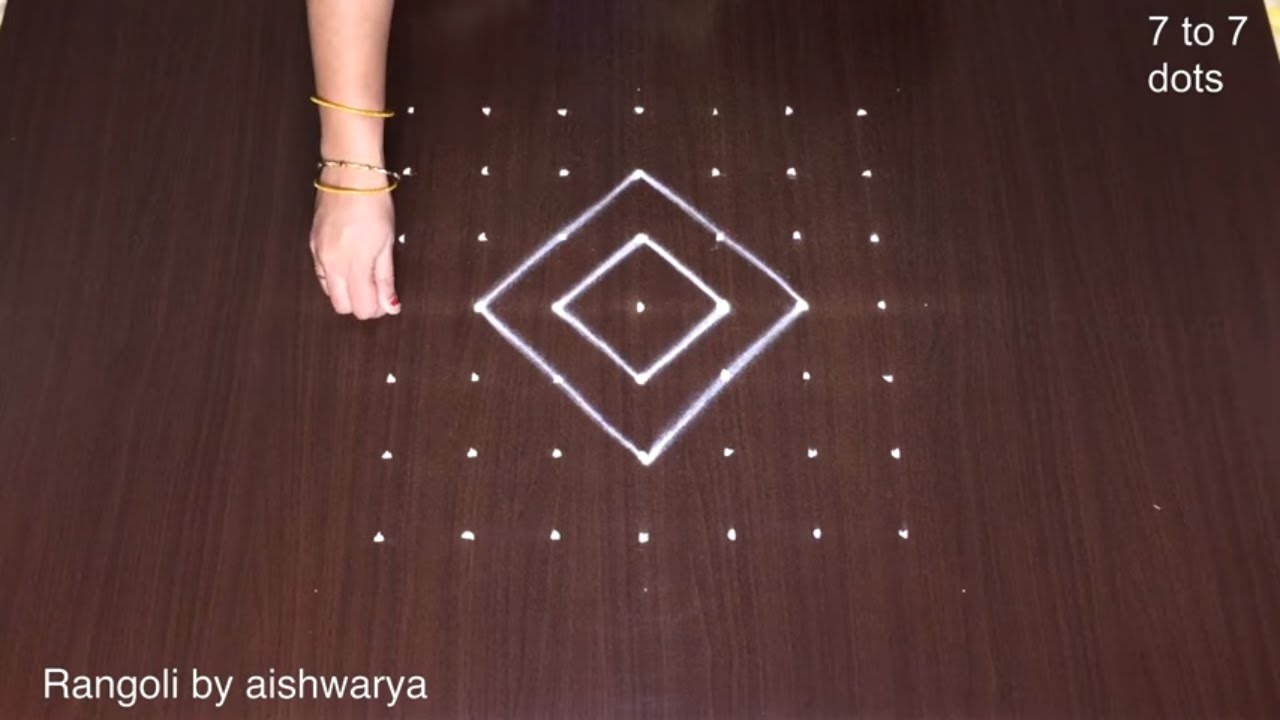
The Beginners Chukki Diya Kolangal features a charming design that utilizes a traditional 7 to 1 dot grid, perfect for those just starting their journey into the world of rangoli. This design is especially popular during Karthika Pournami, a festival that celebrates light and the victory of good over evil. The gentle curves and simple patterns create a warm ambiance, making it an ideal choice for festive occasions. For further inspiration, you can explore Latest Happy New Year Muggulu which also highlights festive designs.
Creating a Chukki Diya Kolam not only enhances the beauty of your home but also allows for creative expression. The incorporation of diya motifs symbolizes light and joy, adding to the festive spirit. Beginners will find this design approachable and rewarding, as it can be customized with colors and additional embellishments. For more ideas on everyday designs, check out Basic Daily Flower Rangoli, which shares simple patterns that are perfect for daily practice. To delve deeper into the art form, visit this Wikipedia page for a comprehensive overview.
Beginners Chukki Diya Kolangal — Step by Step Guide
Read through the steps before you begin so the sequence feels familiar when you start drawing.
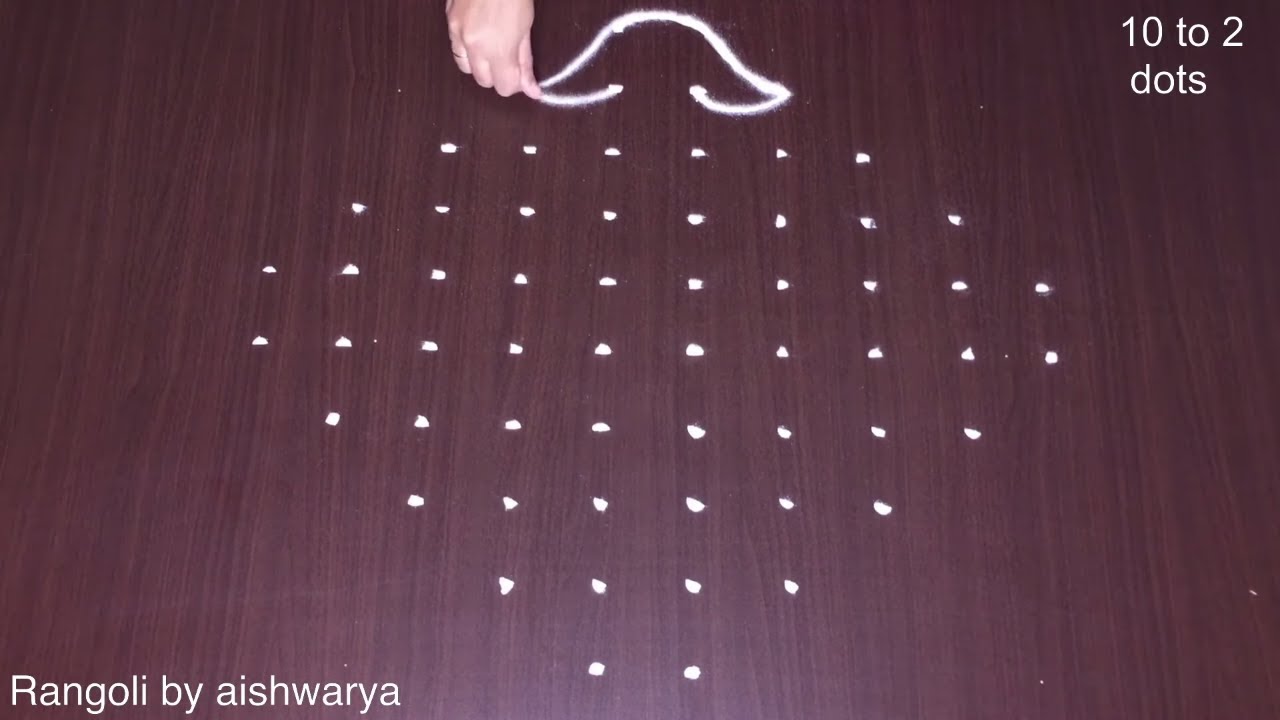
- Clear a flat surface and set down your dot grid using rice flour or chalk.
- Confirm the dot spacing is even — uneven dots are the biggest cause of wobbly curves.
- Begin tracing from the centre outward, following the curves shown in the video above.
- Fill the petals and sections with your chosen colours, working one area at a time.
- Finish the edges with a fine line for a sharp, photograph-ready result.
What You Will Learn
- Simple Rangoli Designs
- Rangoli
- Muggulu
- Rangoli Designs
- Rangoli Kolam
- Kolam
Frequently Asked Questions
How do I draw this rangoli?
Set down the dot grid in pencil or chalk, then follow the loops one petal at a time. If a curve goes off, wipe it and retry — kolam is forgiving.
Is this suitable for beginners?
Absolutely. You can pause and rewind the video at every step. The pattern is straightforward once you have the grid down.
What materials do I need?
Rice flour, coloured rangoli powders, and a clean stretch of floor or paper. Some draw with chalk first to set the grid before powdering over it.
How long does it take?
Roughly 3 min 6 sec to watch end-to-end, and 10–20 minutes to draw yourself depending on grid size and how careful you are with the curves.
Half the skill of kolam is learning to slow down. Put on some music, give yourself the time, and let the curves come naturally.


Leave a Reply