Flower Rangoli Designs Manchi has become a favourite among learners on our channel — and once you try it, you will see why.
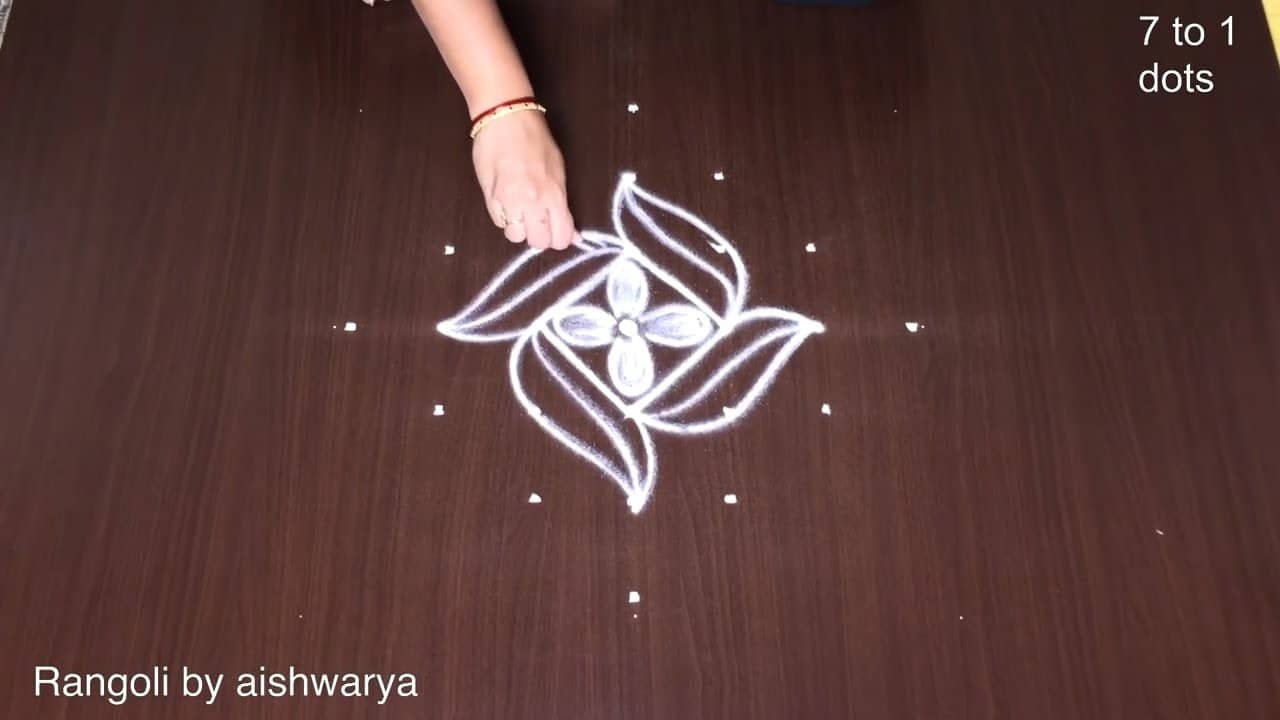
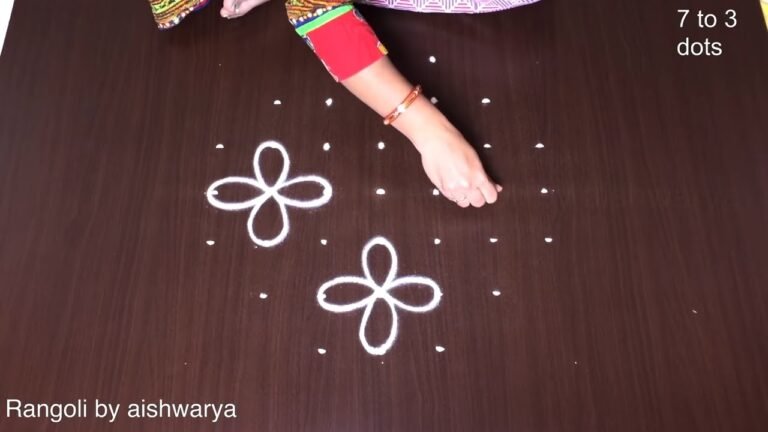
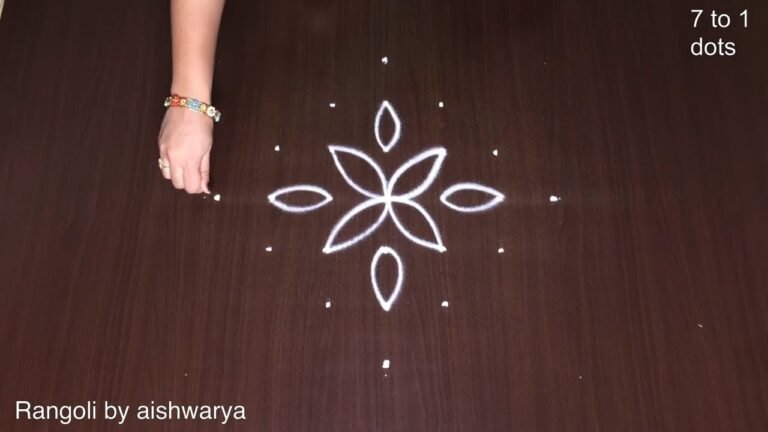
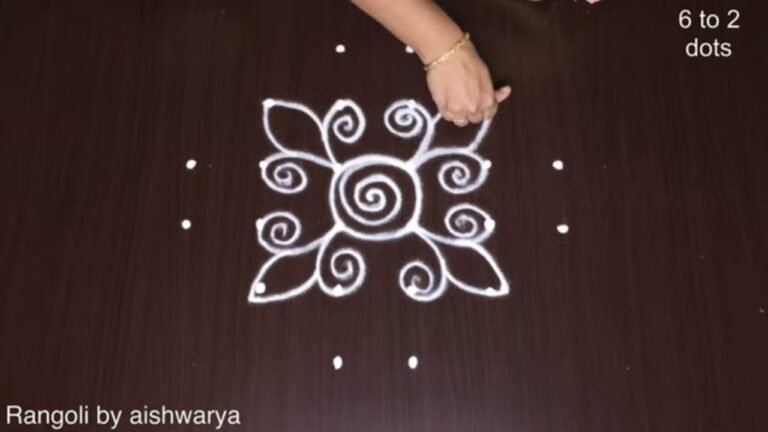
Flower Rangoli Designs Manchi Muggulu With 7-1 | Dots Pulli Kolam With Straight Chukki. This tutorial will show you how to draw Beautiful Indian traditional art Diwali Rangoli patterns using materials such as dry rice flour, colored sand or flower petals Rangoli designs by Aishwarya. Simple rangoli Kutti Kolam pattern is created on the floor in living rooms or courtyards. Draw the Lines step by step as it is shown in this video and will be awesome Rangoli Design. 😲 The Diwali rangoli pattern here is one of the amazing latest flower kolangal designs. Simple Rangoli Designs and easy rangoli designs by Aishwarya with dots for beginners and intermediate.
1. Diwali Rangoli 2. Pongal kolams 3. Pongal rangoli designs
4. Sankranthi designs 5. Easy rangoli for sankranthi 6. Pongal designs
7. Latest rangoli for sankranthi 8. Marzaghi kolams 9. Best kolangal
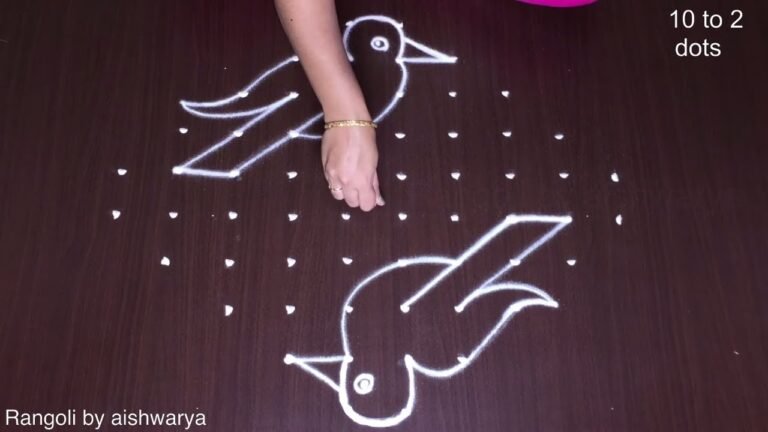
10. 7 dots kolam 11. Rangoli Designs for Bhaubeej 12. सिम्पल रांगोळी
13. Simple Karthigai Kolam 14. Karthika Masam Chukkala Muggulu 15. रंगोली रंगोली
Tip: A slightly damp brush along the edges gives a sharper finish, especially for festival photographs.
The Flower Rangoli Designs Manchi, created with a dot pattern of 7 to 1, beautifully captures the essence of traditional Indian art. This design is particularly popular during festivals like Diwali, where vibrant colors and intricate patterns bring life to homes and courtyards. Using materials such as dry rice flour and flower petals, this rangoli serves as a warm welcome to guests. For those looking to explore more designs, the Pongal Panaai Kolam Designs can offer additional inspiration.
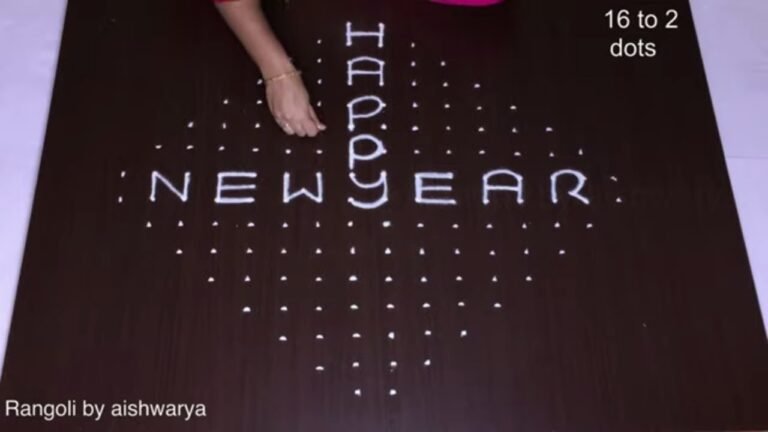
In this particular design, the use of straight lines and floral motifs creates a harmonious balance, perfect for beginners and experienced artists alike. The step-by-step approach in creating this rangoli makes it accessible, allowing anyone to enjoy this delightful art form. As you engage with this craft, you might also appreciate the Happy New Year 21 To 11 Beautiful Rangoli designs, which celebrate the joy of new beginnings. For further information on rangoli’s rich history, you can visit this link.
Flower Rangoli Designs Manchi — Step by Step Guide
Read through the steps before you begin so the sequence feels familiar when you start drawing.
- Clear a flat surface and set down your dot grid using rice flour or chalk.
- Confirm the dot spacing is even — uneven dots are the biggest cause of wobbly curves.
- Begin tracing from the centre outward, following the curves shown in the video above.
- Fill the petals and sections with your chosen colours, working one area at a time.
- Finish the edges with a fine line for a sharp, photograph-ready result.
What You Will Learn
- Simple Rangoli Designs
- Rangoli
- Muggulu
- Rangoli Designs
- Rangoli Kolam
- Kolam
Frequently Asked Questions
How do I draw this rangoli?
Start by marking an even dot grid on a flat, clean surface. Once the grid is in place, connect the dots following the curves shown in the video. Even spacing between dots is the single biggest factor for a clean finish.
Is this suitable for beginners?
Absolutely. You can pause and rewind the video at every step. The pattern is straightforward once you have the grid down.
What materials do I need?
Rice flour, coloured rangoli powders, and a clean stretch of floor or paper. Some draw with chalk first to set the grid before powdering over it.
How long does it take?
The video clocks in at 4 min 38 sec. Allow about quarter of an hour to draw the design at a comfortable pace.
There is real pleasure in finishing a kolam at your own doorstep — even more so when the pattern is one you have practised before. Make this one of those.
Leave a Reply