Looking to learn Big Straight Dots Ugadi? This step-by-step guide walks you through every line, dot, and curve.
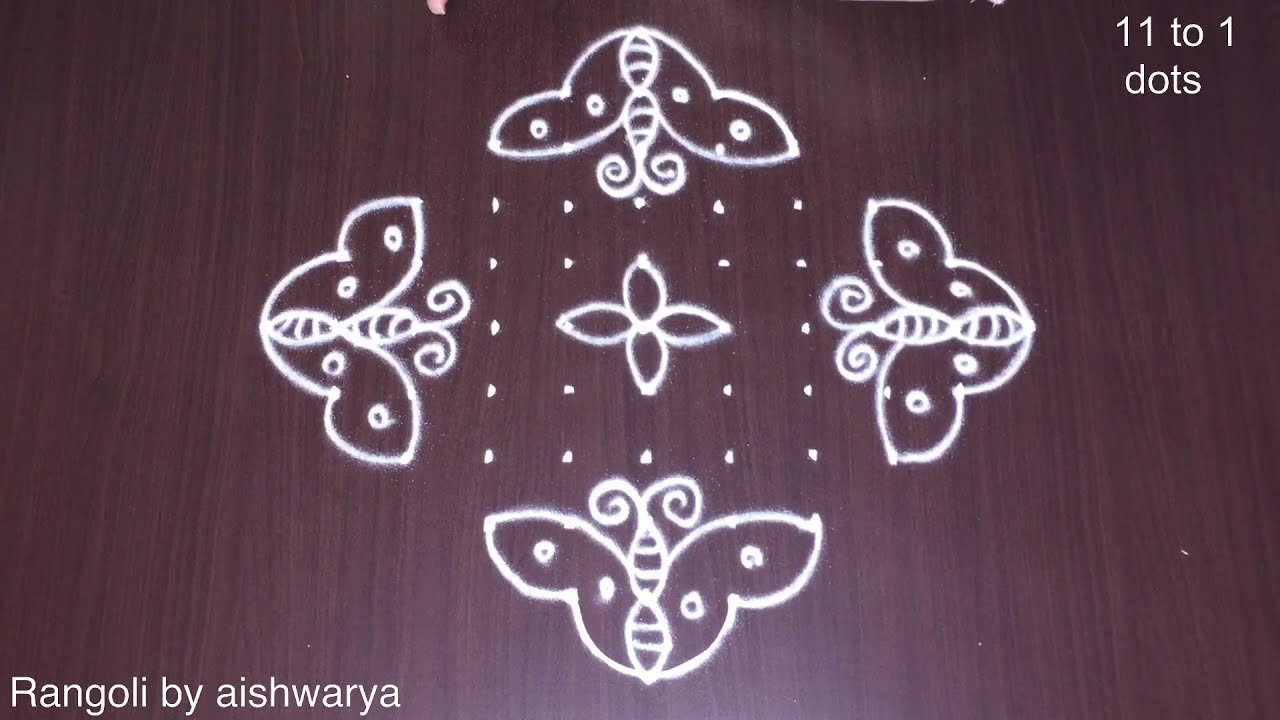
Big straight dots ugadi butterfly kolam | Muggulu designs 11by1 dots mango rangoli | RamRangoli Thank you so much for watching Channel
My Rangoli Channel Contains : Rangoli Designs Sankranthi Muggulu
Diwali Rangoli Ratham Muggulu Kolam Designs
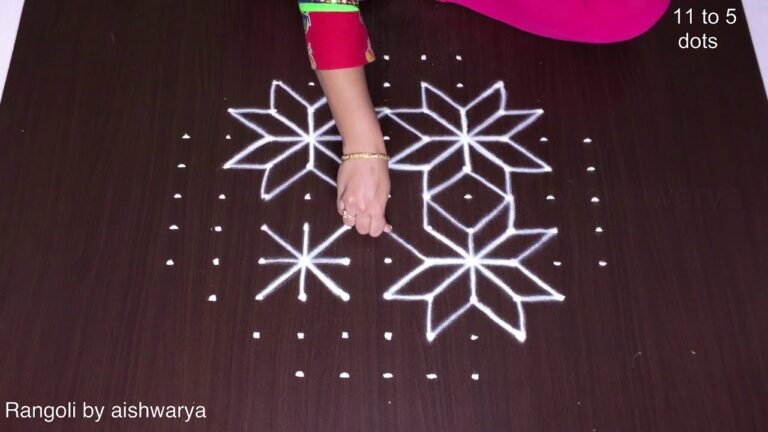
Muggulu Designs Chukkala Muggulu Easy Rangoli
Simple Rangoli Easy Rangoli Designs Dhanurmasam Muggulu
Melikala Muggulu Geethala Muggulu Sivarathri Muggulu
Tip: Practice on paper first if you are new to dot kolam. The grid is the same; only the surface changes.
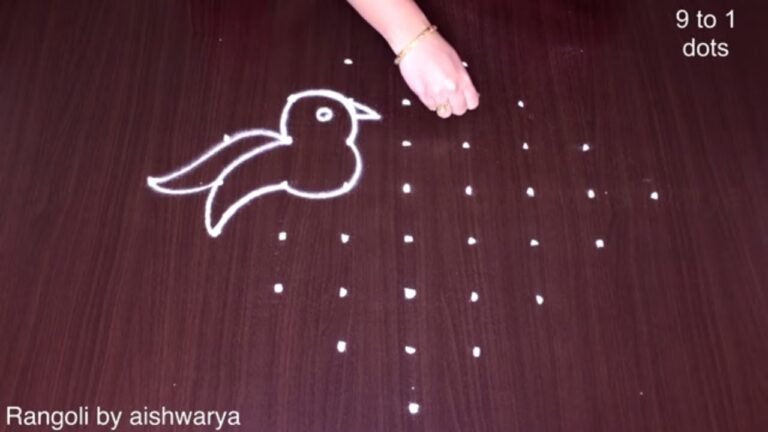
Featuring big straight dots, the Ugadi butterfly muggulu is a delightful design that symbolizes renewal and the arrival of spring. This kolam, often created during the Ugadi festival, brings vibrant colors and life to the entrance of homes. The butterfly shape, with its symmetrical wings, adds elegance to the overall pattern. Beginners can find joy in this design as it allows for creativity while sticking to a structured dot arrangement. For more insights into kolam designs, check out this Birds Kolam Design Simple Steps.
The choice of colors in the big straight dots Ugadi butterfly muggulu often reflects the festive spirit of the season, with bright yellows, greens, and pinks symbolizing prosperity and joy. While creating this kolam, one can also incorporate elements like mango leaves, which are auspicious and commonly used during Ugadi celebrations. The muggulu serves not just as decoration but also as a welcoming gesture for guests. For those interested in exploring more intricate designs, the 8 to 8 Navratri Durga Pooja Kolam is a great reference. To learn more about the cultural significance of these designs, visit this page on Rangoli.
Big Straight Dots Ugadi — Step by Step Guide
Here is how to draw it, line by line. Take your time on the corners and the symmetry will take care of itself.
- Clear a flat surface and set down your dot grid using rice flour or chalk.
- Confirm the dot spacing is even — uneven dots are the biggest cause of wobbly curves.
- Begin tracing from the centre outward, following the curves shown in the video above.
- Fill the petals and sections with your chosen colours, working one area at a time.
- Finish the edges with a fine line for a sharp, photograph-ready result.
What You Will Learn
- Ugadi Rangoli With Dots
- Ugadi Rangoli Side Designs
- Ugadi Rangoli Simple
- Ugadi Rangoli Easy
- Rangoli Ugadi Special
- Ugadi Rangoli Designs With Dots
Frequently Asked Questions
How do I draw this rangoli?
Begin with the dot grid — this is the skeleton of the design. With rice flour or chalk, place each dot at equal intervals. Then trace the curves slowly, one section at a time.
Is this suitable for beginners?
Yes — this design is shaped specifically with newcomers in mind. The dot grid is small enough to manage, and the curves are gentle. Most learners get it right by the second try.
What materials do I need?
You will need rice flour or rangoli powder (white, plus your choice of colours), a flat surface like a clean floor or courtyard, and optionally a dot stencil if you are new to grid-drawing.
How long does it take?
You will see a 2 min 48 sec walkthrough above. Drawing it yourself is usually a 12–18 minute affair, slightly slower the first time.
A reminder that beautiful art does not need expensive materials — just a steady hand, a clean surface, and a few pinches of rice flour.
Leave a Reply