Looking to learn Creative Rangoli Designs 21? This step-by-step guide walks you through every line, dot, and curve.

Simple Rangoli Designs presents: Creative Rangoli for Competition and Simple Designs 21×11 Dots Colour Kolam Muggulu 🌸 In this video, learn a simple & easy rangoli step-by-step. Whether you need a daily rangoli for your home entrance or a beautiful festival rangoli, this design is perfect for beginners! Time: Just 5 minutes for instant, eye-catching beauty.
Style: Classic traditional Muggulu / Kolam vibes with a graceful touch. Perfect for: Everyday doorstep elegance, special Friday, quick festive entrances, or whenever you want your home to feel instantly blessed & welcoming. 🌟 Perfect occasions & styles:
Everyday Home Entrance Rangoli Special Friday Rangoli Pongal Kolam & Sankranti celebrations
Diwali Rangoli Lotus Rangoli Graceful Peacock Rangoli
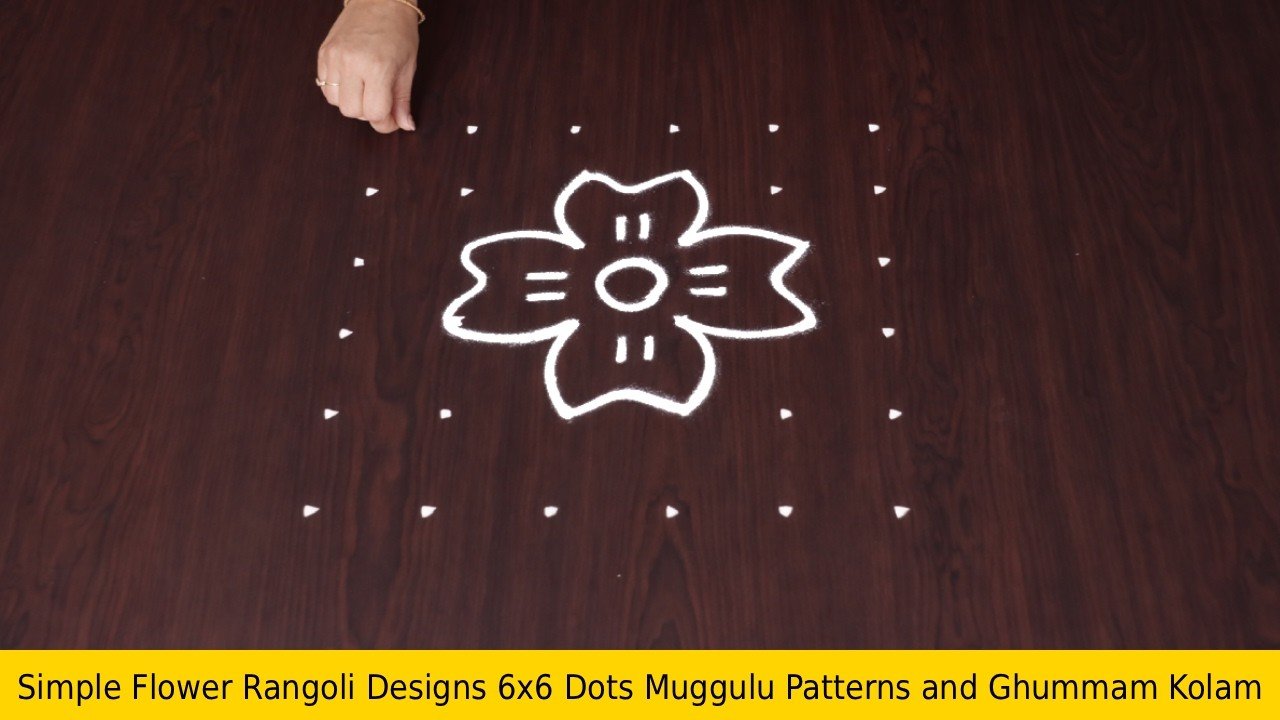
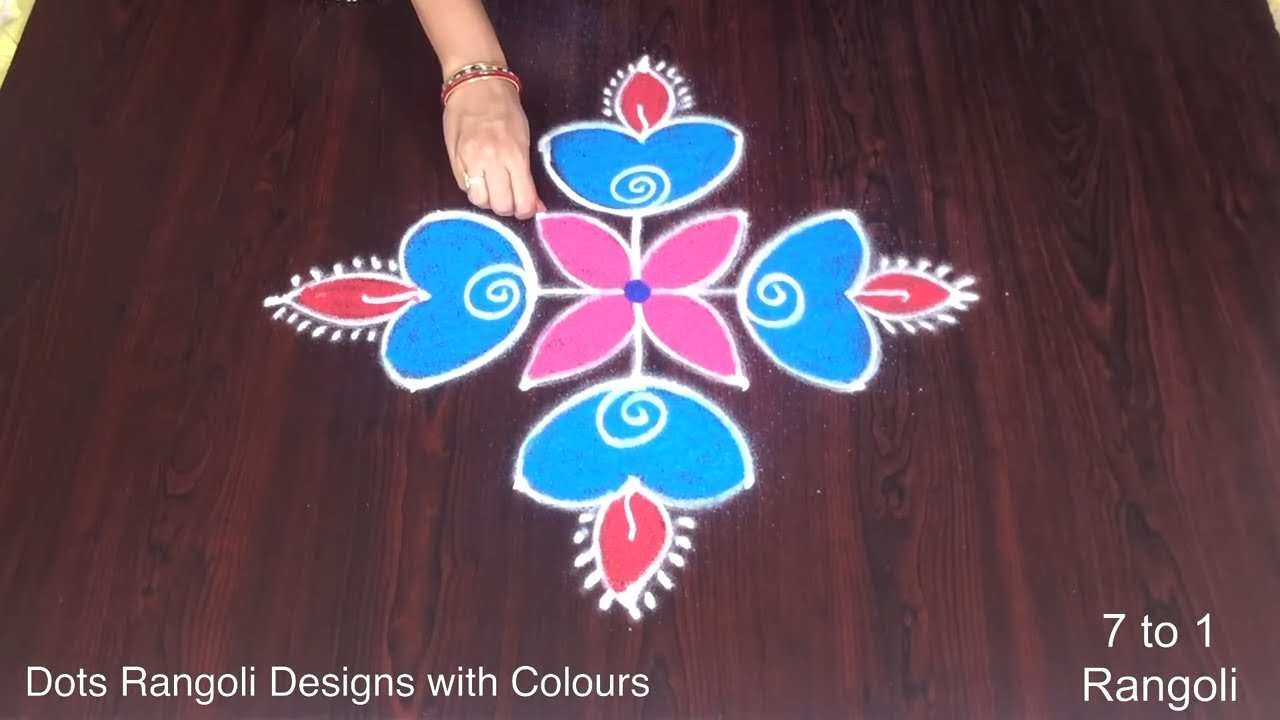
Door Rangoli Designs Chukkala Muggulu (dot-based patterns) Easy Rangoli Designs / Rangoli with Dots
Chukkala Muggulu / Traditional Kolam Beginners Rangoli / Border Rangoli Latest Rangoli Trends
Tip: A slightly damp brush along the edges gives a sharper finish, especially for festival photographs.
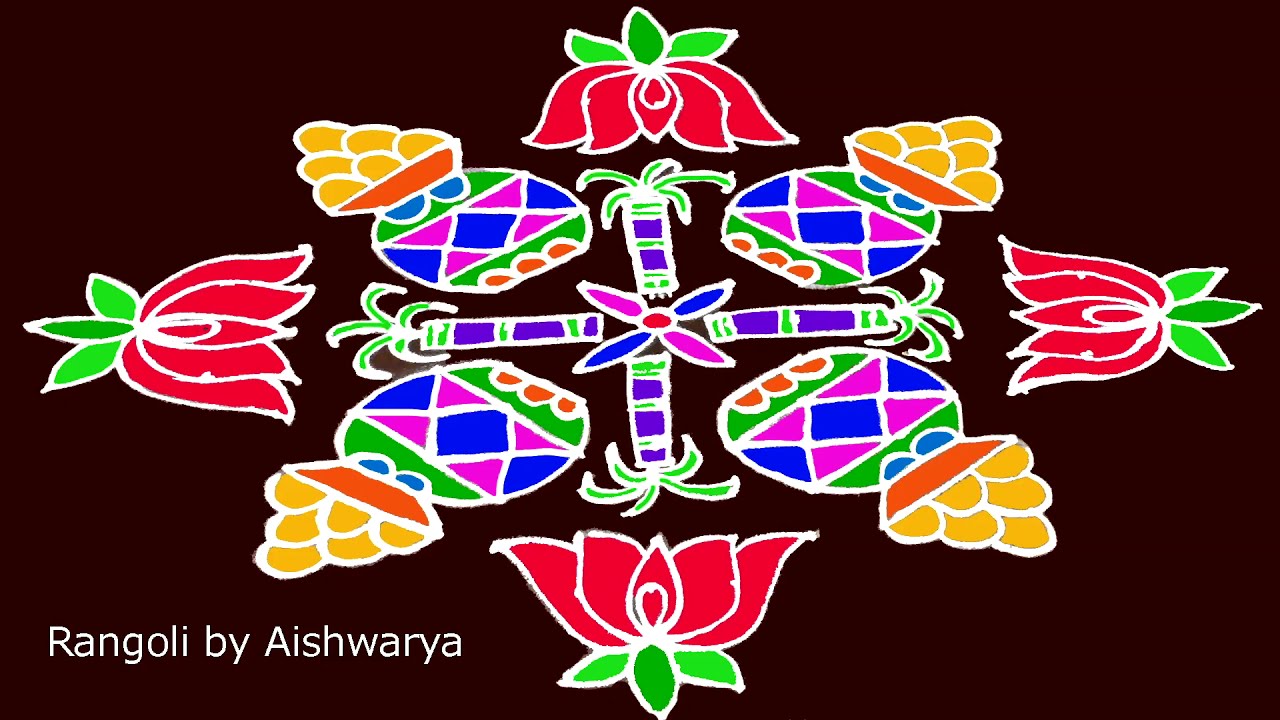
Creative rangoli designs, especially those with 21 dots, offer a beautiful way to enhance your home’s entrance. This specific design, characterized by its intricate patterns and vibrant colors, is perfect for festivals like Pongal and Diwali, adding a touch of elegance to any celebration. The traditional Muggulu style resonates well with cultural significance, inviting positivity and warmth into your space. For additional inspiration, check out the Pongal Pot Rangoli Designs that can complement this design beautifully.
Creating a 21 to 11 dots rangoli is an enjoyable activity, especially for beginners, as it can be completed in just a few minutes. The graceful shapes and patterns developed in this design not only beautify your doorstep but also express your artistic flair. Drawing from traditional elements, this rangoli can be a delightful addition for special occasions or everyday use. For those interested in exploring more intricate designs, the Amazing Big Peacock Muggulu can serve as a wonderful project to try your hand at next. To learn more about the art of rangoli, visit this informative page.
About this design: Creative Rangoli Designs 21 is a beginner-friendly pattern that comes together in just a few minutes. Once you have practised the creative rangoli designs 21 dot grid, you can scale it up for festival mornings or scale it down for a daily doorstep. Many learners on our channel make this creative rangoli designs 21 their go-to design once they get the rhythm of the curves.
Creative Rangoli Designs 21 — Step by Step Guide
Read through the steps before you begin so the sequence feels familiar when you start drawing.
- Clear a flat surface and set down your dot grid using rice flour or chalk.
- Confirm the dot spacing is even — uneven dots are the biggest cause of wobbly curves.
- Begin tracing from the centre outward, following the curves shown in the video above.
- Fill the petals and sections with your chosen colours, working one area at a time.
- Finish the edges with a fine line for a sharp, photograph-ready result.
What You Will Learn
- 21X11 Dots Rangoli
- Rangoli Competition Designs
- Colour Kolam With Dots
- 21X11 Dots Kolam
- Creative Rangoli With Dots
- Rangoli With Dots
Frequently Asked Questions
How do I draw this rangoli?
Set down the dot grid in pencil or chalk, then follow the loops one petal at a time. If a curve goes off, wipe it and retry — kolam is forgiving.
Is this suitable for beginners?
Yes — this design is shaped specifically with newcomers in mind. The dot grid is small enough to manage, and the curves are gentle. Most learners get it right by the second try.
What materials do I need?
Rice flour, coloured rangoli powders, and a clean stretch of floor or paper. Some draw with chalk first to set the grid before powdering over it.
How long does it take?
A 5 min 16 sec video shows the complete sequence. On paper or floor, expect to spend around a quarter of an hour from grid to finished pattern.
Practice this design a few times and you will find your own variations emerging. That is half the joy of kolam — every artist leaves a fingerprint on the pattern.


Leave a Reply