Sankranti With 21 To combines tradition with simplicity, making it one of the most rewarding designs to practice at home.
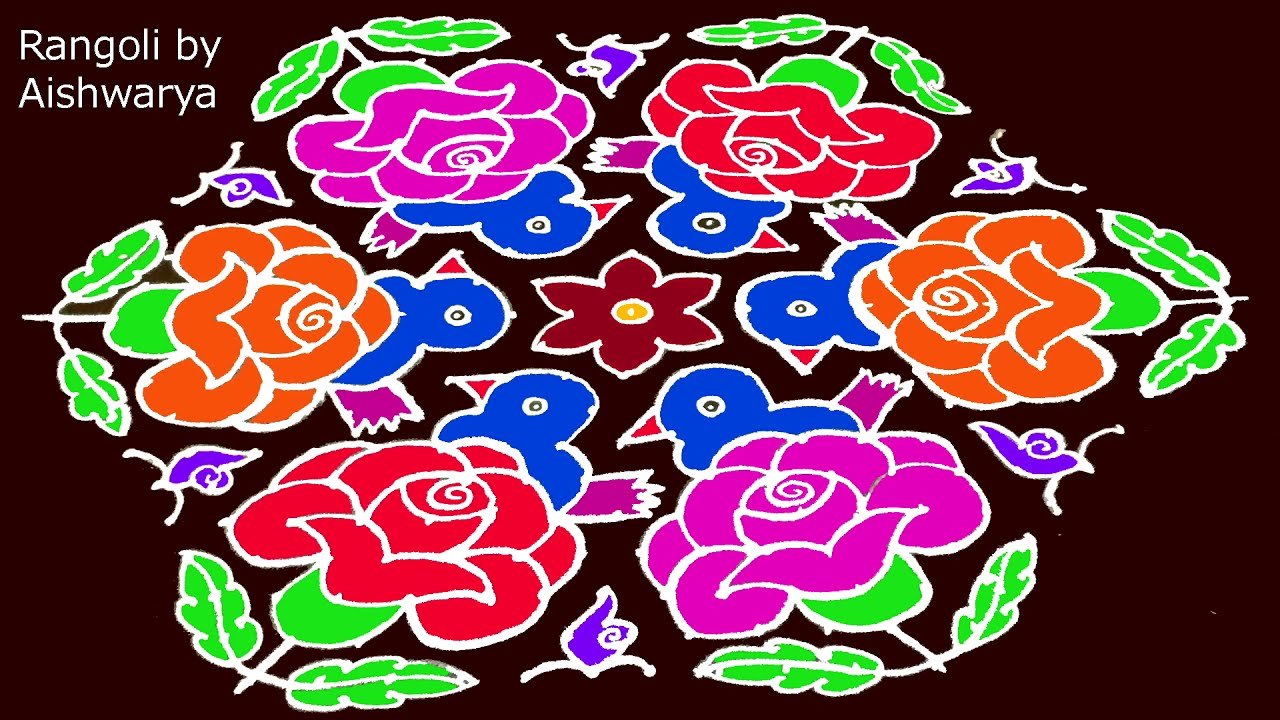
Beautiful Rose Flower Rangoli Designs | Sankranti with 21 to 11 Big Muggulu Kolangal Thank you so much for watching Channel
My Rangoli Channel Contains : Rangoli Designs Sankranthi Muggulu
Diwali Rangoli Ratham Muggulu Kolam Designs
Muggulu Designs Chukkala Muggulu Easy Rangoli
Simple Rangoli Easy Rangoli Designs Dhanurmasam Muggulu
Melikala Muggulu Geethala Muggulu Sivarathri Muggulu
Tip: Practice on paper first if you are new to dot kolam. The grid is the same; only the surface changes.
The 21 to 11 dot muggulu design is a delightful representation often created during Sankranti, a festival that celebrates the harvest. This design features intricate patterns that can be simplified or elaborated upon depending on the artist’s preference. The arrangement allows for creativity while maintaining a structured appearance, making it a great choice for beginners looking to explore the world of kolam. If you’re interested in learning more about various traditional designs, consider checking out our Occasional Kolam Designs.
This specific muggulu design not only beautifies entrances but also signifies prosperity and good fortune during the Sankranti festival. It’s a wonderful way to welcome guests and invoke blessings for the household. The use of vibrant colors can further enhance its appeal, adding a festive touch to the overall decor. For those interested in simpler patterns, the Birds Kolam Design Simple Steps can serve as an excellent starting point. For a broader understanding of the art form, visit this Wikipedia page on Rangoli.
About this design: 21 To 11 Big is a beginner-friendly pattern that comes together in just a few minutes. Once you have practised the 21 to 11 big dot grid, you can scale it up for festival mornings or scale it down for a daily doorstep. Many learners on our channel make this 21 to 11 big their go-to design once they get the rhythm of the curves.
21 To 11 Big — Step by Step Guide
The video above shows the full sequence; the steps below summarise each stage so you can glance back as you draw.
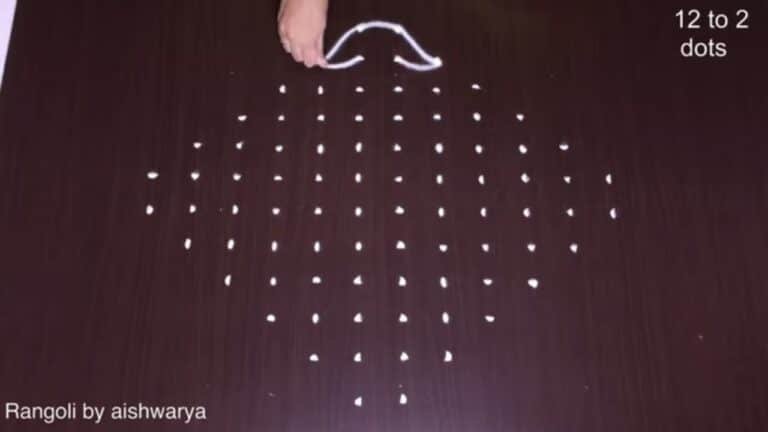
- Mark the 21-to-11 dot grid — lay a wide diamond field, a central row of 21 dots stepping down evenly to 11 dots at the outer rows.
- Draw the small flower at the exact centre: a round bloom with a ring of petals and a single dot core.
- Ring the centre with six large roses — two across the top, one at each side, two across the bottom — building each rose as a tight spiral coil wrapped by three to four layers of overlapping curved petals.
- Tuck a plump parrot into each gap between neighbouring roses: round body, curved back, small hooked beak and a short tail.
- Send pairs of leaves outward from behind the roses to the grid edge, and set a small pointed bird or bud at each outer tip of the diamond.
- Colour it in: roses in pink, red, orange and blue with white spiral highlights; parrots blue; all leaves green; the centre flower red with a yellow heart, on the dark floor.
What You Will Learn
- 21 To 11 Dots Rangoli
- Rose Flower Rangoli With Dots
- Sankranti Big Muggulu Designs
- 21-11 Dots Kolam
- Big Flower Kolam With Dots
- Rangoli With Dots
Frequently Asked Questions
How do I draw this rangoli?
Set down the dot grid in pencil or chalk, then follow the loops one petal at a time. If a curve goes off, wipe it and retry — kolam is forgiving.
Is this suitable for beginners?
Beginner-friendly is exactly the right description. The video walks through every line clearly and you can match the pace.
What materials do I need?
You will need rice flour or rangoli powder (white, plus your choice of colours), a flat surface like a clean floor or courtyard, and optionally a dot stencil if you are new to grid-drawing.
How long does it take?
The video runs 9 min 16 sec. In practice, most learners take between 10 and 20 minutes — a little longer the first time, faster as the pattern becomes familiar.
If you enjoyed this design, browse our other dot-pattern tutorials — they share the same approach and build naturally on the techniques here.

Leave a Reply