21×11 Chukki Rangoli Designs On Paper

Intermediate ⏱ 6 min Updated Apr 30, 2026

21 to 11 dots Rangoli Designs · August 11, 2025

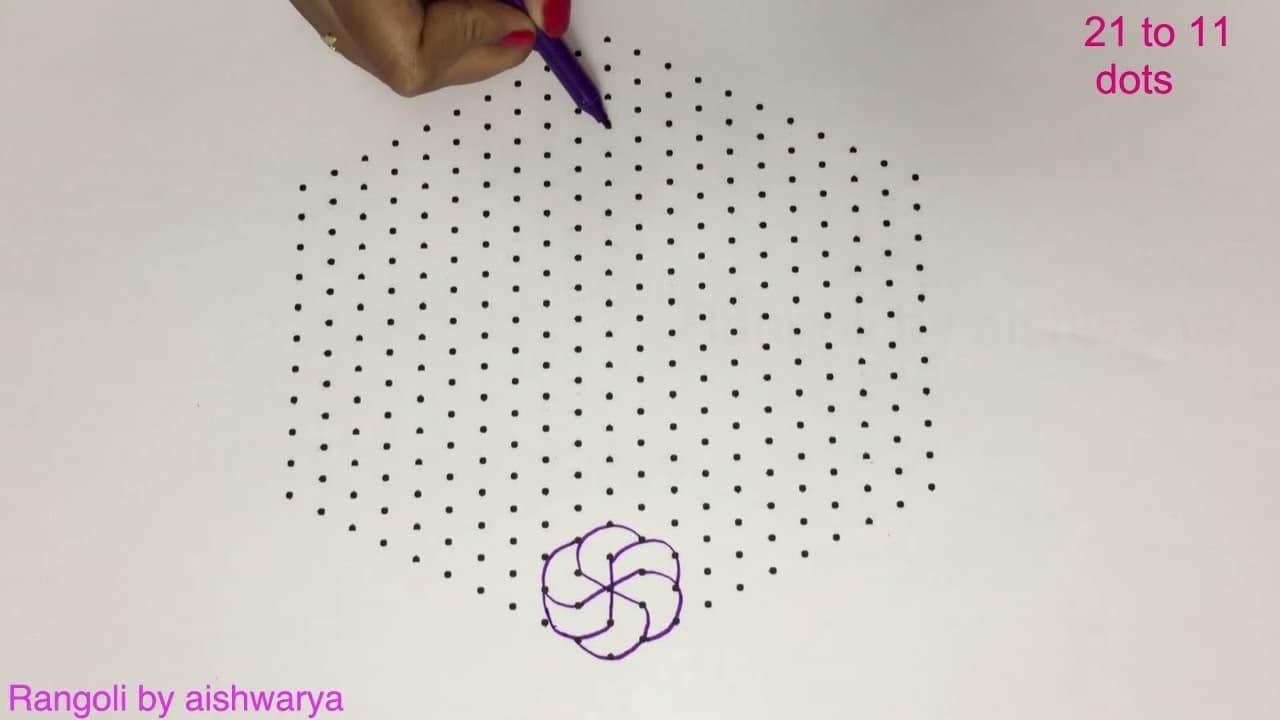
Looking to learn 21 11 Chukki Rangoli Designs? This step-by-step guide walks you through every line, dot, and curve.

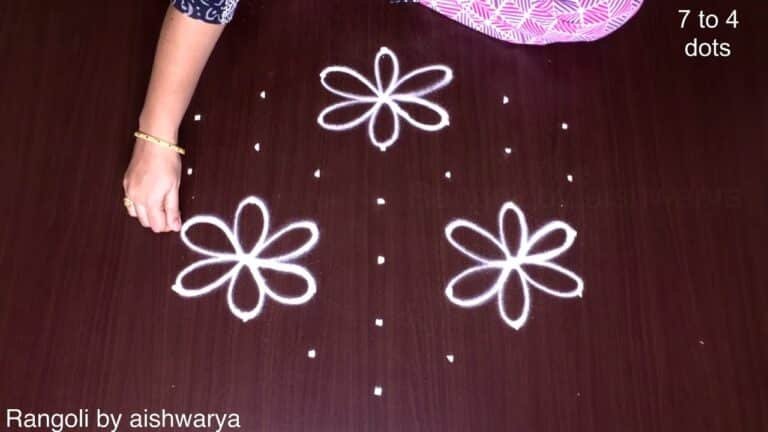
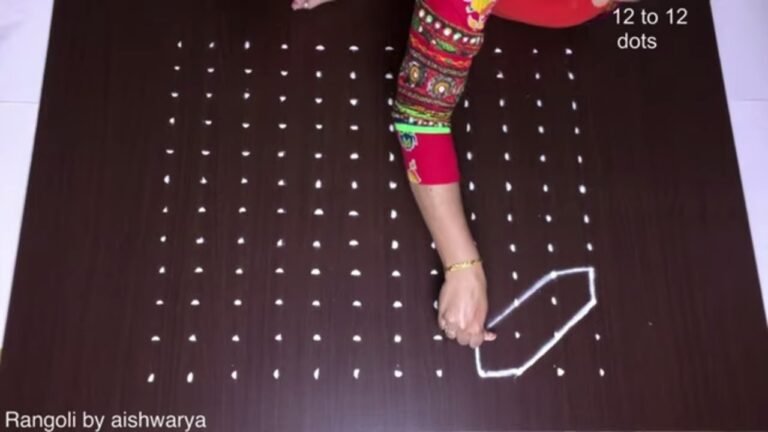
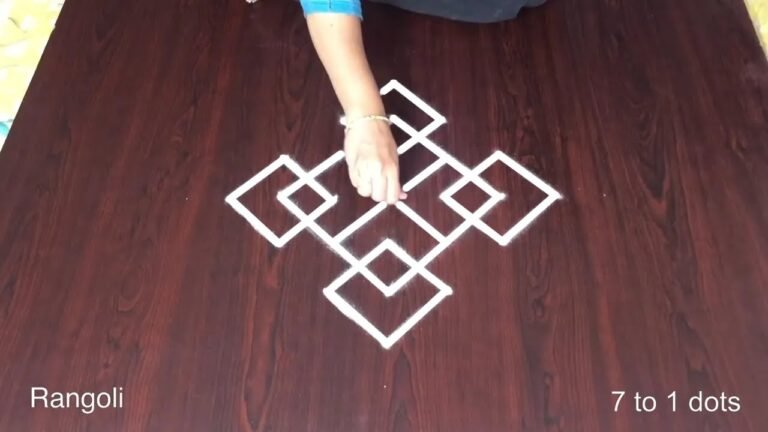
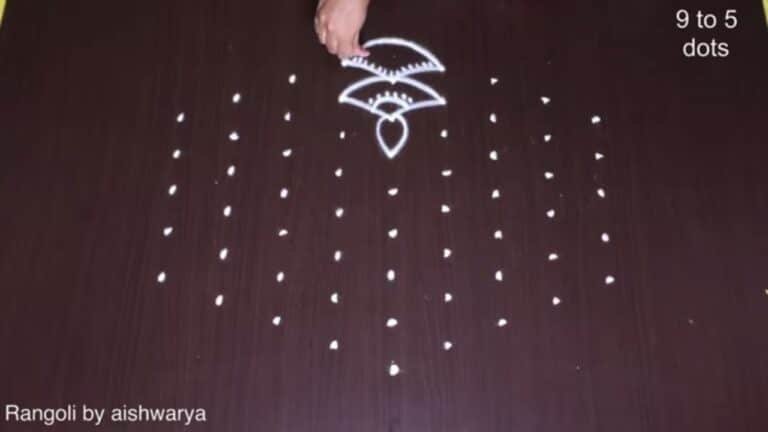
21×11 Chukki Rangoli designs on paper | సంక్రాంతి ముగ్గులు పెద్దవి | Big latest kolangal with sketch. This tutorial will show you how to draw Beautiful Indian traditional art sankranthi muggulu patterns using materials such as dry rice flour, colored sand or flower petals Rangoli designs by Aishwarya. Simple rangoli designs with dots Kolam pattern is created on the floor in living rooms or courtyards. Draw the Lines step by step as it is shown in this video and will be awesome Rangoli Design. 😲 The rangoli design for diwali pattern here is one of the amazing latest simple kolam designs. Simple Rangoli Designs and easy rangoli designs by Aishwarya with dots for beginners and intermediate.

1. Diwali Rangoli 2. Pongal kolams 3. Easy rangoli designs

4. Rangoli design 5. Chukkala muggulu 6. Dot rangoli designs

7. Rangoli for diwali 8. Rangoli Simple 9. Easy rangoli designs

10. Kolam designs 11. Simple rangoli design 12. Muggulu designs

13. Muggulu designs with dots 14. Small rangoli designs 15. Muggulu chukkala muggulu

Tip: Use chalk to lightly mark your dot grid first — it wipes away cleanly once your rangoli is finished.

The 21×11 chukki rangoli design is a delightful expression of traditional Indian art, perfect for festivals like Sankranti. With its intricate patterns formed by dots, this design showcases the beauty of symmetry and creativity. Beginners will find this tutorial particularly helpful, as it breaks down the steps to create this stunning rangoli on paper. For those interested in exploring more dot-based designs, check out the Big Dot Rangoli Muggulu for inspiration.

This design not only enhances the aesthetic appeal of homes during festivals but also serves as a fantastic way to engage with family and friends in a creative activity. Using materials like rice flour or colored sand, you can bring the 21×11 chukki rangoli to life. If you enjoy this style, you might also appreciate the Attractive Simple Kolam Design which offers additional techniques for creating beautiful patterns. To learn more about the rich history of rangoli, visit this informative page.

Step by Step Guide

Use the steps below as a reference card while the video plays. Most learners finish on the second attempt.

  1. Clear a flat surface and set down your dot grid using rice flour or chalk.
  2. Confirm the dot spacing is even — uneven dots are the biggest cause of wobbly curves.
  3. Begin tracing from the centre outward, following the curves shown in the video above.
  4. Fill the petals and sections with your chosen colours, working one area at a time.
  5. Finish the edges with a fine line for a sharp, photograph-ready result.

What You Will Learn

  • Simple Rangoli Designs
  • Rangoli
  • Muggulu
  • Rangoli Designs
  • Rangoli Kolam
  • Kolam

Frequently Asked Questions

How do I draw this rangoli?

Set down the dot grid in pencil or chalk, then follow the loops one petal at a time. If a curve goes off, wipe it and retry — kolam is forgiving.

Is this suitable for beginners?

Beginner-friendly is exactly the right description. The video walks through every line clearly and you can match the pace.

What materials do I need?

Just three things: powder (white plus any colours you want), a flat dry surface, and a few minutes of focus. A small bowl per colour helps keep things tidy.

How long does it take?

The full demonstration takes 5 min 10 sec. Most people find their own drawing time settles to about 15 minutes once the grid is familiar.

When you draw this, focus on the first three dots — get those right and the whole pattern follows. The rest is just patience and a steady hand.

Leave a Reply

Your email address will not be published. Required fields are marked *