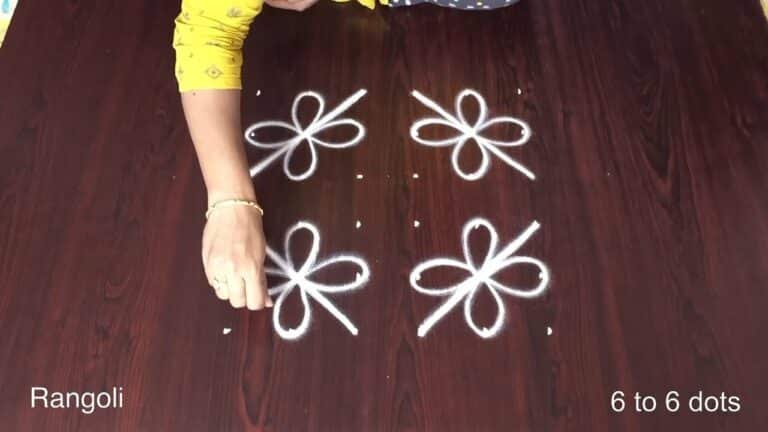
6 Dots Rangoli Designs combines tradition with simplicity, making it one of the most rewarding designs to practice at home.
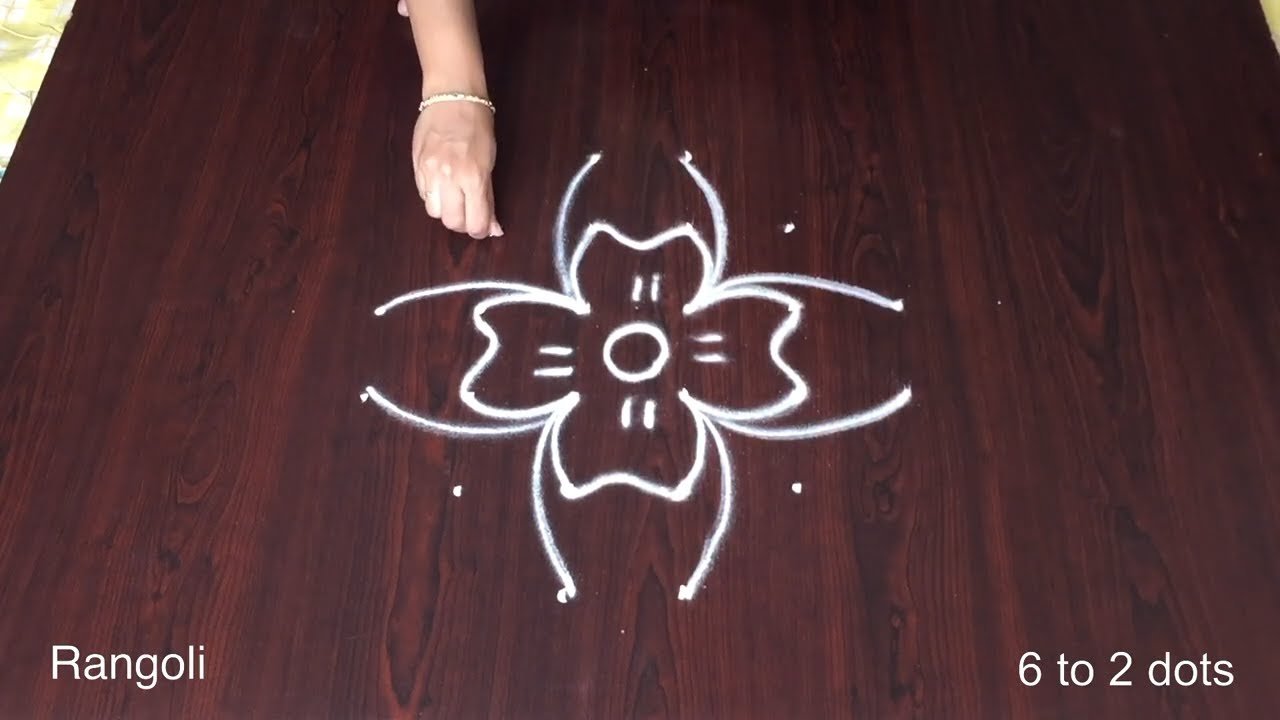
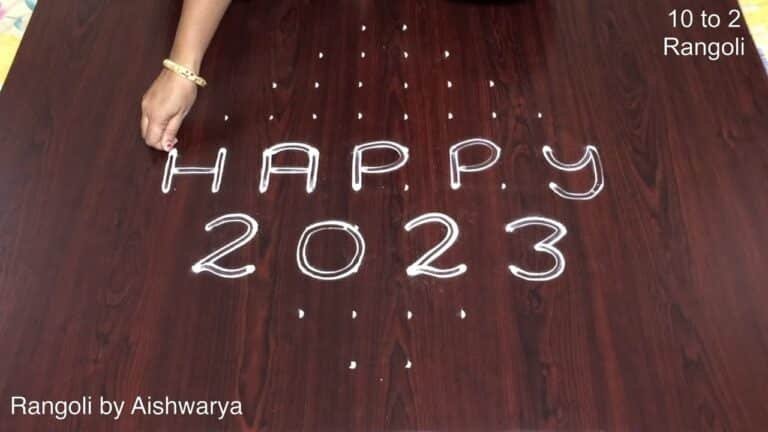
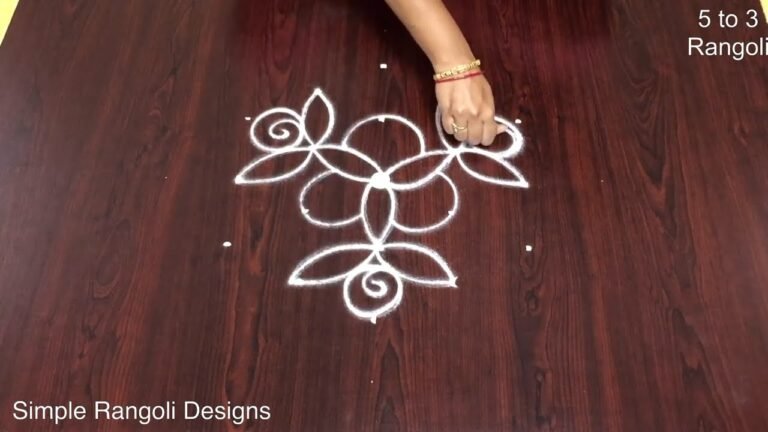
This tutorial will show you how to make 6 dots rangoli designs simple patterns using materials such as dry rice flour, colored sand or flower petals Rangoli designs by Aishwarya. Simple rangoli Pulli Kolam pattern is created on the floor in living rooms or courtyards. Draw the Lines step by step as it is shown in this video and will be awesome Rangoli Design. 😲 The sri rama navami muggulu pattern here is one of the amazing latest kolam designs. Simple Rangoli Designs and small kolam for beginners by Aishwarya with dots for beginners and intermediate.
4. Muggulu 5. Rangoli Kolam 6. Kolam and Rangoli
7. Muggulu Sankranthi Muggulu 8. Rangoli Designs 9. Designer Rangoli Design
10. Rangoli De 11. Sankranthi Muggulu 12. Rangoli Design Rangoli
13. Simple Rangoli Designs 14. Thipkyanchi Rangoli Designs 15. Easy Rangoli Design
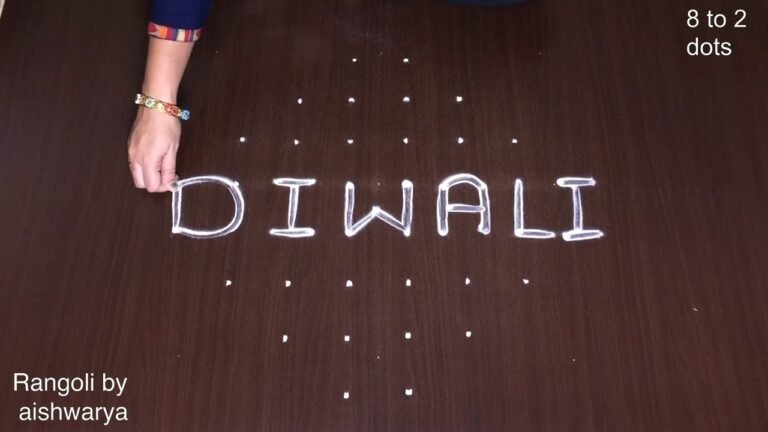
16. Kolam Designs 17. ठिपक्यांची रांगोळी 18. Diwali Rangoli
Tip: Practice on paper first if you are new to dot kolam. The grid is the same; only the surface changes.
The 6 dots rangoli designs are a wonderful way for beginners to express their creativity while keeping the patterns simple yet elegant. These designs often serve as a warm welcome during festivals like Diwali and Sankranthi, making your home feel festive and inviting. Using materials such as dry rice flour or colored sand, you can create intricate patterns that are both eye-catching and meaningful. For inspiration, you might explore other styles, like Very Simple Butterfly Easy Chukkala Kolam, which also features a straightforward dot arrangement.
When creating a 6 dots rangoli, the focus is on symmetry and balance. The designs can easily be scaled to fit various spaces, whether in a courtyard or living room. These patterns encourage mindfulness and patience, making the process enjoyable for all ages. If you’re ready to explore more complex designs, consider trying out the 8-8 Dots Simple Rangoli Designs, which introduces additional dots for a more intricate appearance. For general information about rangoli, you can also visit this Wikipedia page.
6 Dots Rangoli Designs — Step by Step Guide
Below is the step-by-step breakdown. The video covers the same sequence in real time.
- Clear a flat surface and set down your dot grid using rice flour or chalk.
- Confirm the dot spacing is even — uneven dots are the biggest cause of wobbly curves.
- Begin tracing from the centre outward, following the curves shown in the video above.
- Fill the petals and sections with your chosen colours, working one area at a time.
- Finish the edges with a fine line for a sharp, photograph-ready result.
What You Will Learn
- Simple Rangoli Designs
- Rangoli
- Muggulu
- Rangoli Designs
- Rangoli Kolam
- Kolam
Frequently Asked Questions
How do I draw this rangoli?
Start by marking an even dot grid on a flat, clean surface. Once the grid is in place, connect the dots following the curves shown in the video. Even spacing between dots is the single biggest factor for a clean finish.
Is this suitable for beginners?
Yes — this design is shaped specifically with newcomers in mind. The dot grid is small enough to manage, and the curves are gentle. Most learners get it right by the second try.
What materials do I need?
You will need rice flour or rangoli powder (white, plus your choice of colours), a flat surface like a clean floor or courtyard, and optionally a dot stencil if you are new to grid-drawing.
How long does it take?
The video clocks in at 4 min 8 sec. Allow about quarter of an hour to draw the design at a comfortable pace.
Beginners often ask which design to start with. Honestly, this one. It is small enough to finish in a sitting and the curves teach you the basics of dot kolam.

Leave a Reply