7 To 7 Sulabayina is the kind of design that looks intricate but is genuinely beginner-friendly once you follow the dot grid.
For another beginner-friendly variation, try 9 To 1 Prathi Roju Vese Muggulu.
Simple Rangoli Designs presents: Friday Rangoli Designs 7×7 Dots Simple Rojuvari Muggulu and Kolam for Beginners 🌸 In this video, learn a simple & easy rangoli step-by-step. Whether you need a daily rangoli for your home entrance or a beautiful festival rangoli, this design is perfect for beginners! Time: Just 9 minutes for instant, eye-catching beauty.
Style: Classic traditional Muggulu / Kolam vibes with a graceful touch. Perfect for: Everyday doorstep elegance, special Friday, quick festive entrances, or whenever you want your home to feel instantly blessed & welcoming. 🌟 Perfect occasions & styles:
Everyday Home Entrance Rangoli Special Friday Rangoli Pongal Kolam & Sankranti celebrations
Diwali Rangoli Lotus Rangoli Graceful Peacock Rangoli
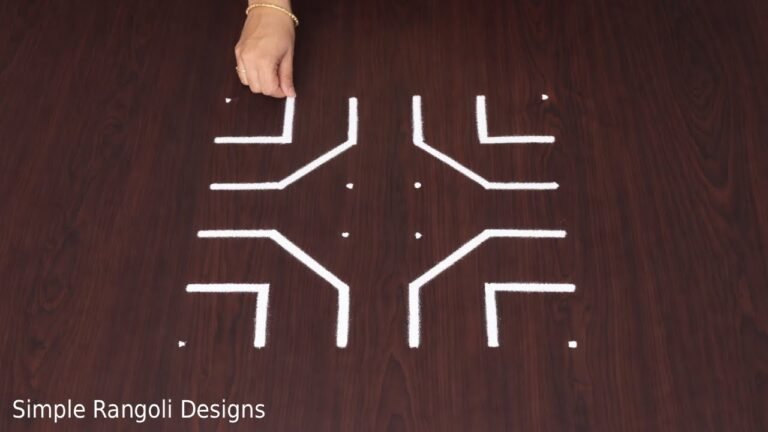
Door Rangoli Designs Chukkala Muggulu (dot-based patterns) Easy Rangoli Designs / Rangoli with Dots
Chukkala Muggulu / Traditional Kolam Beginners Rangoli / Border Rangoli Latest Rangoli Trends
Tip: Practice on paper first if you are new to dot kolam. The grid is the same; only the surface changes.
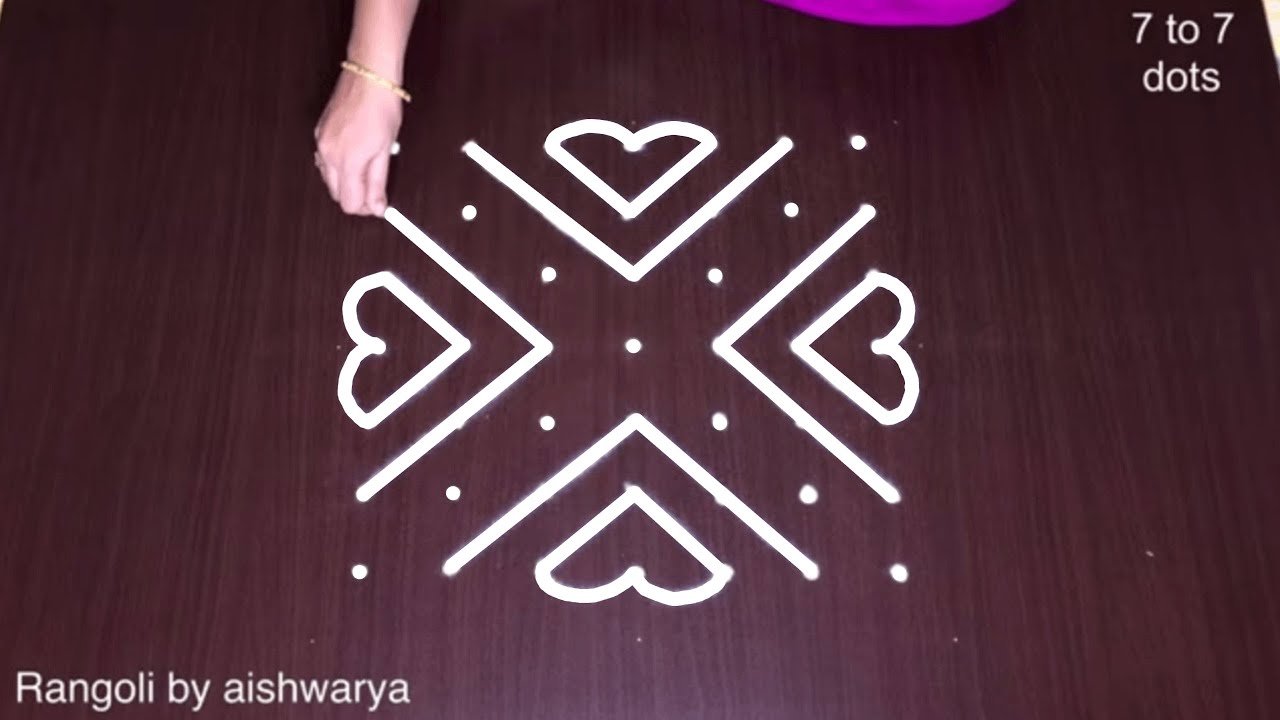
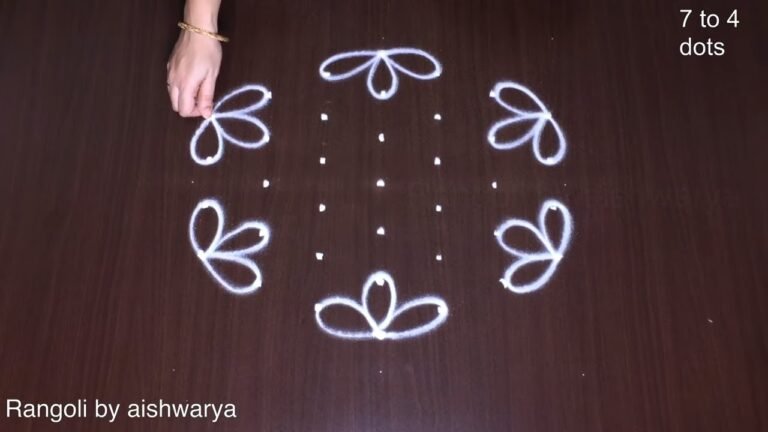
The 7 to 7 sulabayina muggulu is a charming design that beautifully complements the festive spirit of Fridays. Often created at the entrance of homes, this rangoli features a grid of 49 dots, making it an ideal choice for beginners. The simplicity of this design allows for creative expression, and it can be adorned with vibrant colors, floral patterns, or even traditional motifs. For more festive inspirations, check out this amazing collection of muggulu.
This muggulu not only enhances the aesthetic of your doorway but also symbolizes a warm welcome to guests. The traditional aspect of this design makes it suitable for various occasions, including Pongal and Diwali, where families come together to celebrate. Additionally, those interested in more intricate designs may enjoy exploring the 9 Dots Chukkala Muggulu for Festivals. For a deeper understanding of this art form, visit this page on Rangoli.
About this design: 7 To 7 Sulabayina is a beginner-friendly pattern that comes together in just a few minutes. Once you have practised the 7 to 7 sulabayina dot grid, you can scale it up for festival mornings or scale it down for a daily doorstep. Many learners on our channel make this 7 to 7 sulabayina their go-to design once they get the rhythm of the curves.
7 To 7 Sulabayina — Step by Step Guide
Pace yourself through the steps — kolam rewards patience more than speed.
- Mark the 7-by-7 dot grid.
- In the centre, draw a four-petal flower and cap it top and bottom with a small lamp (diya) motif.
- At each of the four corners, draw a butterfly-like pair of large petal-wings with an inward curl.
- At the mid-point of each side, add a small leaf-spray.
- Line the wings and petals with rows of tiny dots (beads).
- Keep everything symmetric across both axes and diagonals, then outline in white and colour.
What You Will Learn
- 7X7 Dots Rangoli
- Friday Rangoli Designs
- Rojuvari Muggulu
- Simple Friday Kolam
- 7X7 Dots Kolam
- Rangoli With Dots
Frequently Asked Questions
How do I draw this rangoli?
Begin with the dot grid — this is the skeleton of the design. With rice flour or chalk, place each dot at equal intervals. Then trace the curves slowly, one section at a time.
Is this suitable for beginners?
Absolutely. You can pause and rewind the video at every step. The pattern is straightforward once you have the grid down.
What materials do I need?
You will need rice flour or rangoli powder (white, plus your choice of colours), a flat surface like a clean floor or courtyard, and optionally a dot stencil if you are new to grid-drawing.
How long does it take?
A 9 min 35 sec video shows the complete sequence. On paper or floor, expect to spend around a quarter of an hour from grid to finished pattern.
There is real pleasure in finishing a kolam at your own doorstep — even more so when the pattern is one you have practised before. Make this one of those.


Leave a Reply