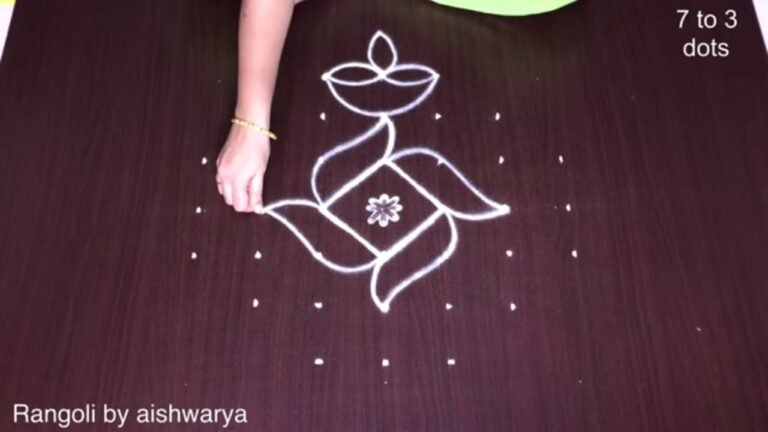
This 4 diya kolam tutorial walks you through every step from the dot grid to the final pattern.
Drawing How To Draw 4 is a relaxing, almost meditative practice. The dots guide your hand and the design unfolds naturally.
How to draw 4 diya Beautiful 7 dots kolam rangoli | Easy Friday Simple & chinna muggulu Thank you so much for watching Channel
My Rangoli Channel Contains : Rangoli Designs Sankranthi Muggulu
Diwali Rangoli Ratham Muggulu Kolam Designs
Muggulu Designs Chukkala Muggulu Easy Rangoli
Simple Rangoli Easy Rangoli Designs Dhanurmasam Muggulu
Melikala Muggulu Geethala Muggulu Sivarathri Muggulu
Tip: Keep your powder bowl close to your dominant hand. Small movements give cleaner curves.
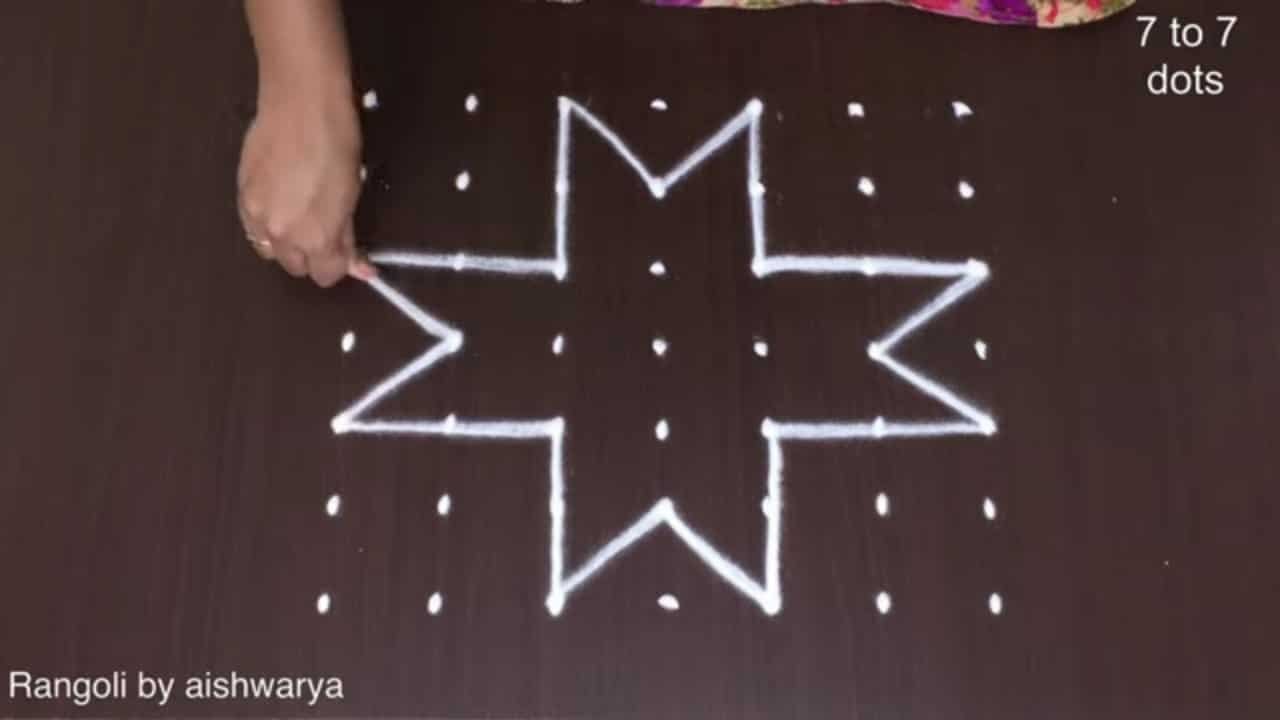
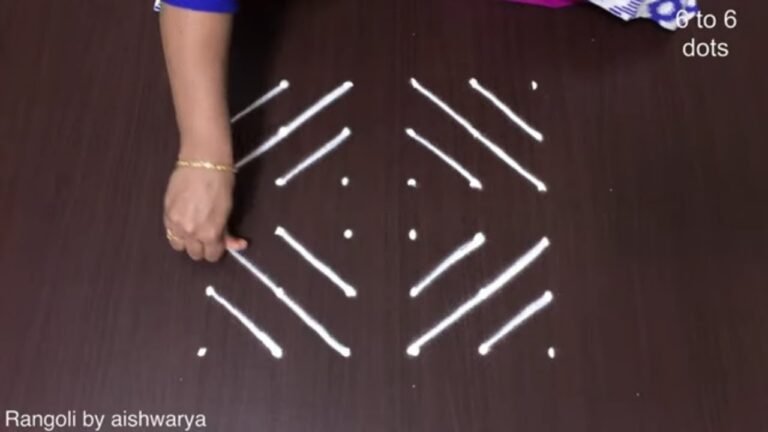
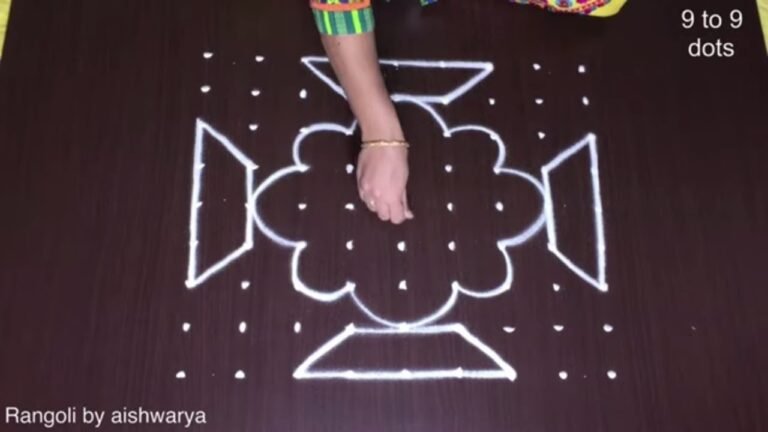
The 4 diya kolam is a delightful design that features the traditional elements associated with festivals, particularly Diwali. This kolam utilizes a 7-dot grid, making it accessible for beginners who want to create beautiful patterns with ease. By connecting the dots with curved and straight lines, you can form the diya shapes symbolizing light and prosperity. For more inspiration, you might enjoy exploring Pongal Panaai Kolam Designs which also embrace festive themes in their designs.
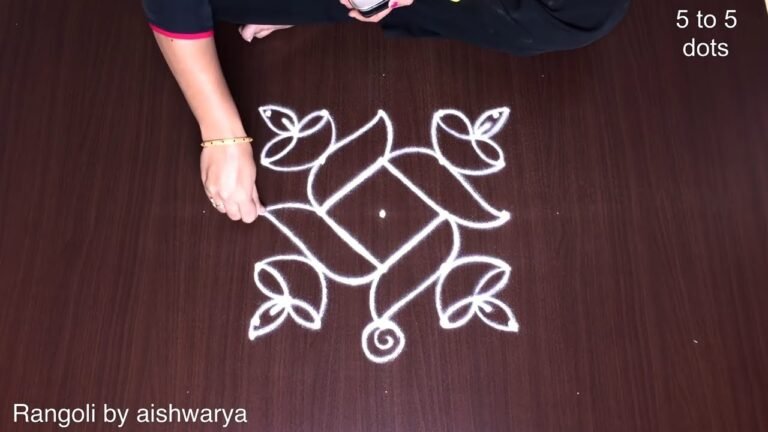
Drawing this kolam not only enhances your artistic skills but also brings a sense of joy and celebration into your home. The glowing diyas represented in the kolam can be enhanced with vibrant colors, making them stand out during festive gatherings. If you’re looking for other easy designs, the Easy Five Stars Rangoli is another simple yet captivating option. For more information about the art of rangoli, you can read about it on Wikipedia.
About this design: 4 Diya Kolam is a beginner-friendly pattern that comes together in just a few minutes. Once you have practised the 4 diya kolam dot grid, you can scale it up for festival mornings or scale it down for a daily doorstep. Many learners on our channel make this 4 diya kolam their go-to design once they get the rhythm of the curves.
4 Diya Kolam — Step by Step Guide
Follow the steps below to recreate this design at home. Pause the video whenever you need — there is no hurry.
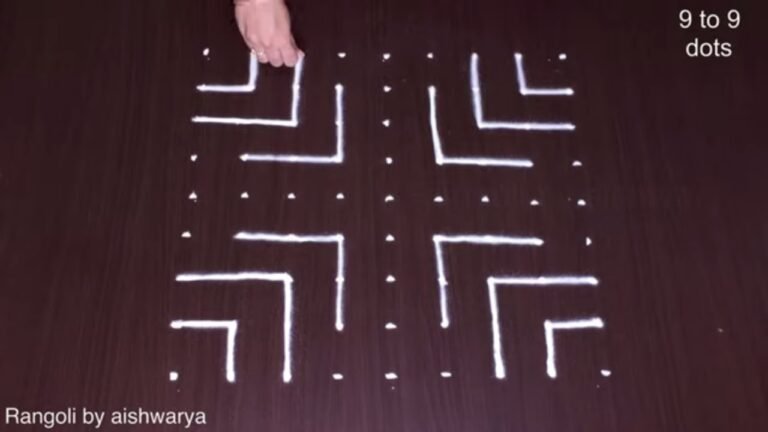
- Clear a flat surface and set down your dot grid using rice flour or chalk.
- Confirm the dot spacing is even — uneven dots are the biggest cause of wobbly curves.
- Begin tracing from the centre outward, following the curves shown in the video above.
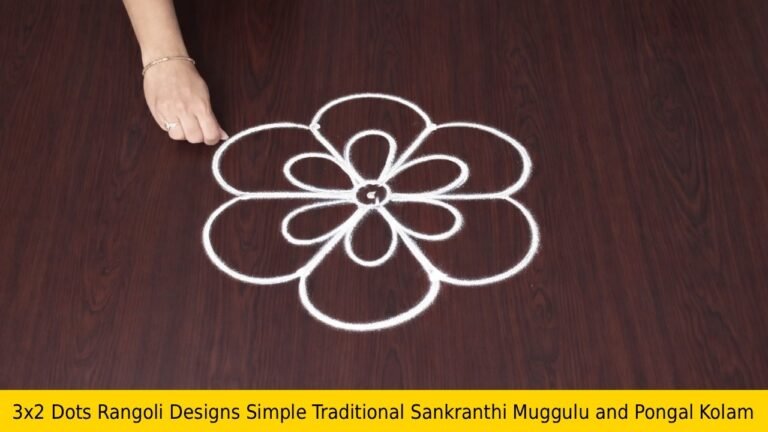
- Fill the petals and sections with your chosen colours, working one area at a time.
- Finish the edges with a fine line for a sharp, photograph-ready result.
What You Will Learn
- 7 Dots Rangoli
- Diya Kolam With Dots
- Friday Muggulu Designs
- 7 Dots Kolam
- Chinna Muggulu With Dots
- Rangoli With Dots
Frequently Asked Questions
How do I draw this rangoli?
It looks complex but follows a simple rhythm: dots first, then loops. Mark the grid, take a breath, and trace the curves at a steady pace. The pattern emerges on its own.
Is this suitable for beginners?
Yes — this design is shaped specifically with newcomers in mind. The dot grid is small enough to manage, and the curves are gentle. Most learners get it right by the second try.
What materials do I need?
White rice flour for the outline, coloured powders for the fill, and a clean dry floor. That is the essentials list — you can add a stencil if you prefer.
How long does it take?
You will see a 2 min 47 sec walkthrough above. Drawing it yourself is usually a 12–18 minute affair, slightly slower the first time.
If you enjoyed this design, browse our other dot-pattern tutorials — they share the same approach and build naturally on the techniques here.
Leave a Reply