Easy Hand Rangoli Designs 3 combines tradition with simplicity, making it one of the most rewarding designs to practice at home.

Easy Hand Rangoli Designs for Beginners | Kolam for Home dots 7 to 7 Telugu Muggulu | RamRangoli Thank you so much for watching Channel
My Ram Rangoli Channel Contains : Rangoli Designs Sankranthi Muggulu
Diwali Rangoli Ratham Muggulu Kolam Designs
Muggulu Designs Chukkala Muggulu Easy Rangoli
Simple Rangoli Easy Rangoli Designs Dhanurmasam Muggulu
Melikala Muggulu Geethala Muggulu Sivarathri Muggulu
Tip: A slightly damp brush along the edges gives a sharper finish, especially for festival photographs.
This easy hand rangoli design uses a 7 to 7 dot grid, making it a wonderful choice for beginners looking to create a festive atmosphere. The design is simple yet elegant, perfect for occasions such as Diwali or Sankranthi. You can enhance the beauty of this rangoli by incorporating vibrant colors and patterns that reflect the spirit of the festival. For those interested in exploring more unique designs, consider checking out the unique pattern rangoli design that offers a different take on traditional designs.
Creating this rangoli is a delightful activity that encourages creativity and mindfulness. As you draw the intricate patterns, you can infuse personal touches to make each creation unique. Hand rangolis are not just decorative; they also serve as a symbol of welcome and positivity. For more inspiration, you may want to look at the beautiful deepam rangoli designs that also utilize a similar dot grid, showcasing how versatile these designs can be. To learn more about the cultural significance of rangoli, visit this page.
Easy Hand Rangoli — Hand Rangoli Designs For — Step by Step Guide
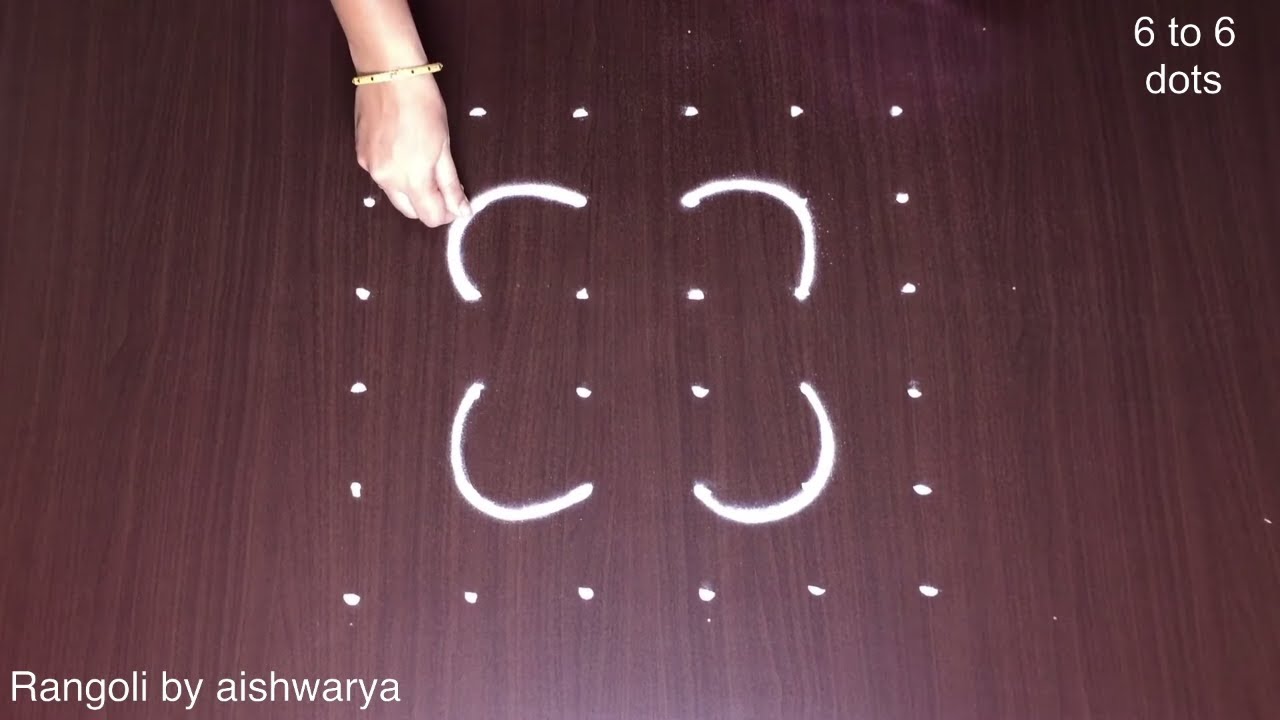
Follow the steps below to recreate this design at home. Pause the video whenever you need — there is no hurry.
- Clear a flat surface and set down your dot grid using rice flour or chalk.
- Confirm the dot spacing is even — uneven dots are the biggest cause of wobbly curves.
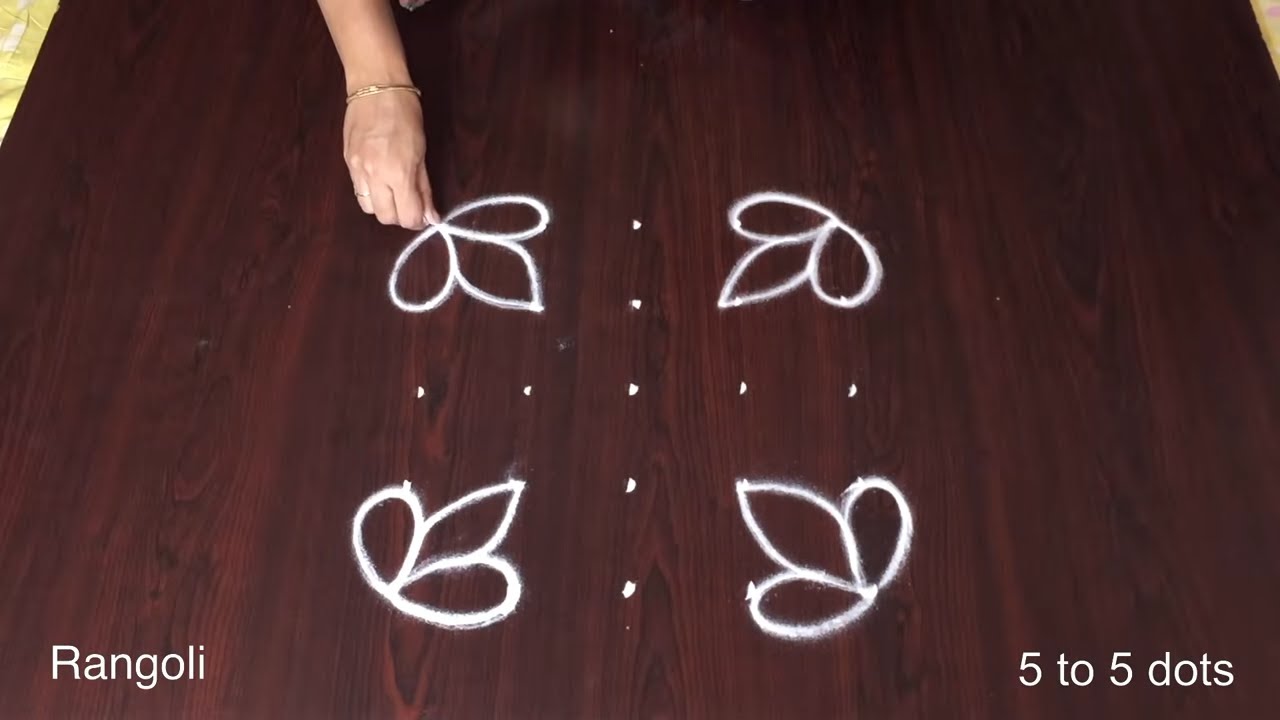
- Begin tracing from the centre outward, following the curves shown in the video above.
- Fill the petals and sections with your chosen colours, working one area at a time.
- Finish the edges with a fine line for a sharp, photograph-ready result.
What You Will Learn
- Simple Rangoli Designs
- Rangoli
- Muggulu
- Rangoli Designs
- Rangoli Kolam
- Kolam
Frequently Asked Questions
How do I draw this rangoli?
Set down the dot grid in pencil or chalk, then follow the loops one petal at a time. If a curve goes off, wipe it and retry — kolam is forgiving.
Is this suitable for beginners?
It is one of the more forgiving designs in our collection. Beginners often pick it as a confidence-builder before moving on to larger grids.
What materials do I need?
Powder (white for outlines, colours for filling), a flat surface, and a dot stencil if you want absolute precision. Beyond that, just your hand and a steady pace.
How long does it take?
The video clocks in at 4 min 56 sec. Allow about quarter of an hour to draw the design at a comfortable pace.
Whenever you finish your version, share a photo with us. Seeing your work is the best part of running this channel.


Leave a Reply