7 To 7 Dots is the kind of design that looks intricate but is genuinely beginner-friendly once you follow the dot grid.

Looking for a simple and devotional kolam for Karthigai? This 7 to 7 dots Deepam rangoli is perfect for Karthikam Masam celebrations at home. In this video, I guide you step by step to draw a 7 to 7 straight dots deepam kolam that is symmetrical, neat, and easy to follow. The balanced dot structure makes it beginner-friendly, while the lamp-inspired curves give it a traditional festive appearance.
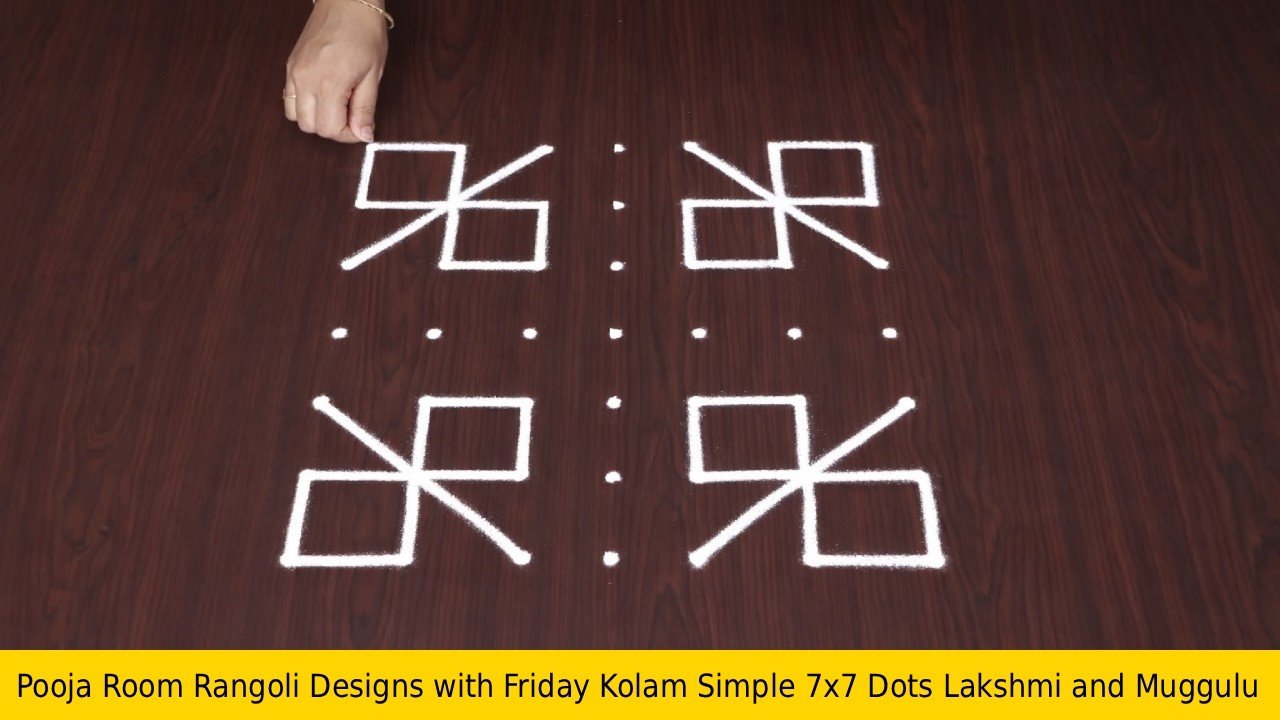
We begin by placing a clean 7 by 7 straight dot grid, ensuring equal spacing for proper alignment. Then, the outer deepam shapes are formed by smoothly connecting the surrounding dots. Inner detailing enhances the flame structure and gives the design a refined and devotional finish. How to construct a proper 7×7 straight dot grid How to shape symmetrical deepam curves
How to maintain balance in medium-sized kolams Simple finishing tips to make the design stand out This kolam is ideal for Karthigai evenings, pooja areas, and traditional home entrances. The lamp pattern symbolizes light and positivity, making it especially meaningful during Karthikam Masam.
Watch till the end to see the full transformation from simple dots to a complete deepam rangoli — the final reveal shows a beautifully symmetrical festive design. If you enjoy structured dot kolams, explore more 7 to 7 dots muggulu, Karthigai special designs, and devotional rangoli patterns on the channel.
Tip: Keep your powder bowl close to your dominant hand. Small movements give cleaner curves.
This 7 to 7 dots Deepam rangoli is a lovely choice for Karthigai celebrations, embodying the spirit of light and positivity associated with the festival. The design begins with a precise grid of 7 by 7 straight dots, allowing even spacing that is crucial for maintaining symmetry. As you connect the dots to create the deepam shapes, you’ll find that the flowing curves and inner detailing add an elegant touch, making it a perfect addition to pooja areas and home entrances during this auspicious time. For more festive designs, you might explore Pongal Pot Kolam Special Rangoli Designs.
Creating this rangoli is not only a beautiful way to decorate your space but also a wonderful opportunity to engage in a traditional art form. The lamp-inspired shapes symbolize hope and guidance, resonating deeply with the essence of Karthikam Masam. Beginners will appreciate the step-by-step guidance offered in the video, which ensures that even those new to rangoli can successfully achieve a neat and polished look. To expand your skills, consider trying out the Daily Simple Small Rangoli 6x2x2dots Kolam for practice. For a broader understanding of this art, you can visit Rangoli.
7 To 7 Dots — Step by Step Guide
Pace yourself through the steps — kolam rewards patience more than speed.
- Clear a flat surface and set down your dot grid using rice flour or chalk.
- Confirm the dot spacing is even — uneven dots are the biggest cause of wobbly curves.
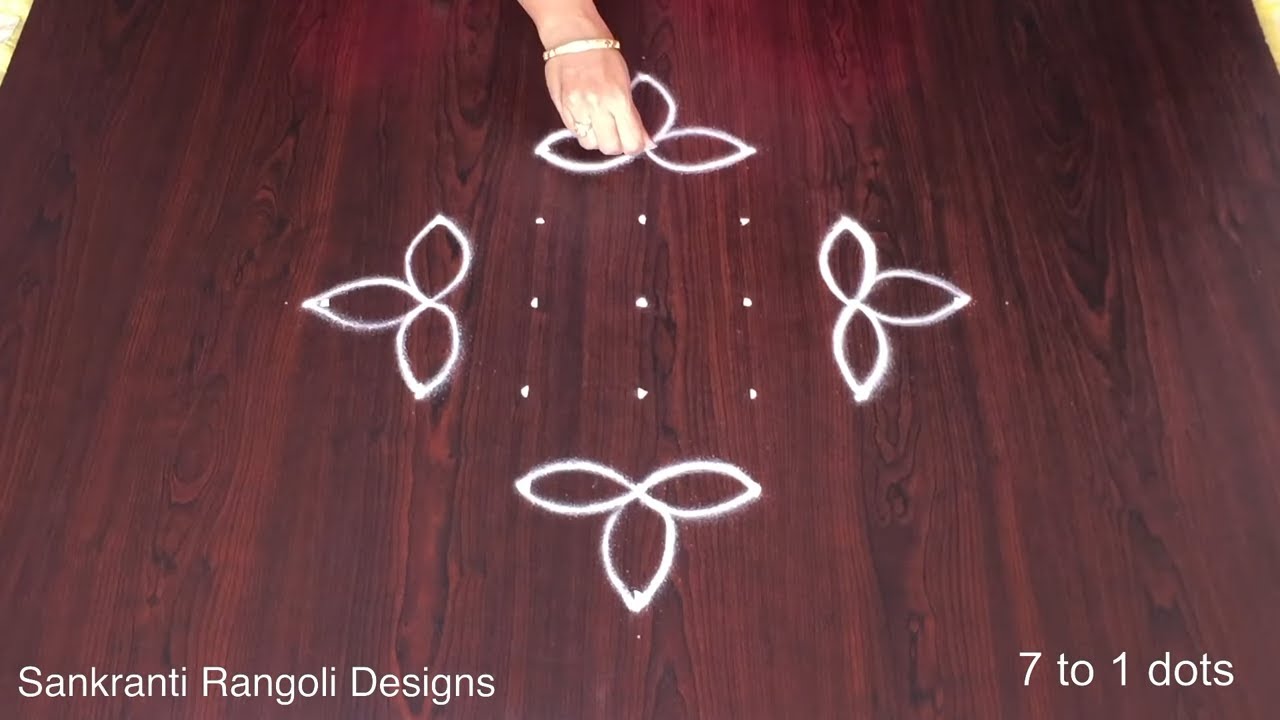
- Begin tracing from the centre outward, following the curves shown in the video above.
- Fill the petals and sections with your chosen colours, working one area at a time.
- Finish the edges with a fine line for a sharp, photograph-ready result.
What You Will Learn
- 7 To 7 Dots Rangoli
- Deepam Kolam 7 To 7
- Karthigai Special Kolam
- Karthikam Masam Rangoli
- 7X7 Dots Kolam
- 7 7 Chukkala Muggulu
Frequently Asked Questions
How do I draw this rangoli?
Begin with the dot grid — this is the skeleton of the design. With rice flour or chalk, place each dot at equal intervals. Then trace the curves slowly, one section at a time.
Is this suitable for beginners?
Absolutely. You can pause and rewind the video at every step. The pattern is straightforward once you have the grid down.
What materials do I need?
Powder (white for outlines, colours for filling), a flat surface, and a dot stencil if you want absolute precision. Beyond that, just your hand and a steady pace.
How long does it take?
The tutorial is 3 min 49 sec long. With practice the actual drawing settles around 10 minutes; the first time will likely take twice that.
Once this design feels familiar, switch the colours or rotate the grid by a step. Small tweaks keep daily kolam practice interesting.


Leave a Reply