Drawing Butterfly Kolam Designs is a relaxing, almost meditative practice. The dots guide your hand and the design unfolds naturally.
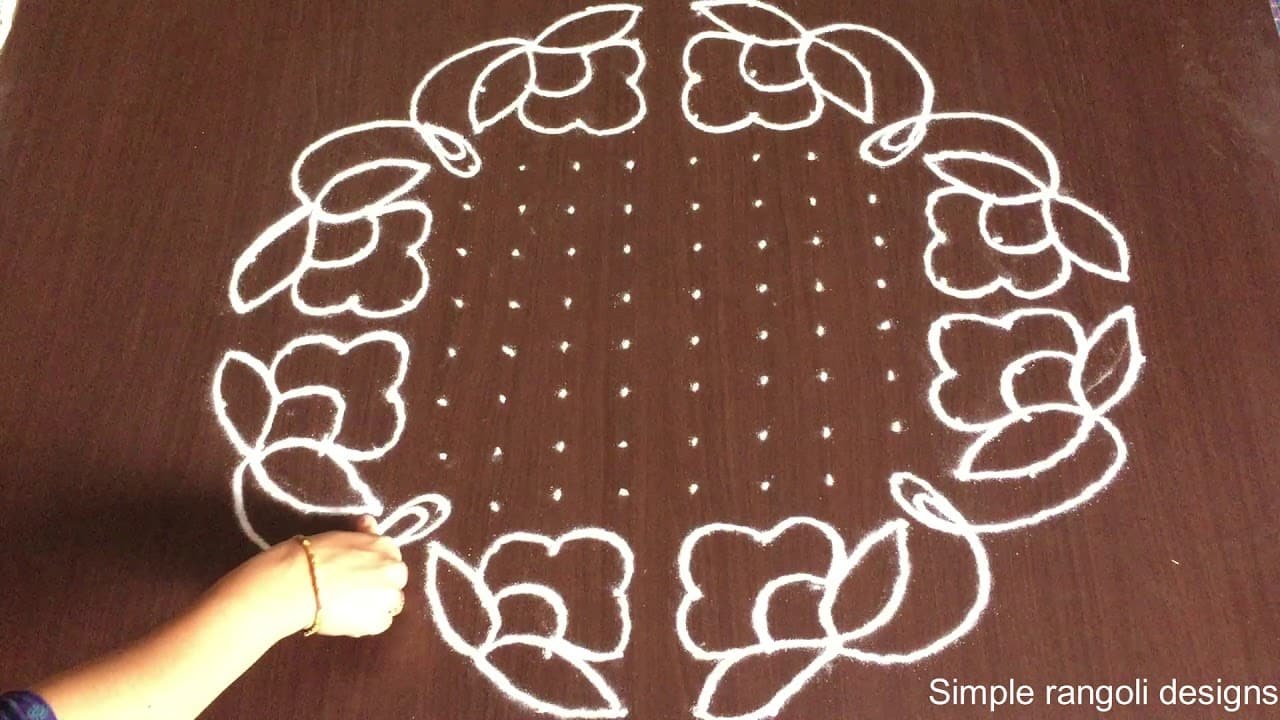
For another beginner-friendly variation, try Karthika Masam Deepala Muggulu.
Learn more about the tradition of Rangoli on Wikipedia.
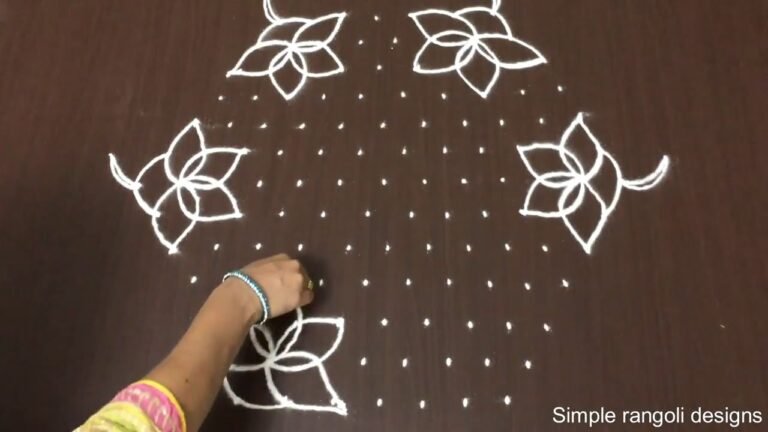
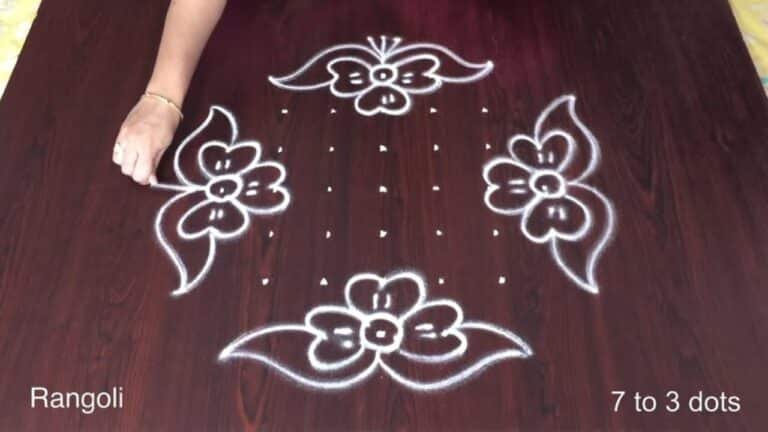
Looking for a unique butterfly kolam using a 16×4 dot grid? This easy chukkala muggulu design creates a wide and elegant decorative entrance. In this video, we create a 16×4 dots butterfly kolam, structured on a long decreasing grid that allows the wings to spread beautifully across the layout. The 16-4 format is ideal for wider entrances and corridors, giving enough space to form balanced and symmetrical wing patterns.
🦋 What You’ll Learn Step by Step: Proper placement of the 16×4 decreasing dot grid Forming smooth and symmetrical butterfly wings
Maintaining balance along the central axis Clean finishing touches for a polished look Butterfly-themed kolam designs symbolize beauty and harmony. The elongated 16×4 grid creates a strong horizontal presence, making the design stand out while remaining organized and neat.
Even though the layout is wider than standard beginner grids, the structured dots guide each curve naturally. The step-by-step approach ensures even spacing and symmetry throughout the drawing process. Watch till the end to see the complete transformation — the final symmetrical reveal highlights how the 16×4 dot structure turns into a beautiful butterfly kolam. If you enjoy long-grid themed designs, explore other formats like 15-5 and 17-5 to expand your creative rangoli collection.
Save this design and recreate it to enhance your entrance beautifully.
Tip: A slightly damp brush along the edges gives a sharper finish, especially for festival photographs.
About this design: Butterfly Kolam Designs is a beginner-friendly pattern that comes together in just a few minutes. Once you have practised the butterfly kolam designs dot grid, you can scale it up for festival mornings or scale it down for a daily doorstep. Many learners on our channel make this butterfly kolam designs their go-to design once they get the rhythm of the curves.
Butterfly Kolam Designs — Step by Step Guide
These steps are written for absolute beginners. Watch once, draw once, then watch again — that is how the pattern locks in.
- Clear a flat surface and set down your dot grid using rice flour or chalk.
- Confirm the dot spacing is even — uneven dots are the biggest cause of wobbly curves.
- Begin tracing from the centre outward, following the curves shown in the video above.
- Fill the petals and sections with your chosen colours, working one area at a time.
- Finish the edges with a fine line for a sharp, photograph-ready result.
What You Will Learn
- 16X4 Dots Butterfly Kolam
- Easy Chukkala Muggulu 16-4
- Butterfly Rangoli With Dots 16X4
- 16-4 Dots Kolam Design
- Elongated Grid Butterfly Kolam
- 16X4 Pulli Kolam
Frequently Asked Questions
How do I draw this rangoli?
Set down the dot grid in pencil or chalk, then follow the loops one petal at a time. If a curve goes off, wipe it and retry — kolam is forgiving.
Is this suitable for beginners?
Yes, and it is one we recommend to first-timers. The small grid keeps the design manageable while still teaching the core technique.
What materials do I need?
White rice flour for the outline, coloured powders for the fill, and a clean dry floor. That is the essentials list — you can add a stencil if you prefer.
How long does it take?
Plan for roughly 3 min 45 sec to watch and 15 minutes to draw. The second attempt is always cleaner than the first — that is the nature of dot kolam.
If you enjoyed this design, browse our other dot-pattern tutorials — they share the same approach and build naturally on the techniques here.

Leave a Reply