Chinna Muggulu Only 5 has become a favourite among learners on our channel — and once you try it, you will see why.

For another beginner-friendly variation, try 7 Se 7 Flower Rangoli.
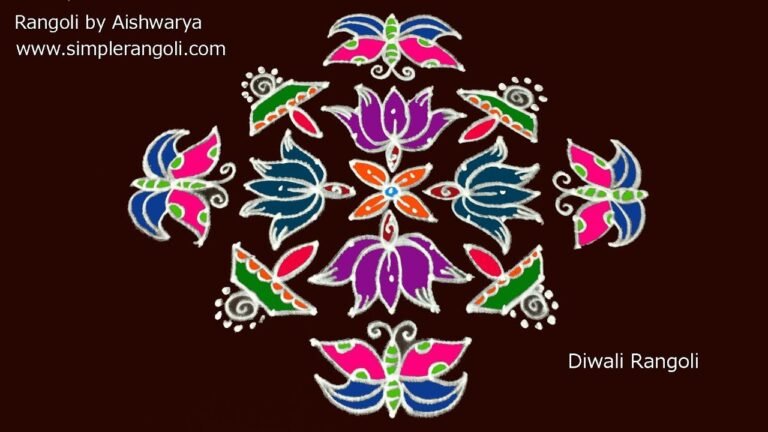
Chinna Muggulu Only 5 Into 5 Dots | Rose Flower Rangoli for Pandaga Cute Kolam. This tutorial will show you how to draw Beautiful Indian traditional art Diwali Rangoli patterns using materials such as dry rice flour, colored sand or flower petals Rangoli designs by Aishwarya. Simple rangoli Kutti Kolam pattern is created on the floor in living rooms or courtyards. Draw the Lines step by step as it is shown in this video and will be awesome Rangoli Design. 😲 The Diwali rangoli pattern here is one of the amazing latest kolam designs. Simple Rangoli Designs and easy rangoli designs by Aishwarya with dots for beginners and intermediate.
1. Diwali Rangoli 2. Pongal kolams 3. Pongal rangoli designs
4. Sankranthi designs 5. Easy rangoli for sankranthi 6. Pongal designs
7. Latest rangoli for sankranthi 8. Marzaghi kolams 9. Best kolangal
10. Easy rangoli designs 11. Rangoli Designs for Bhaubeej 12. Thipkyanchi Rangoli Designs
13. Simple Karthigai Kolam 14. Karthika Masam Chukkala Muggulu 15. Tulasi Kota Muggulu
Tip: Keep your powder bowl close to your dominant hand. Small movements give cleaner curves.
Chinna Muggulu with 5 into 5 dots is a delightful and simple rangoli design that is perfect for beginners. This pattern is often created during festivals like Diwali, where it adds a touch of beauty to the entrance of homes. The design typically features floral motifs and flowing lines, making it a charming choice for those looking to adorn their living spaces. For more intricate designs, you can explore the 16 To 6 Amazing Panduga Pedda Muggulu, which showcases larger patterns that can also be created for special occasions.
Using rice flour, colored powders, or flower petals, this chinna muggulu can be easily drawn on the floor, inviting positivity and good fortune. Its straightforward approach allows anyone to participate in the joyous act of creating rangoli, a traditional Indian art form that has a rich history. For those interested in exploring additional designs, the 9 Dots Chukkala Muggulu for Festivals provides more options that are equally engaging. You can learn more about the cultural significance of rangoli by visiting this Wikipedia page.
About this design: 5 Into 5 Dots is a beginner-friendly pattern that comes together in just a few minutes. Once you have practised the 5 into 5 dots dot grid, you can scale it up for festival mornings or scale it down for a daily doorstep. Many learners on our channel make this 5 into 5 dots their go-to design once they get the rhythm of the curves.
5 Into 5 Dots — Step by Step Guide
Use the steps below as a reference card while the video plays. Most learners finish on the second attempt.
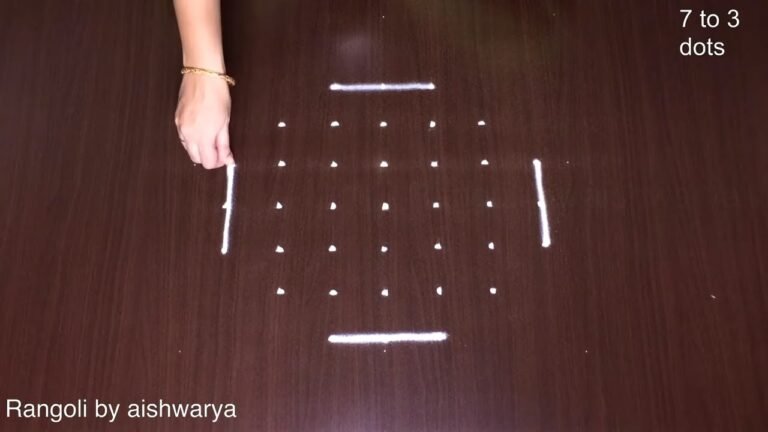
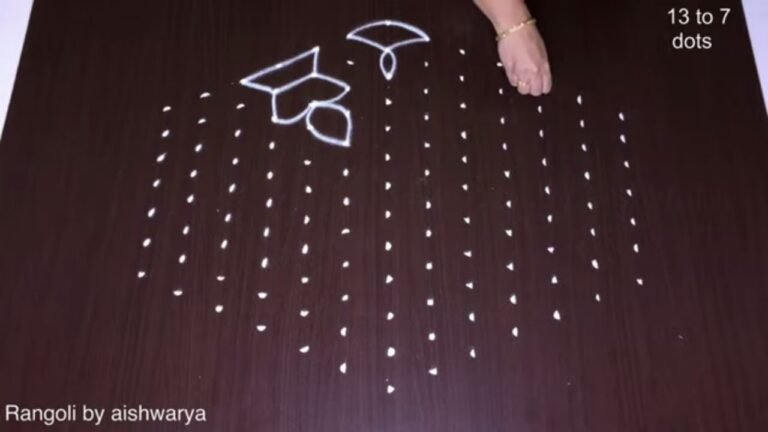
- Clear a flat surface and set down your dot grid using rice flour or chalk.
- Confirm the dot spacing is even — uneven dots are the biggest cause of wobbly curves.
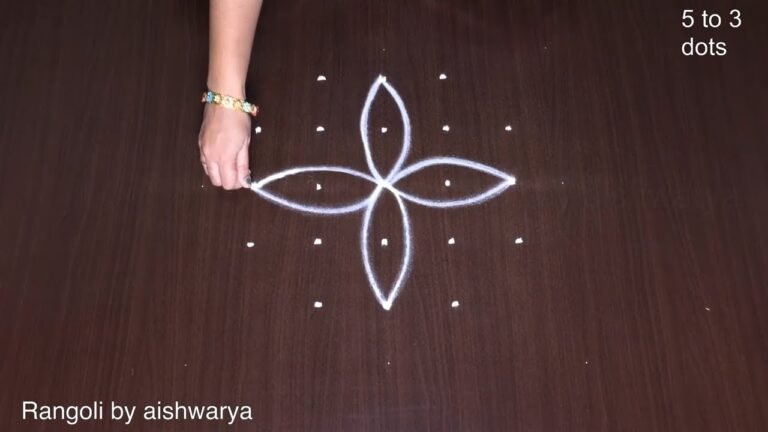
- Begin tracing from the centre outward, following the curves shown in the video above.
- Fill the petals and sections with your chosen colours, working one area at a time.
- Finish the edges with a fine line for a sharp, photograph-ready result.
What You Will Learn
- Rangoli
- Kolam
- Muggulu
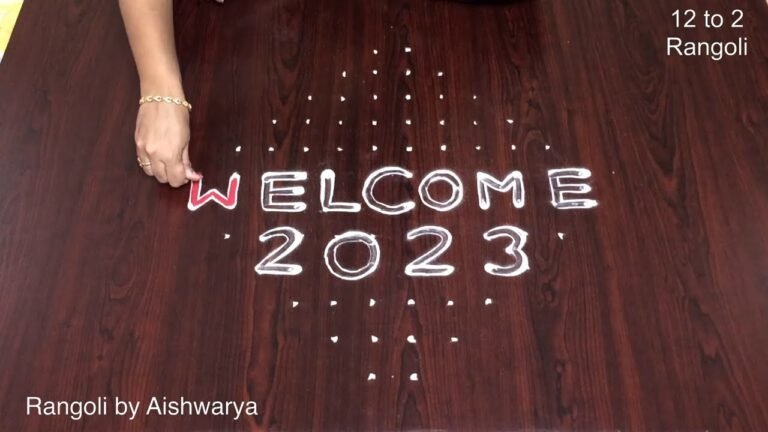
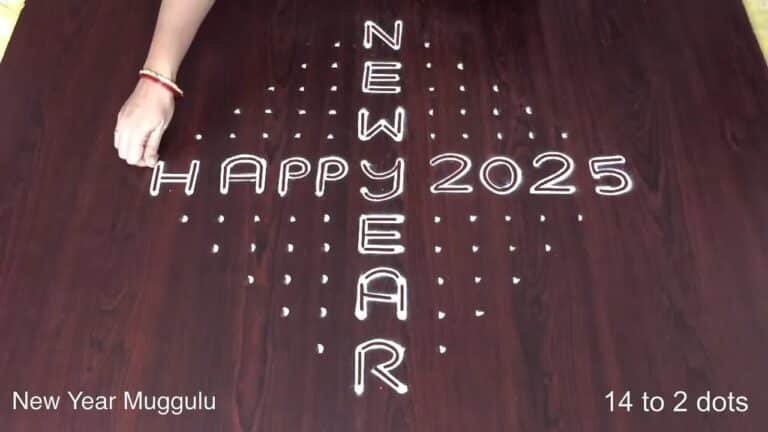
- Rangoli For New Year
- New Year Rangoli Designs
- Happy New Year Rangoli
Frequently Asked Questions
How do I draw this rangoli?
The grid comes first. Use a soft chalk to dot the surface, count twice to confirm the spacing, then start connecting them following the video. Work from the centre outward.
Is this suitable for beginners?
Yes — this design is shaped specifically with newcomers in mind. The dot grid is small enough to manage, and the curves are gentle. Most learners get it right by the second try.
What materials do I need?
Just three things: powder (white plus any colours you want), a flat dry surface, and a few minutes of focus. A small bowl per colour helps keep things tidy.
How long does it take?
Roughly 3 min 42 sec to watch end-to-end, and 10–20 minutes to draw yourself depending on grid size and how careful you are with the curves.
There is real pleasure in finishing a kolam at your own doorstep — even more so when the pattern is one you have practised before. Make this one of those.
Leave a Reply