Chinna Chukki Muggulu combines tradition with simplicity, making it one of the most rewarding designs to practice at home.
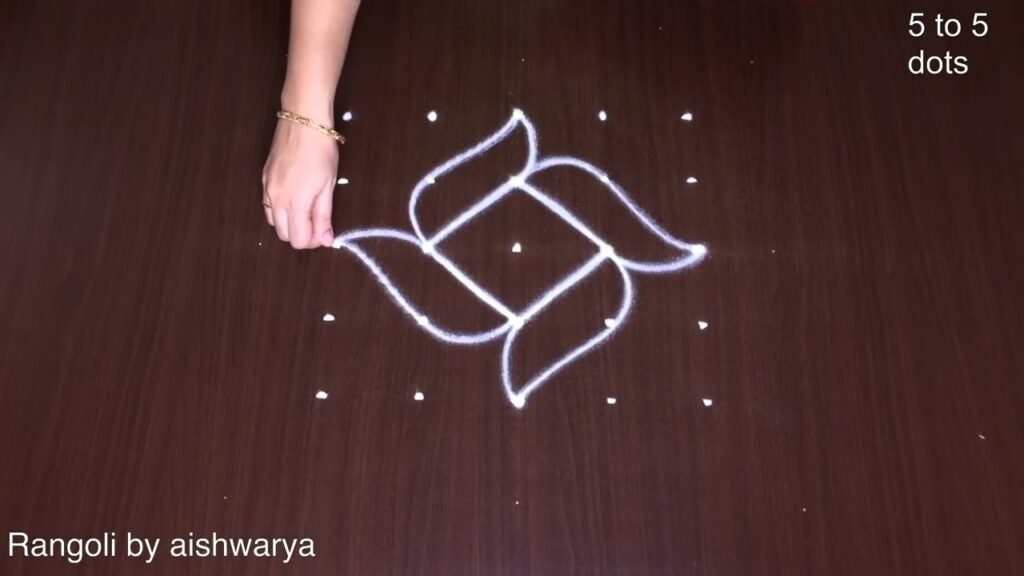
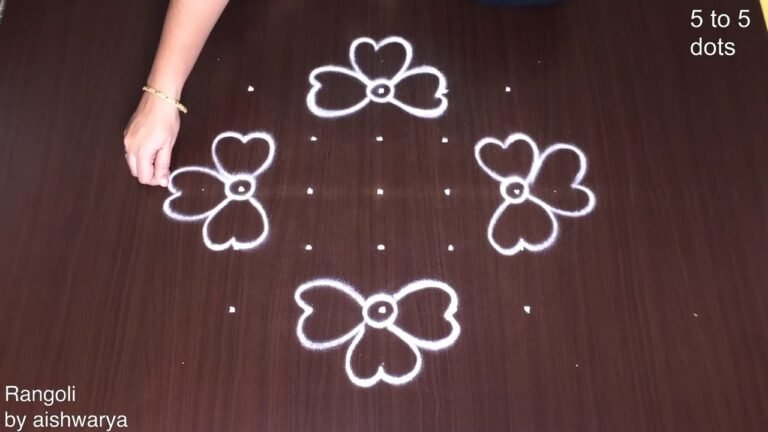
Easy Latest Small Flower Design Rangoli 5×5 Dots | Simple Kolam Chinna Chukki Muggulu. This tutorial will show you how to draw Beautiful Indian traditional art Diwali Rangoli patterns using materials such as dry rice flour, colored sand or flower petals Rangoli designs by Aishwarya. Simple rangoli Kutti Kolam pattern is created on the floor in living rooms or courtyards. Draw the Lines step by step as it is shown in this video and will be awesome Rangoli Design. 😲 The Diwali rangoli pattern here is one of the amazing latest kolam designs. Simple Rangoli Designs and easy rangoli designs by Aishwarya with dots for beginners and intermediate.
1. Diwali Rangoli 2. Pongal kolams 3. Easy rangoli designs
4. Rangoli design 5. Chukkala muggulu 6. Dot rangoli designs
7. Dots rangoli 8. Easy rangoli 9. Easy rangoli designs
10. Kolam designs 11. Kolam with dots 12. Muggulu designs
13. Muggulu designs with dots 14. Small rangoli designs 15. Muggulu chukkala muggulu
Tip: Practice on paper first if you are new to dot kolam. The grid is the same; only the surface changes.
Chinna Chukki Muggulu, characterized by its 5×5 dot pattern, is a delightful and simple design often used during festive occasions like Diwali. This traditional kolam is not only easy to create but also adds a touch of elegance to your living space. Using materials such as rice flour or colored sand, beginners can easily follow along with step-by-step tutorials to master this beautiful art form. For more inspiration, check out these Occasional Kolam Designs.
The beauty of Chinna Chukki Muggulu lies in its floral motifs, which can brighten up any courtyard or entrance. This kolam design can be enhanced with vibrant colors or natural elements like flower petals, making it suitable for various festivals. If you’re interested in exploring similar designs, consider trying out the Birds Kolam Design Simple Steps for a charming addition to your collection. To learn more about the rich history of this art form, visit this page on Rangoli.
Chinna Chukki Muggulu — Step by Step Guide
Below is the step-by-step breakdown. The video covers the same sequence in real time.
- Mark a 5-to-5 dot grid (a 5×5 square of dots).
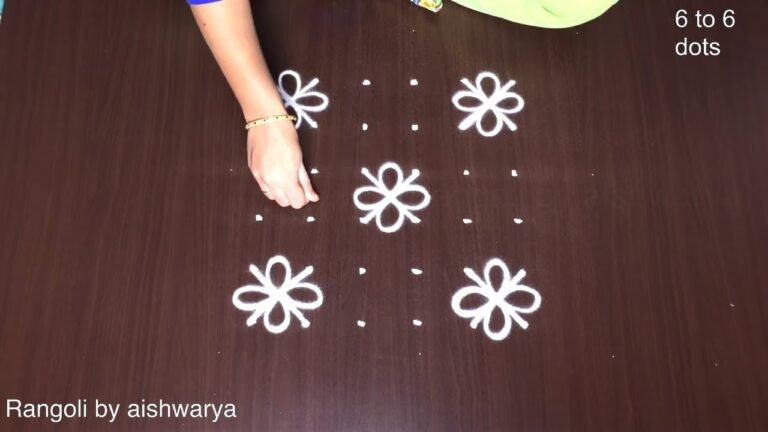
- In the centre, draw a four-petal motif: two pairs of pointed petals crossing in an X around a small oval butterfly body, with a dot in each quadrant.
- From the centre, extend four short arms toward the top, bottom, left and right.
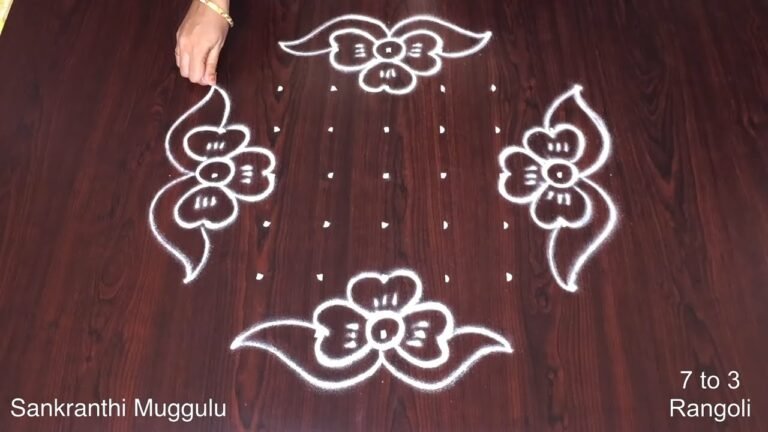
- At the end of each arm, draw a lotus-in-a-pot: a rounded scalloped cup holding a dotted circle, topped by a fan of pointed petals opening outward.
- Keep the four pots identical so the muggu reads as a balanced plus/cross.
- Outline in white and dot the flower centres; colour is optional for this small daily muggu.
What You Will Learn
- Simple Rangoli Designs
- Rangoli
- Muggulu
- Rangoli Designs
- Rangoli Kolam
- Kolam
Frequently Asked Questions
How do I draw this rangoli?
Start by marking an even dot grid on a flat, clean surface. Once the grid is in place, connect the dots following the curves shown in the video. Even spacing between dots is the single biggest factor for a clean finish.
Is this suitable for beginners?
Yes, and it is one we recommend to first-timers. The small grid keeps the design manageable while still teaching the core technique.
What materials do I need?
White rice flour for the outline, coloured powders for the fill, and a clean dry floor. That is the essentials list — you can add a stencil if you prefer.
How long does it take?
You will see a 7 min 49 sec walkthrough above. Drawing it yourself is usually a 12–18 minute affair, slightly slower the first time.
Try this design tomorrow morning at your doorstep. The compact grid makes it ideal for a daily ritual, not just festival days.
Leave a Reply