Looking to learn Chithirai Kolam Rangoli Designs? This step-by-step guide walks you through every line, dot, and curve.
Chithirai Kolam Rangoli Designs 🌸 3 X 2 dots Muggulu 🌸 Kolangal New Model Thank you so much for watching Channel
Chapters: 0:00 Intro 0:05 Chithirai Kolam Rangoli Designs
3:23 Kolangal New Model My Simple Rangoli Designs Channel Contains : Rangoli designs
Sankranthi muggulu Diwali rangoli Kolam designs
Simple rangoli Easy rangoli designs Pongal kolams
New year rangoli designs Ratham muggulu Muggulu designs
Tip: A slightly damp brush along the edges gives a sharper finish, especially for festival photographs.
This design belongs to the broader tradition of rangoli and kolam art practised across South India. Explore more in our 3 to 2 dots Rangoli Designs collection.
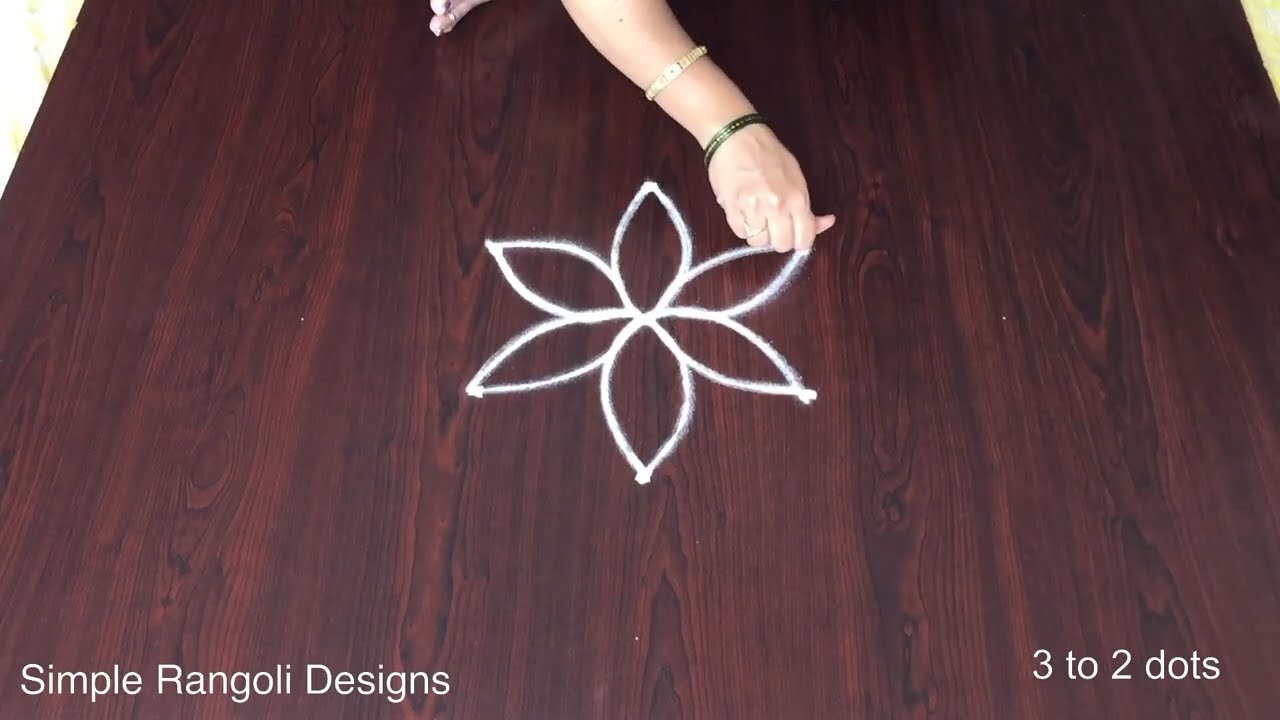
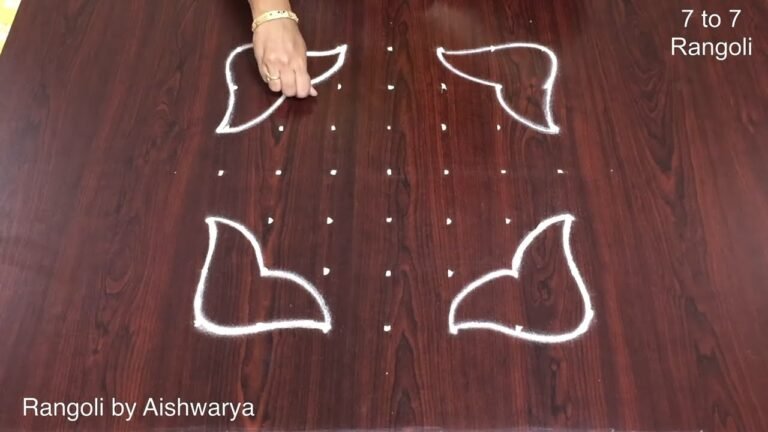
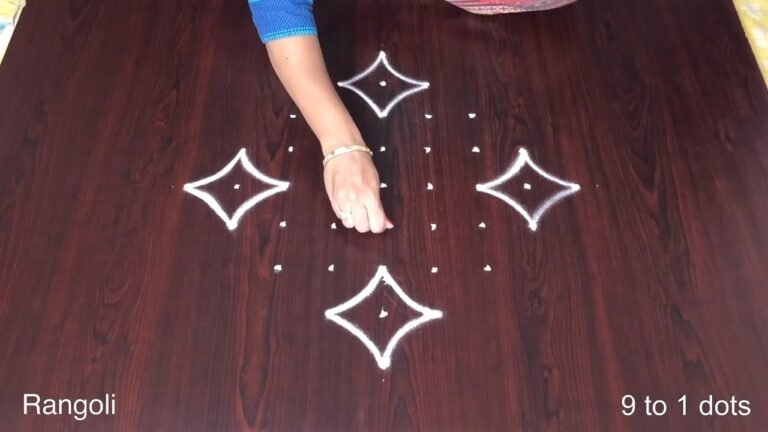
The Chithirai Kolam is a beautiful representation of traditional artistry, typically designed using a 3 by 2 dot grid. This rangoli design often features geometric patterns and floral motifs, making it visually appealing while remaining simple enough for beginners. The Chithirai festival, celebrated in Tamil Nadu, is a perfect occasion to create these kolams as they symbolize prosperity and welcome guests into homes. For inspiration, you might also explore Daily Kolams Latest Rangoli Designs which offer a variety of patterns suitable for daily use.
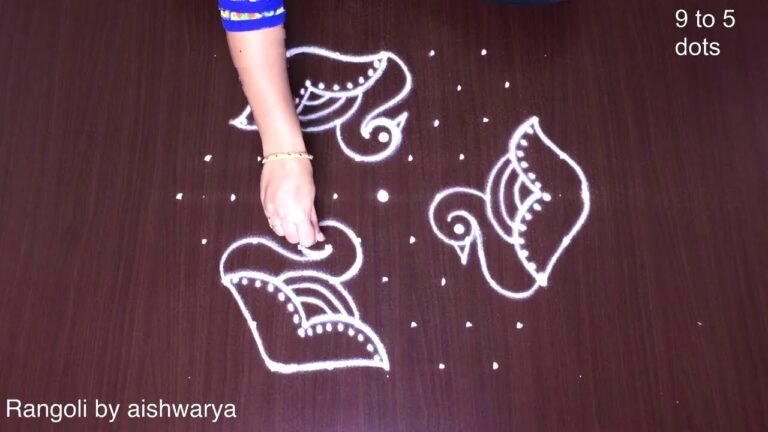
When creating a Chithirai Kolam, the use of vibrant colors enhances its beauty and significance. The design can be easily customized to reflect personal artistry, incorporating elements like rice flour or colored powders. This rangoli style not only beautifies the home but also serves as a creative outlet during festivals. If you are interested in exploring more festive designs, check out the Sankranthi Special Bhogi Kundala Muggulu for additional ideas. For a broader understanding of rangoli, visit this page.
Chithirai Kolam Rangoli Designs — Step by Step Guide
If you have drawn dot rangoli before, this will feel familiar. If you have not, the dot grid will guide you.
- Clear a flat surface and set down your dot grid using rice flour or chalk.
- Confirm the dot spacing is even — uneven dots are the biggest cause of wobbly curves.
- Begin tracing from the centre outward, following the curves shown in the video above.
- Fill the petals and sections with your chosen colours, working one area at a time.
- Finish the edges with a fine line for a sharp, photograph-ready result.
What You Will Learn
- Simple Rangoli Designs
- Rangoli
- Muggulu
- Rangoli Designs
- Rangoli Kolam
- Kolam
Frequently Asked Questions
How do I draw this rangoli?
Start by marking an even dot grid on a flat, clean surface. Once the grid is in place, connect the dots following the curves shown in the video. Even spacing between dots is the single biggest factor for a clean finish.
Is this suitable for beginners?
Absolutely. You can pause and rewind the video at every step. The pattern is straightforward once you have the grid down.
What materials do I need?
You will need rice flour or rangoli powder (white, plus your choice of colours), a flat surface like a clean floor or courtyard, and optionally a dot stencil if you are new to grid-drawing.
How long does it take?
About 7 min 13 sec on screen, perhaps 15 minutes for a relaxed first attempt. By the second try most people are noticeably quicker.
Half the skill of kolam is learning to slow down. Put on some music, give yourself the time, and let the curves come naturally.
Leave a Reply