How To Make A has become a favourite among learners on our channel — and once you try it, you will see why.

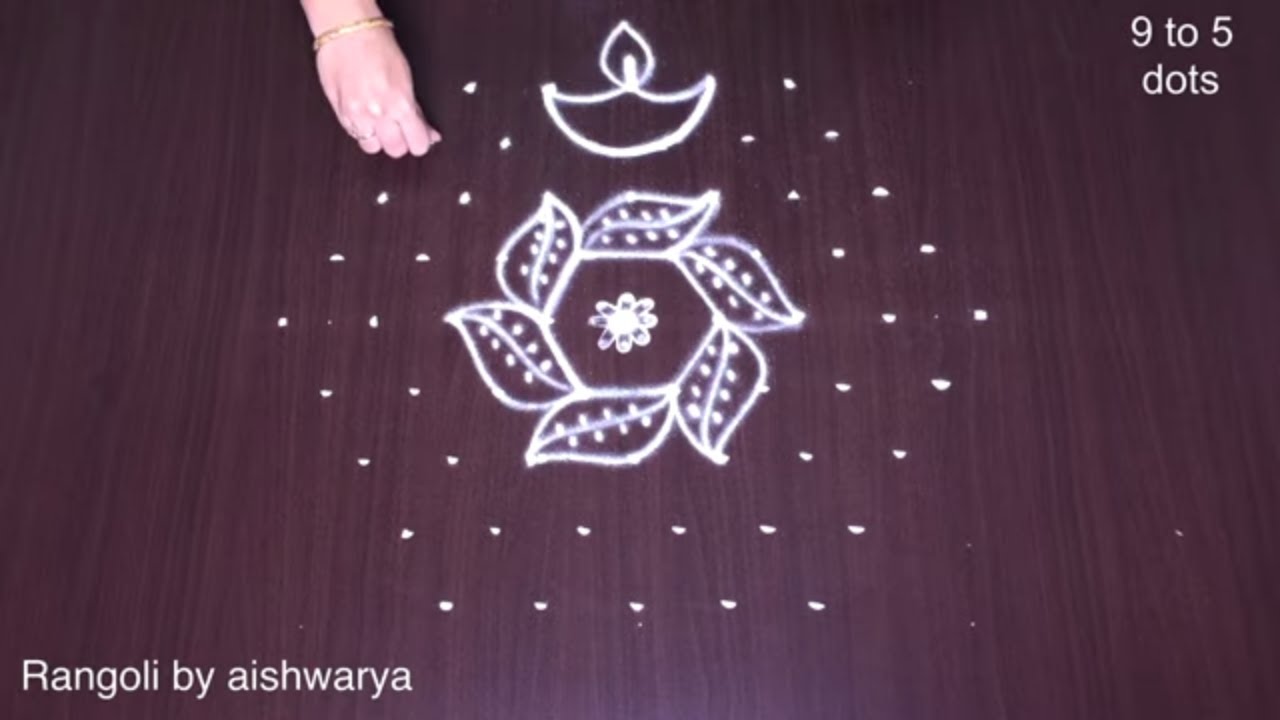
Chukki Rangoli Design | Simple Designs for Muggulu | How to Make a Kolam with 3 dots Thank you so much for watching Channel
For another beginner-friendly variation, try 11 By 6 Simple Kolam.
Learn more about the tradition of Rangoli on Wikipedia.
Chapters: 0:00 Intro 0:05 Chukki Rangoli Design
2:24 Simple Designs for Muggulu 4:55 How to Make a Kolam My Rangoli Channel Contains :
Rangoli Designs Sankranthi Muggulu Diwali Rangoli Ratham Muggulu Kolam Designs Muggulu Designs Chukkala Muggulu Easy Rangoli Simple Rangoli Easy Rangoli Designs Dhanurmasam Muggulu Pongal Kolams Padi Kolam Pulli Kolangal Melikala Muggulu Geethala Muggulu Sivarathri Muggulu New Year Rangoli Designs Ugadi Muggulu Friday Kolam Daily Rangoli Thipkyanchi Rangoli Designs Tipkyanchi Rangoli Vinayaka Chavithi Muggulu Krishnashtami Muggulu Dussehra Muggulu Simple rangoli for Daily use Small kolams for apartments Easy Rangoli for Beginners Side borders for muggulu Beginners Rangoli Karthika masam Muggulu Varalakshmi vratam muggulu Sravana masam muggulu Pooja room rangoli designer rangoli design deepavali rangoli floral rangoli kolam designs for pongal ரங்கோலி રંગોળી simple rangoli designs for home ముగ్గులు kolam with dots ರಂಗೋಲಿ mugulu simple muggulu pulli kolam muggulu chukkala muggulu rangoli designs with dots रांगोळी muggulu designs with dots simple kolam rangoli ముగ్గులు rangoli video dots rangoli rangoli chukki rangoli 15-8 design muggulu rangoli muggulu rangoli chitra muggulu muggulu videos रंगोली chinna muggulu ರಂಗೋಲಿ ಡಿಸೈನ್ muggulu telugu ముగ్గులు designs design rangoli big rangoli dots muggulu easy muggulu muggulu video ರಂಗೋಲಿ designs simple kolam designs kolam rangoli sankranthi muggulu 15 to 8 dots rangoli kolam designs with dots muggu chinna simple muggulu dot rangoli designs Don't forget to like, share, and subscribe for more rangoli videos.
Tip: Use chalk to lightly mark your dot grid first — it wipes away cleanly once your rangoli is finished.
This design belongs to the broader tradition of rangoli and kolam art practised across South India. Explore more in our 3 to 2 dots Rangoli Designs collection.
How To Make A — Step by Step Guide
Here is how to draw it, line by line. Take your time on the corners and the symmetry will take care of itself.
- Clear a flat surface and set down your dot grid using rice flour or chalk.
- Confirm the dot spacing is even — uneven dots are the biggest cause of wobbly curves.
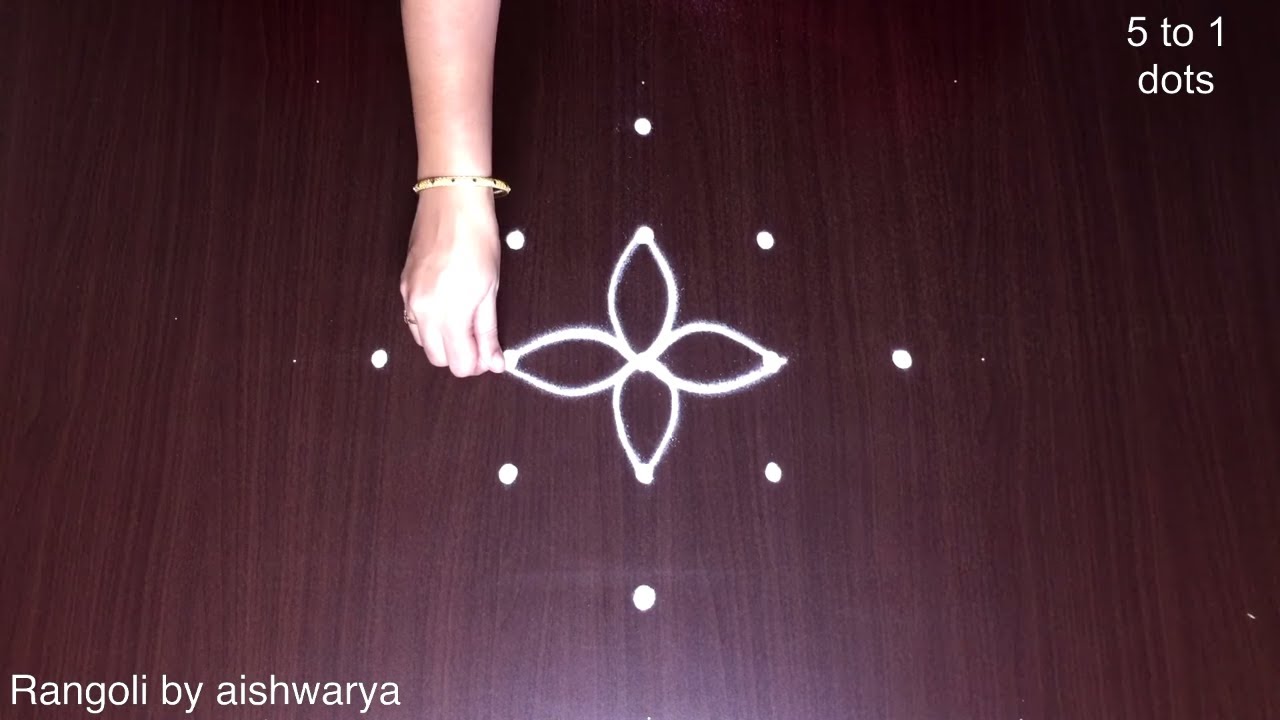
- Begin tracing from the centre outward, following the curves shown in the video above.
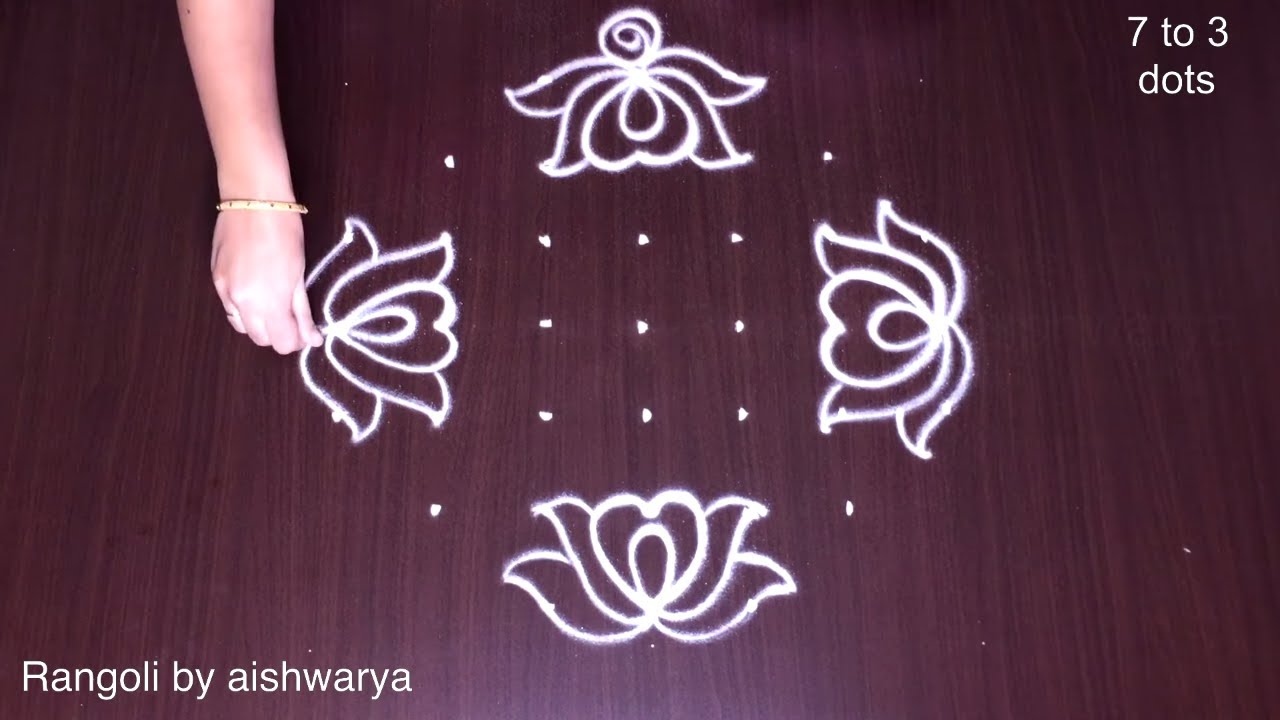
- Fill the petals and sections with your chosen colours, working one area at a time.
- Finish the edges with a fine line for a sharp, photograph-ready result.
What You Will Learn
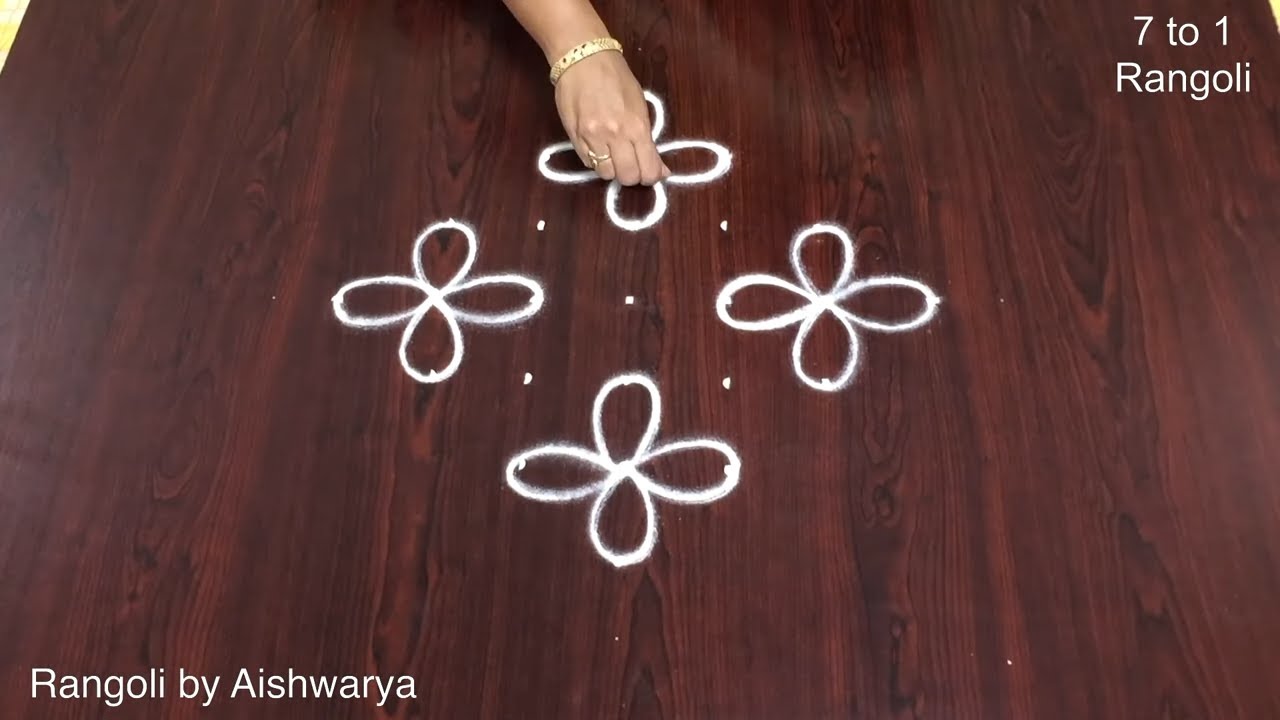
- Simple Rangoli Designs
- Rangoli
- Muggulu
- Rangoli Designs
- Rangoli Kolam
- Kolam
Frequently Asked Questions
How do I draw this rangoli?
The grid comes first. Use a soft chalk to dot the surface, count twice to confirm the spacing, then start connecting them following the video. Work from the centre outward.
Is this suitable for beginners?
Beginner-friendly is exactly the right description. The video walks through every line clearly and you can match the pace.
What materials do I need?
Just three things: powder (white plus any colours you want), a flat dry surface, and a few minutes of focus. A small bowl per colour helps keep things tidy.
How long does it take?
The tutorial is 7 min 53 sec long. With practice the actual drawing settles around 10 minutes; the first time will likely take twice that.
When you draw this, focus on the first three dots — get those right and the whole pattern follows. The rest is just patience and a steady hand.


Leave a Reply