Easy 6 To 2 combines tradition with simplicity, making it one of the most rewarding designs to practice at home.
Easy 6 to 2 Kolam and Rangoli Designs Thank you so much for watching Channel
My Rangoli Channel Contains : Rangoli Designs Simple Rangoli Designs
Kolam Designs Sankranthi Muggulu Simple Rangoli
Pongal Kolam Muggulu Sankranthi Muggulu Easy Rangoli Designs
Kolam Designs for Pongal Gadapa Muggulu Diwali Rangoli
Kolam Simple Muggulu Designs Rangoli Designs for Diwali
Tip: Practice on paper first if you are new to dot kolam. The grid is the same; only the surface changes.
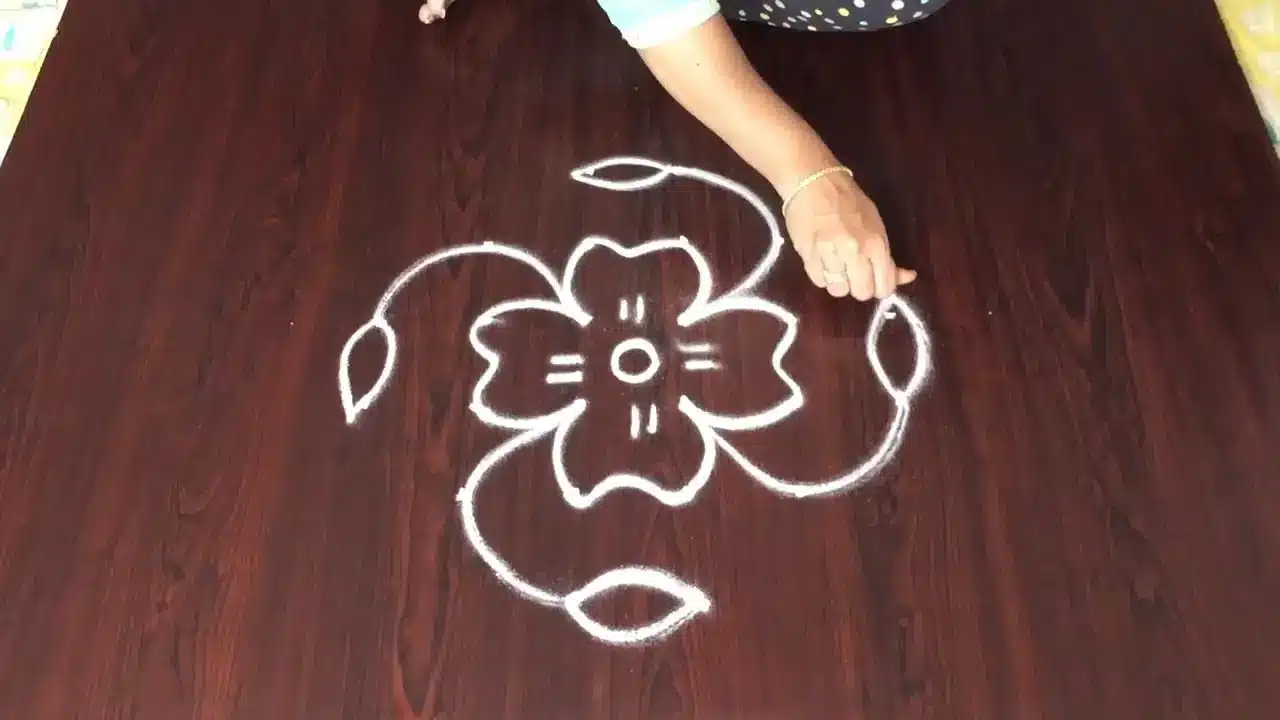
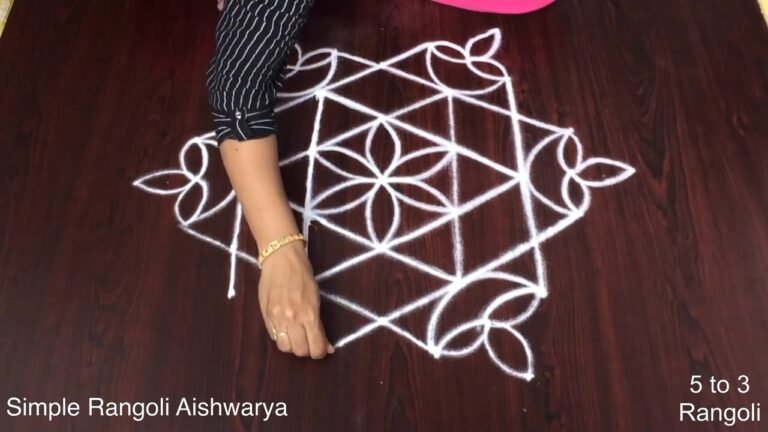
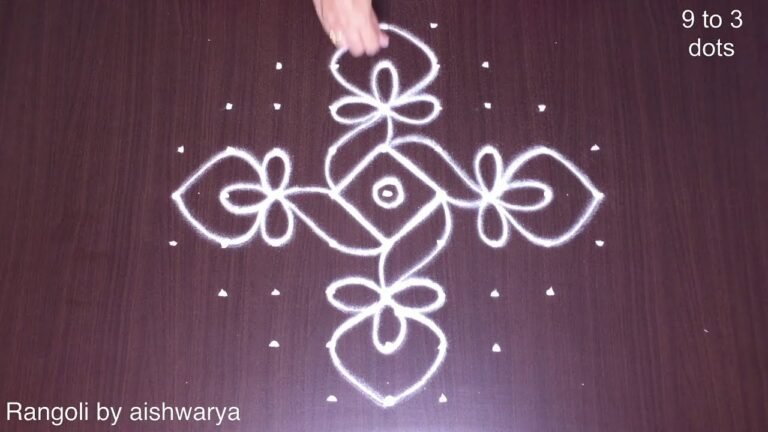
The easy 6 to 2 kolam design is a delightful choice for beginners looking to explore the art of rangoli. With just six dots arranged in a simple pattern, this design is versatile and can be adapted for various occasions. Commonly created during festivals like Pongal, it serves as an inviting welcome at the entrance of homes. For those interested in exploring more festival-specific designs, check out our Pongal Rangoli Designs for inspiration.
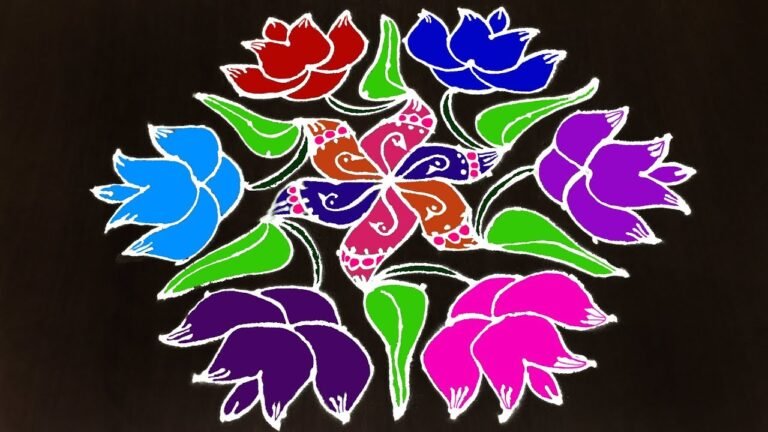
This design’s simplicity allows practitioners to focus on their technique, making it a perfect starting point for aspiring artists. The 6 to 2 kolam can be embellished with colorful powders or flowers, enhancing its visual appeal. If you wish to delve deeper into geometrically inspired patterns, you might enjoy our post on Perfect Geometrical Shapes Rangoli. To learn more about the rich tradition of rangoli, you can visit this Wikipedia page.
6 To 2 Kolam — Step by Step Guide
These steps are written for absolute beginners. Watch once, draw once, then watch again — that is how the pattern locks in.
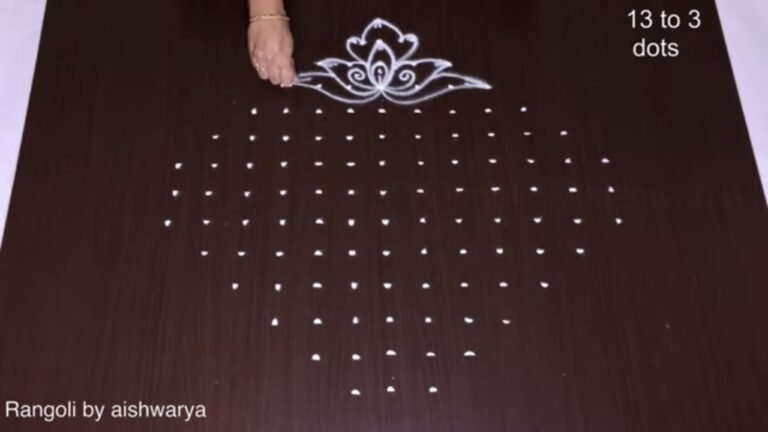
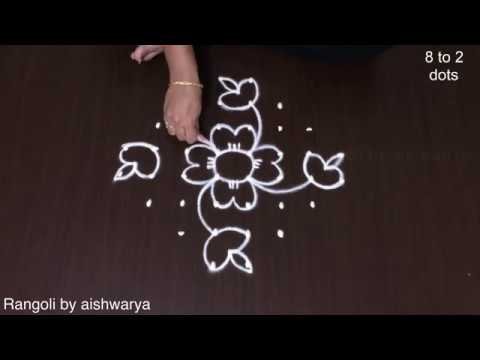
- Clear a flat surface and set down your dot grid using rice flour or chalk.
- Confirm the dot spacing is even — uneven dots are the biggest cause of wobbly curves.
- Begin tracing from the centre outward, following the curves shown in the video above.
- Fill the petals and sections with your chosen colours, working one area at a time.
- Finish the edges with a fine line for a sharp, photograph-ready result.
What You Will Learn
- Simple Rangoli Designs
- Rangoli
- Muggulu
- Rangoli Designs
- Rangoli Kolam
- Kolam
Frequently Asked Questions
How do I draw this rangoli?
Set down the dot grid in pencil or chalk, then follow the loops one petal at a time. If a curve goes off, wipe it and retry — kolam is forgiving.
Is this suitable for beginners?
It is one of the more forgiving designs in our collection. Beginners often pick it as a confidence-builder before moving on to larger grids.
What materials do I need?
Rice flour, coloured rangoli powders, and a clean stretch of floor or paper. Some draw with chalk first to set the grid before powdering over it.
How long does it take?
The full demonstration takes 3 min 8 sec. Most people find their own drawing time settles to about 15 minutes once the grid is familiar.
Whenever you finish your version, share a photo with us. Seeing your work is the best part of running this channel.
If you enjoyed this design, browse our other dot-pattern tutorials for more rangoli and kolam inspiration. Each pattern is photographed at the doorstep so you can see exactly how it lands in real light.

Leave a Reply