Add a touch of charm to your doorway with Karthigai Deepam Rangoli 9 — clean lines, balanced symmetry, and easy to scale.
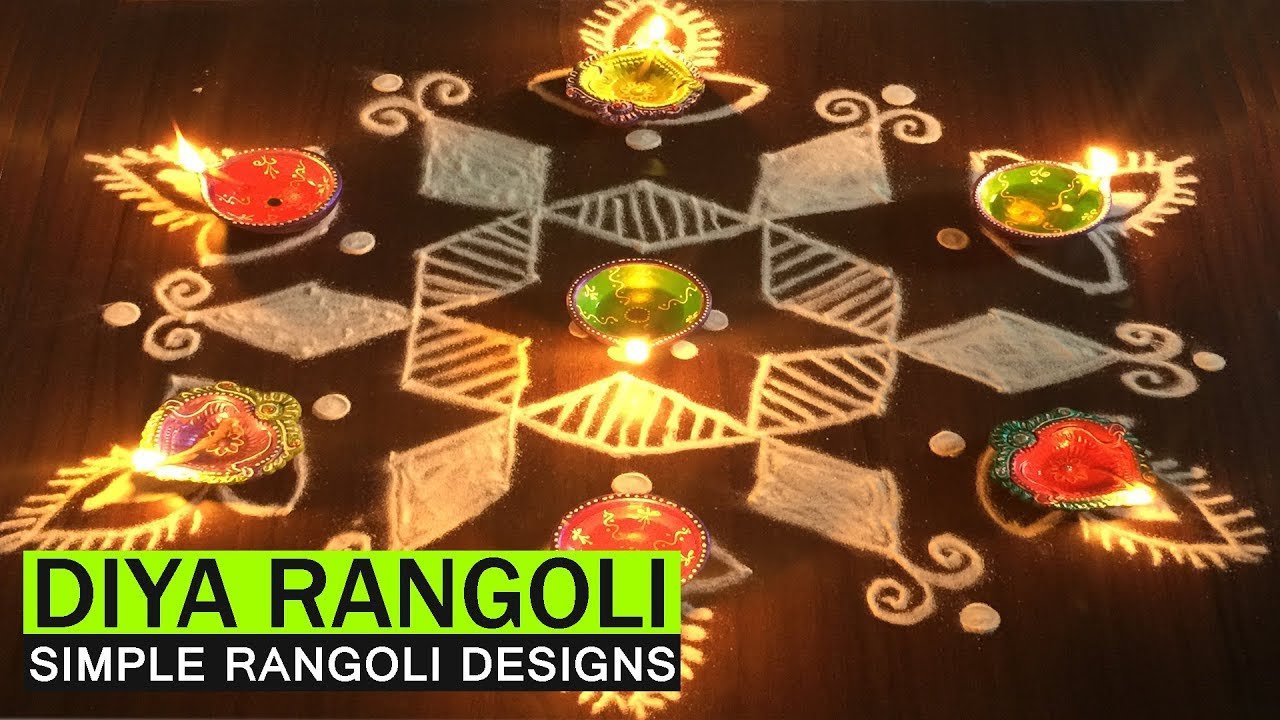
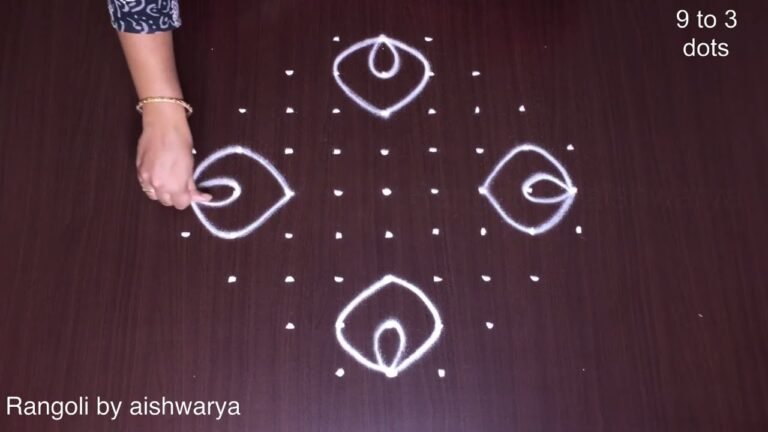
Looking for a bright and traditional 9 to 5 dots rangoli for Karthigai Deepam? This easy diya kolam design is perfect for creating a glowing festive entrance. In this video, we create a 9 to 5 dots Karthigai Deepam rangoli using a structured decreasing grid that naturally forms a balanced and centered layout. The 9-5 dot format offers enough space to shape graceful diya patterns while maintaining clean symmetry.
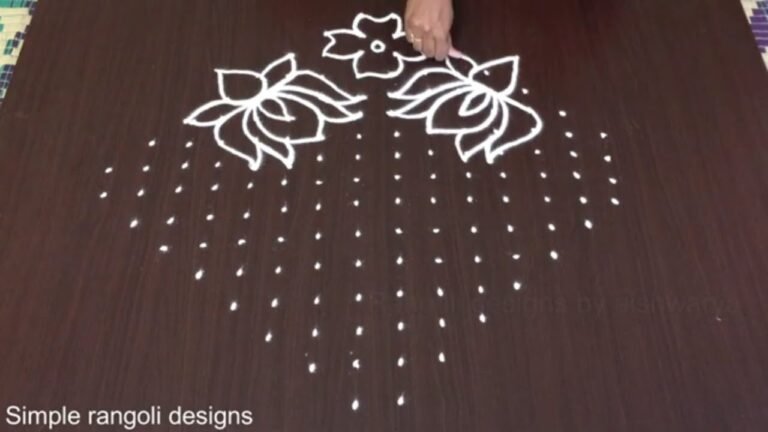
How to place the 9 to 5 decreasing dots accurately Forming elegant diya shapes using smooth curves Keeping the design symmetrical across the center line
Simple finishing techniques for a neat festive look Karthigai Deepam is celebrated with rows of lamps that symbolize light and positivity. Decorating your entrance with a deepam-themed kolam enhances the spiritual atmosphere and brings a welcoming glow to your home. This chinna chukki muggulu style keeps the design compact yet festive. Watch till the end to see the full symmetrical finish — the completed diya alignment creates a satisfying and radiant final look.
If you enjoy 9 to 5 dot kolam, explore other Karthigai grids like 7-4 and 11-6 to expand your festive rangoli collection and strengthen your dot-series consistency. Save this design for Karthigai Deepam and recreate it for a beautiful illuminated entrance.
Tip: Use chalk to lightly mark your dot grid first — it wipes away cleanly once your rangoli is finished.
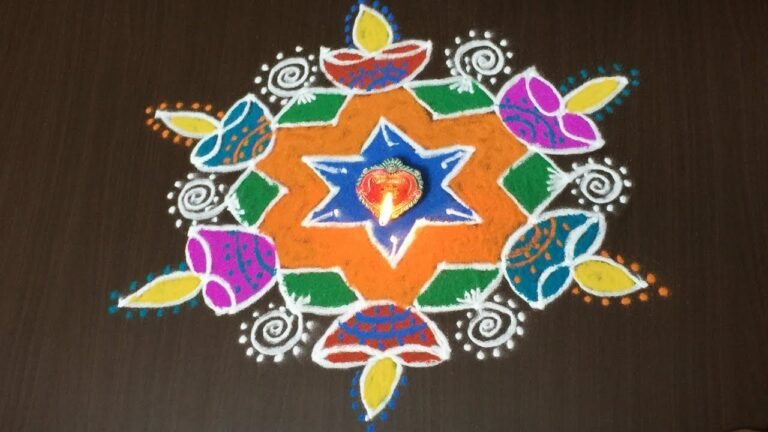
The Karthigai Deepam rangoli design using 9 to 5 dots is a beautiful representation of this festival, which emphasizes light and positivity. This design features a structured decreasing grid that allows for an elegant arrangement of diya shapes, creating a balanced and symmetrical look. The 9-5 dot format is particularly beginner-friendly, making it easier to achieve those graceful curves that are characteristic of traditional kolams. For those interested in exploring more grid options, the 7 to 4 Diya Kolam for Pooja Room at Home is another lovely choice to consider.
As Karthigai Deepam approaches, decorating your entrance with this rangoli can enhance the festive spirit and create a warm, inviting atmosphere. The compact nature of the design suits smaller spaces while still making a bold statement. Completing the diya alignment perfectly results in a radiant finish that reflects the essence of the festival. For those who enjoy experimenting with various patterns, consider trying the Butterfly Rangoli for Festival for a different yet equally delightful design. To learn more about the rich tradition of rangoli, visit this page.
Karthigai Deepam Rangoli 9 — Step by Step Guide
Use the steps below as a reference card while the video plays. Most learners finish on the second attempt.
- Clear a flat surface and set down your dot grid using rice flour or chalk.
- Confirm the dot spacing is even — uneven dots are the biggest cause of wobbly curves.
- Begin tracing from the centre outward, following the curves shown in the video above.
- Fill the petals and sections with your chosen colours, working one area at a time.
- Finish the edges with a fine line for a sharp, photograph-ready result.
What You Will Learn
- 9 To 5 Karthigai Deepam Rangoli
- Easy Diya Kolam 9-5 Dots
- Chinna Chukki Muggulu 9-5
- Karthigai Kolam With Dots
- 9-5 Dots Deepam Kolam
- 9 To 5 Pulli Kolam
Frequently Asked Questions
How do I draw this rangoli?
Begin with the dot grid — this is the skeleton of the design. With rice flour or chalk, place each dot at equal intervals. Then trace the curves slowly, one section at a time.
Is this suitable for beginners?
Yes — this design is shaped specifically with newcomers in mind. The dot grid is small enough to manage, and the curves are gentle. Most learners get it right by the second try.
What materials do I need?
Just three things: powder (white plus any colours you want), a flat dry surface, and a few minutes of focus. A small bowl per colour helps keep things tidy.
How long does it take?
A 3 min video shows the complete sequence. On paper or floor, expect to spend around a quarter of an hour from grid to finished pattern.
Half the skill of kolam is learning to slow down. Put on some music, give yourself the time, and let the curves come naturally.
Leave a Reply