Latest Sankranti Flowers Kolam is a beautiful kolam pattern you can draw right at your doorstep — perfect for beginners and seasoned rangoli artists alike.
For another beginner-friendly variation, try 16 To 6 Amazing Panduga Pedda Muggulu.
Learn more about the tradition of Rangoli on Wikipedia.
Looking for a grand 15 to 8 dots kolam to elevate your Sankranti decoration? This large floral muggulu design brings festive richness and perfect symmetry together. In this video, we create a 15 to 8 dots Sankranti floral kolam, using a wide decreasing grid that forms a bold and elegant base. The 15-8 structure is ideal for spacious entrances and courtyards, allowing detailed flower patterns to develop beautifully while maintaining balance.
🌾 What You’ll Learn Step by Step: Correct placement of the 15 to 8 decreasing dot grid Building a symmetrical floral framework
Smooth curve techniques for large layouts Clean finishing touches for a festival-ready appearance Sankranti celebrations are known for vibrant entrances and expansive kolam designs. A 15 to 8 dot grid creates a strong visual presence, making it perfect for marking the harvest festival with grandeur and tradition.
Even though the layout is larger, the structured dot arrangement guides the entire drawing process. Following the grid carefully ensures clean alignment and proportion across the design. Watch till the end to see the full floral transformation — the final symmetrical reveal highlights how a large dot structure turns into an impressive Sankranti kolam. If you enjoy 15 to 8 dot designs, explore other large festive grids like 13-7 and 17-9 to build a powerful seasonal rangoli collection.
Save this design and recreate it to make your Sankranti entrance truly stand out.
Tip: Use chalk to lightly mark your dot grid first — it wipes away cleanly once your rangoli is finished.
About this design: Latest Sankranti Flowers Kolam is a beginner-friendly pattern that comes together in just a few minutes. Once you have practised the latest sankranti flowers kolam dot grid, you can scale it up for festival mornings or scale it down for a daily doorstep. Many learners on our channel make this latest sankranti flowers kolam their go-to design once they get the rhythm of the curves.
Latest Sankranti Flowers Kolam — Step by Step Guide
Follow the steps below to recreate this design at home. Pause the video whenever you need — there is no hurry.
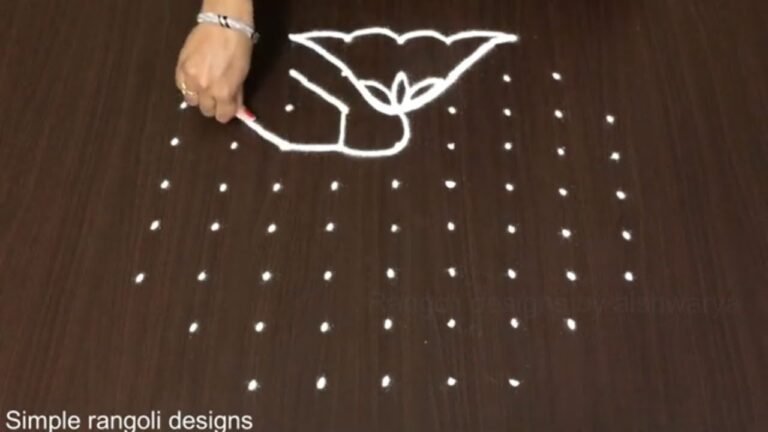
- Mark the 15-to-8 dot grid — a diamond pulli grid of 15 dots in the middle row tapering to 8, leaving a big centre ringed by room for flowers.
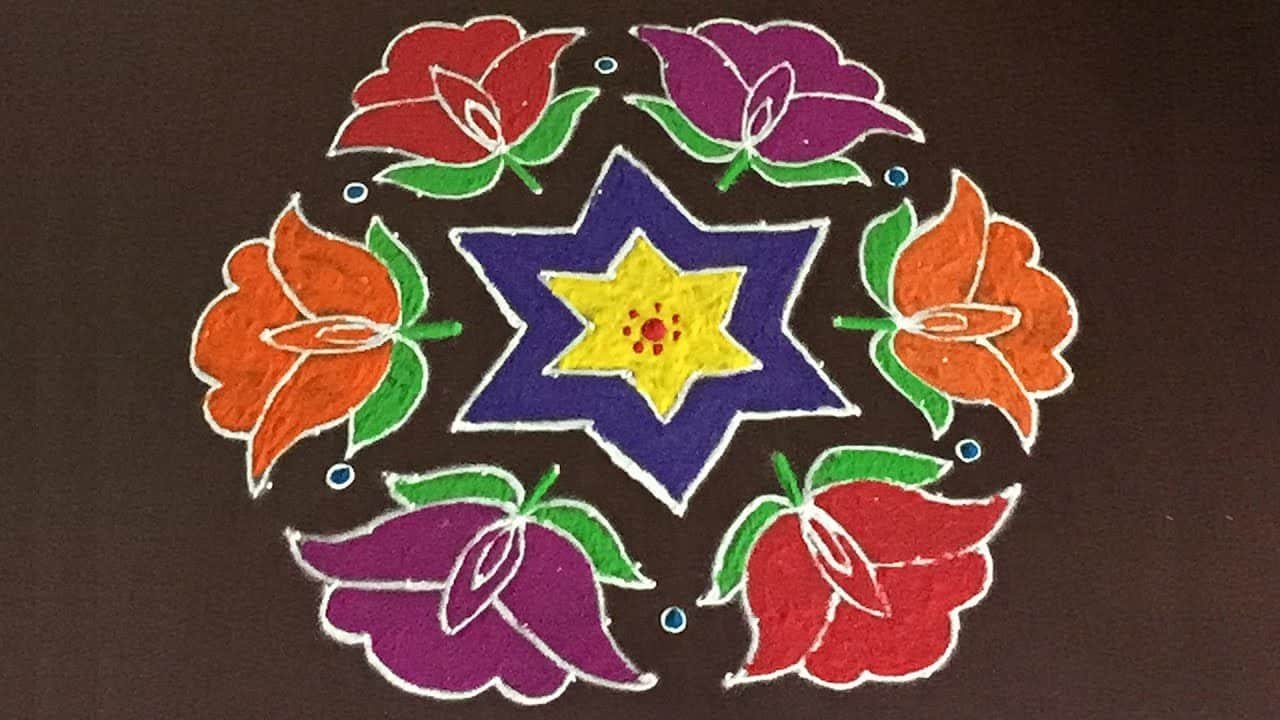
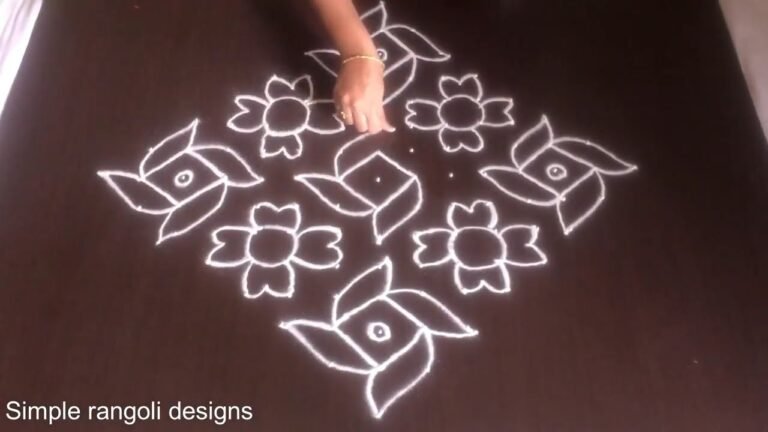
- In the centre draw a large six-pointed star (two overlapping triangles) around the middle dots, outline it a second time for a thick double border, and place one dot in its middle.
- Around the star space eight flowers evenly — one at each side and each corner of the grid — so they form a ring with equal gaps.
- Draw every flower as an open rose/tulip: begin with a small curled inner petal, wrap two or three broad rounded petals around it, and close the outer edge with a scalloped base so it reads as a full bloom.
- Give each flower a pair of pointed green leaves (calyx) at its base and tuck a short stem-leaf between the flower and the central star.
- Outline all in white, then fill the blooms in alternating brights around the ring — reds, purple and orange — with green for every leaf and sepal, keeping the central star white on the dark ground.
What You Will Learn
- 15 To 8 Dots Sankranti Kolam
- Sankranti Floral Muggulu 15-8
- Grand Festival Rangoli 15 To 8
- 15-8 Dots Kolam Design
- Large Grid Sankranti Rangoli
- 15 To 8 Pulli Kolam
Frequently Asked Questions
How do I draw this rangoli?
It looks complex but follows a simple rhythm: dots first, then loops. Mark the grid, take a breath, and trace the curves at a steady pace. The pattern emerges on its own.
Is this suitable for beginners?
Yes — this design is shaped specifically with newcomers in mind. The dot grid is small enough to manage, and the curves are gentle. Most learners get it right by the second try.
What materials do I need?
You will need rice flour or rangoli powder (white, plus your choice of colours), a flat surface like a clean floor or courtyard, and optionally a dot stencil if you are new to grid-drawing.
How long does it take?
The full demonstration takes 4 min 17 sec. Most people find their own drawing time settles to about 15 minutes once the grid is familiar.
If you enjoyed this design, browse our other dot-pattern tutorials — they share the same approach and build naturally on the techniques here.
Leave a Reply