Doorstep Kolam Designs By combines tradition with simplicity, making it one of the most rewarding designs to practice at home.
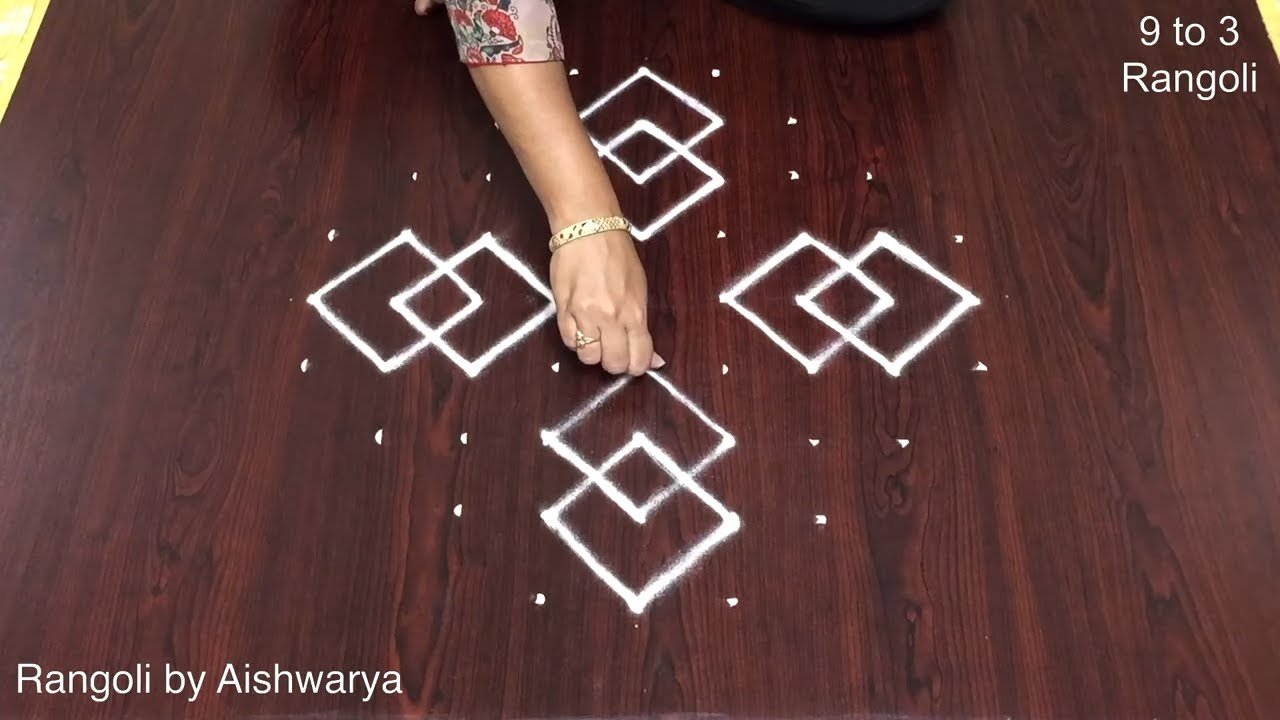
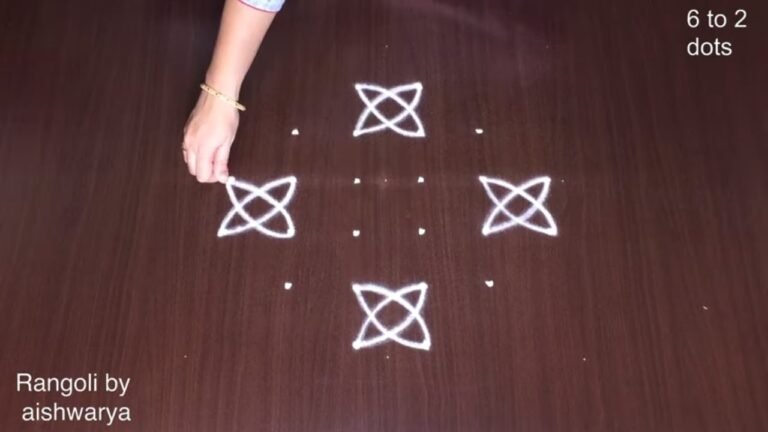
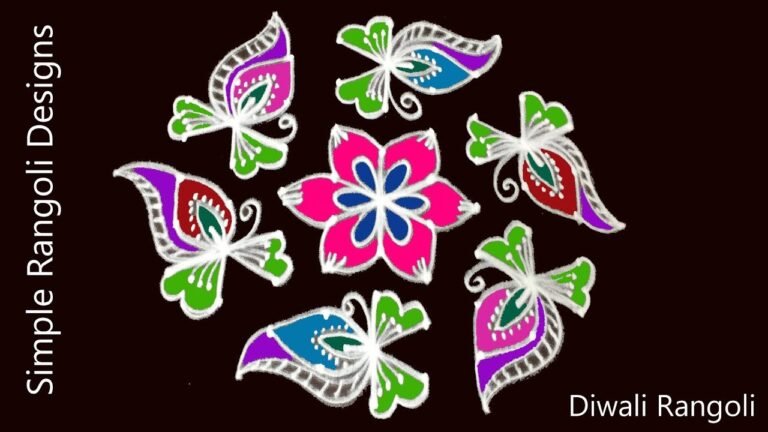
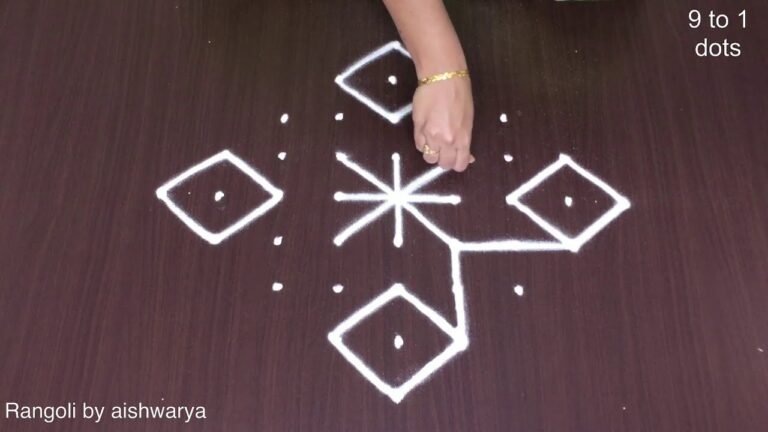
Doorstep Kolam Designs by Aishwarya | 9 to 3 dots Rangoli | Chukkala Muggulu Chinnavi. This tutorial will show you how to draw Beautiful Indian traditional art sankranthi muggulu patterns using materials such as dry rice flour, colored sand or flower petals Rangoli designs by Aishwarya. Simple rangoli designs with dots Kolam pattern is created on the floor in living rooms or courtyards. Draw the Lines step by step as it is shown in this video and will be awesome Rangoli Design. 😲 The rangoli design for diwali pattern here is one of the amazing latest simple kolam designs. Simple Rangoli Designs and easy rangoli designs by Aishwarya with dots for beginners and intermediate.
1. Diwali Rangoli 2. Pongal kolams 3. Easy rangoli designs
4. Rangoli design 5. Chukkala muggulu 6. Muggu designs
7. Rangoli for diwali 8. Rangoli Simple 9. Chukkala muggulu sankranthi
10. Kolam designs 11. Simple rangoli design 12. Muggulu designs
13. Navaratri pooja kolam 14. Puratasi madham kolam 15. Simple sankranthi muggulu
Tip: Practice on paper first if you are new to dot kolam. The grid is the same; only the surface changes.
The doorstep kolam designs showcased in this tutorial are a beautiful representation of traditional Indian art, particularly suited for festivals like Sankranthi. With a dot count of 9 to 3, this simple yet elegant kolam allows beginners to explore their creativity while enhancing their home’s entrance. The patterns can be created using materials like dry rice flour or colored sand, making it easy to adapt to personal preferences. For more inspiration, check out this 11 by 6 Simple Kolam or explore Amazing Easy Butterflies Rangoli.
Creating a kolam at your doorstep not only beautifies your space but also invites prosperity and positivity into your home. The 9 to 3 dots design is particularly appealing for those who are new to this art form, as it emphasizes symmetry and simplicity. As you practice, you can experiment with colors and shapes, making each kolam unique. For those interested in learning more about this traditional craft, visit Rangoli to deepen your understanding of its cultural significance.
Doorstep Kolam Designs — Step by Step Guide
The video above shows the full sequence; the steps below summarise each stage so you can glance back as you draw.
- Clear a flat surface and set down your dot grid using rice flour or chalk.
- Confirm the dot spacing is even — uneven dots are the biggest cause of wobbly curves.
- Begin tracing from the centre outward, following the curves shown in the video above.
- Fill the petals and sections with your chosen colours, working one area at a time.
- Finish the edges with a fine line for a sharp, photograph-ready result.
What You Will Learn
- Simple Rangoli Designs
- Rangoli
- Muggulu
- Rangoli Designs
- Rangoli Kolam
- Kolam
Frequently Asked Questions
How do I draw this rangoli?
It looks complex but follows a simple rhythm: dots first, then loops. Mark the grid, take a breath, and trace the curves at a steady pace. The pattern emerges on its own.
Is this suitable for beginners?
It is one of the more forgiving designs in our collection. Beginners often pick it as a confidence-builder before moving on to larger grids.
What materials do I need?
White rice flour for the outline, coloured powders for the fill, and a clean dry floor. That is the essentials list — you can add a stencil if you prefer.
How long does it take?
A 3 min 27 sec video shows the complete sequence. On paper or floor, expect to spend around a quarter of an hour from grid to finished pattern.
If you draw this and would like a follow-up design at the same skill level, leave a comment on the video — we read every one and queue up requests.

Leave a Reply