Looking to learn Rangoli Designs For Mahashivratri? This step-by-step guide walks you through every line, dot, and curve.
For another beginner-friendly variation, try Birds Kolam Design Simple Steps.
Learn more about the tradition of Rangoli on Wikipedia.
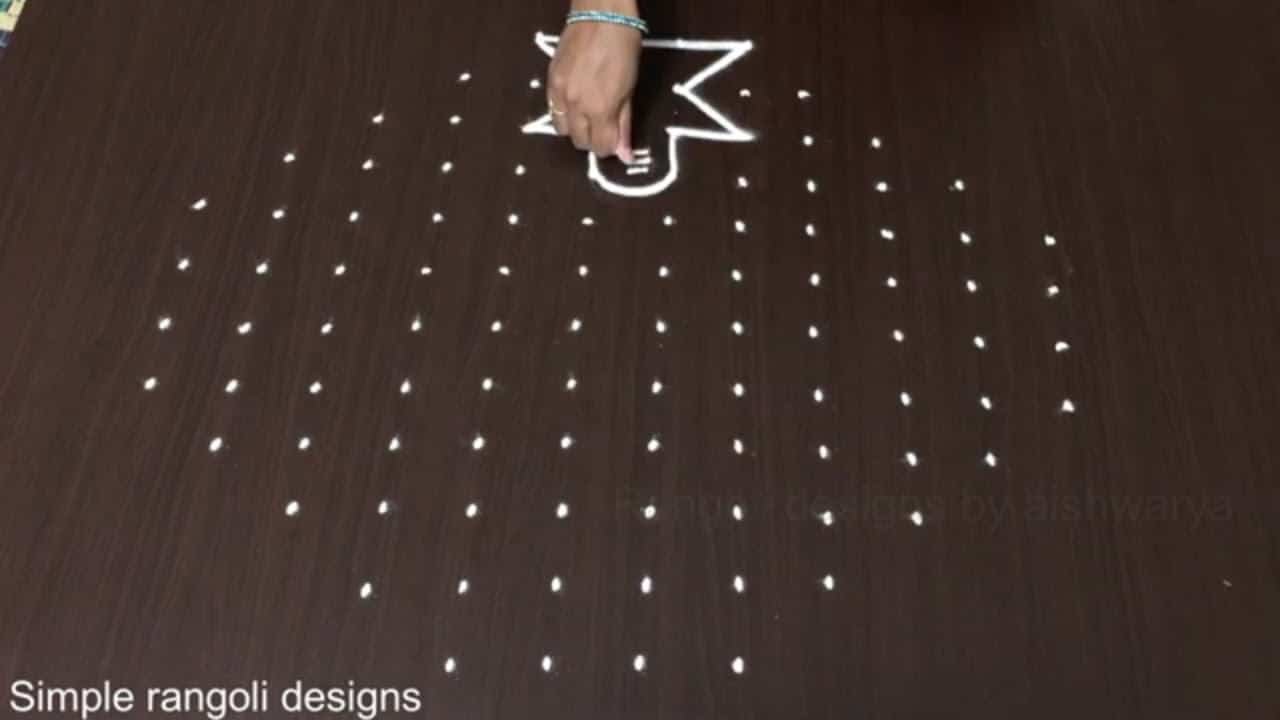
Looking for a devotional kolam for Mahashivratri? This 12 to 4 dots rangoli is simple, symmetrical, and perfect for pooja decoration. In this video, I guide you step by step to create a 12 to 4 decreasing dot grid kolam designed especially for Mahashivratri celebration. The structured layout ensures balance, while the smooth connecting curves give the design a clean and traditional devotional look.
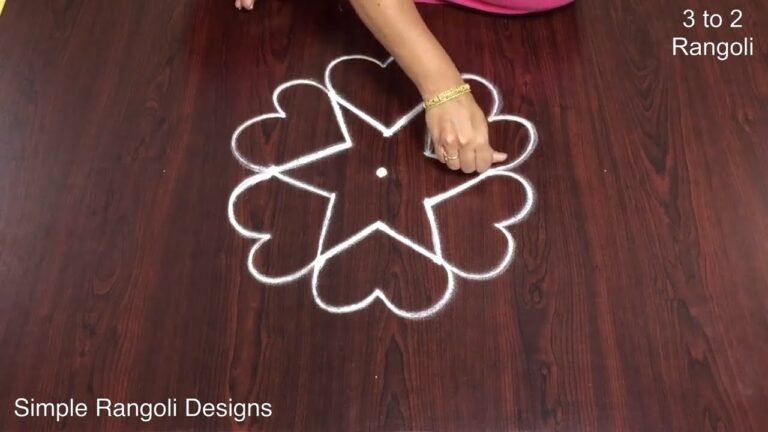
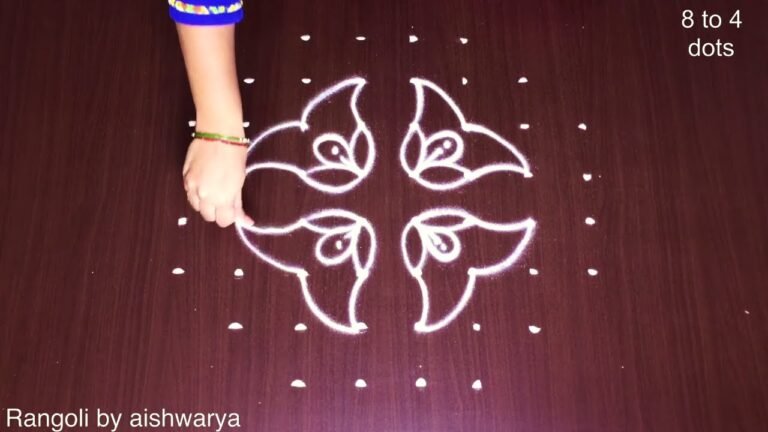
We begin by placing a neat 12 to 4 straight dot structure, carefully aligned to maintain proportion and symmetry. Then, the outer framework is formed by connecting the dots gradually into a balanced pattern. Inner detailing enhances the design without making it complicated, keeping the kolam easy to recreate. How to construct a proper 12–4 decreasing dot grid How to maintain symmetry in medium-large kolams
How to connect dots smoothly for a neat finish Tips to make Mahashivratri kolam look devotional and elegant This kolam is ideal for pooja spaces, temple-style entrances, and Mahashivratri festival decoration. The structured grid makes it suitable for those who want a slightly larger design that remains easy and clean.
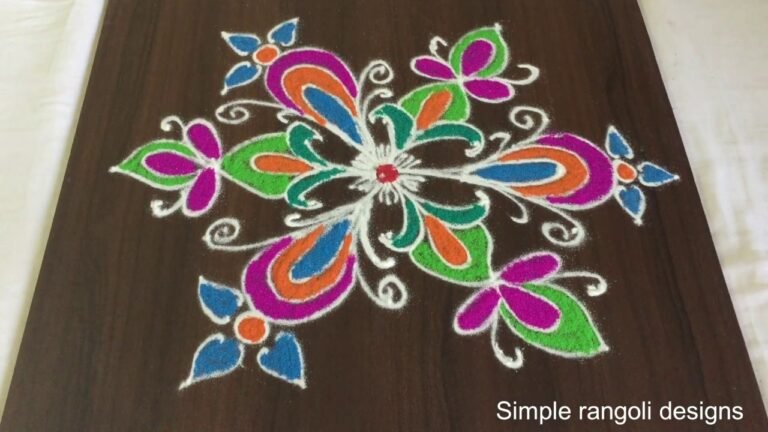
Watch till the end to see the full transformation from simple dots to a complete Mahashivratri rangoli — the final reveal highlights a bold and symmetrical devotional design. If you enjoy structured dot kolams, explore more 12 to 4 dots rangoli, Mahashivratri special muggulu, and traditional festival designs on the channel.
Tip: Work from the centre outward. It keeps the symmetry honest and prevents the design from drifting off-balance.
About this design: Rangoli Designs For Mahashivratri is a beginner-friendly pattern that comes together in just a few minutes. Once you have practised the rangoli designs for mahashivratri dot grid, you can scale it up for festival mornings or scale it down for a daily doorstep. Many learners on our channel make this rangoli designs for mahashivratri their go-to design once they get the rhythm of the curves.
Rangoli Designs For Mahashivratri — Step by Step Guide
Read through the steps before you begin so the sequence feels familiar when you start drawing.
- Clear a flat surface and set down your dot grid using rice flour or chalk.
- Confirm the dot spacing is even — uneven dots are the biggest cause of wobbly curves.
- Begin tracing from the centre outward, following the curves shown in the video above.
- Fill the petals and sections with your chosen colours, working one area at a time.
- Finish the edges with a fine line for a sharp, photograph-ready result.
What You Will Learn
- Mahashivratri Rangoli 12 To 4 Dots
- 12 To 4 Dots Kolam Design
- Mahashivratri Special Muggulu
- Easy 12 4 Chukkala Muggulu
- 12 To 4 Dot Grid Kolam
- Decreasing Dots Rangoli Design
Frequently Asked Questions
How do I draw this rangoli?
The grid comes first. Use a soft chalk to dot the surface, count twice to confirm the spacing, then start connecting them following the video. Work from the centre outward.
Is this suitable for beginners?
Yes — this design is shaped specifically with newcomers in mind. The dot grid is small enough to manage, and the curves are gentle. Most learners get it right by the second try.
What materials do I need?
White rice flour for the outline, coloured powders for the fill, and a clean dry floor. That is the essentials list — you can add a stencil if you prefer.
How long does it take?
The full demonstration takes 3 min 41 sec. Most people find their own drawing time settles to about 15 minutes once the grid is familiar.
Save this design for your next festival morning. The pattern is small enough to draw quickly but striking enough to make a real impression at the doorstep.
Leave a Reply