Wednesday Special Kolam is a beautiful kolam pattern you can draw right at your doorstep — perfect for beginners and seasoned rangoli artists alike.

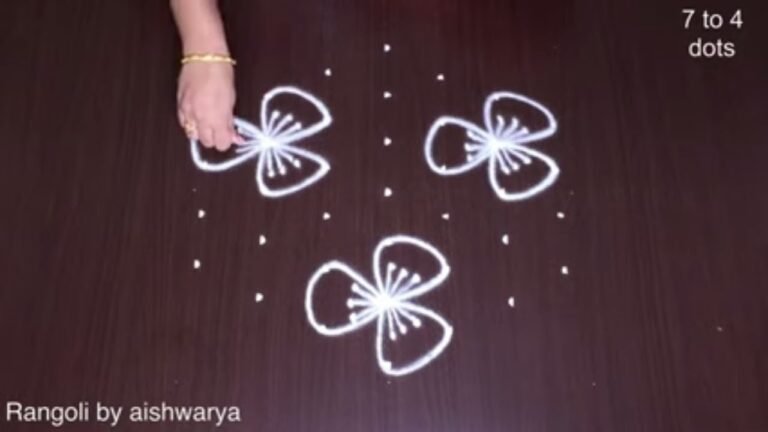
Creative Rangoli Designs with Dots 🌼 4 by 4 Dots Muggulu 🌼 Wednesday Special Kolam Thank you so much for watching Channel
My Rangoli Channel Contains : Rangoli Designs Sankranthi Muggulu
Diwali Rangoli Ratham Muggulu Kolam Designs
Muggulu Designs Chukkala Muggulu Easy Rangoli
Simple Rangoli Easy Rangoli Designs Dhanurmasam Muggulu
Melikala Muggulu Geethala Muggulu Sivarathri Muggulu
Tip: Keep your powder bowl close to your dominant hand. Small movements give cleaner curves.
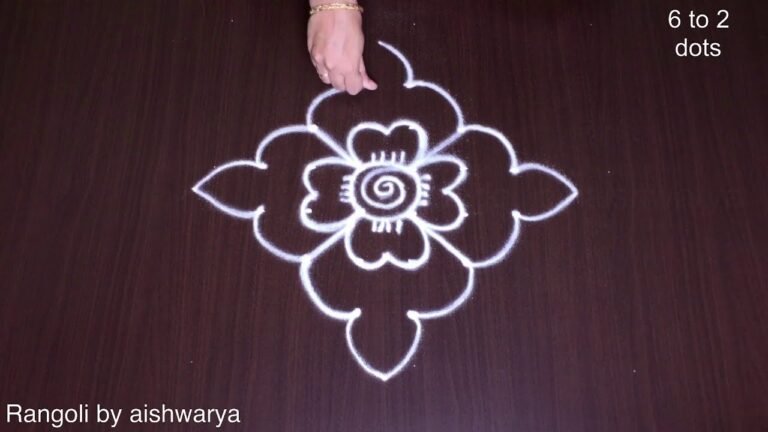
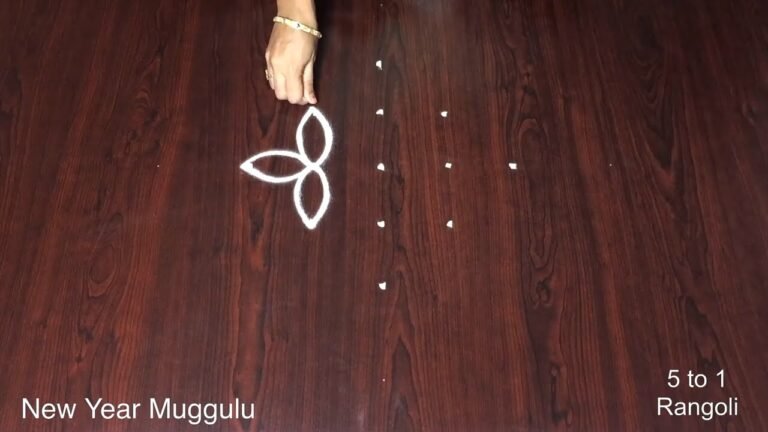
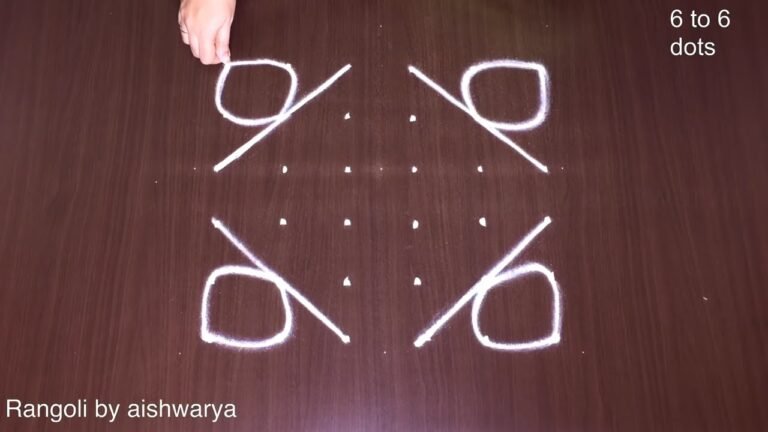
This design belongs to the broader tradition of rangoli and kolam art practised across South India. Explore more in our 4 to 4 dots Rangoli Designs collection.
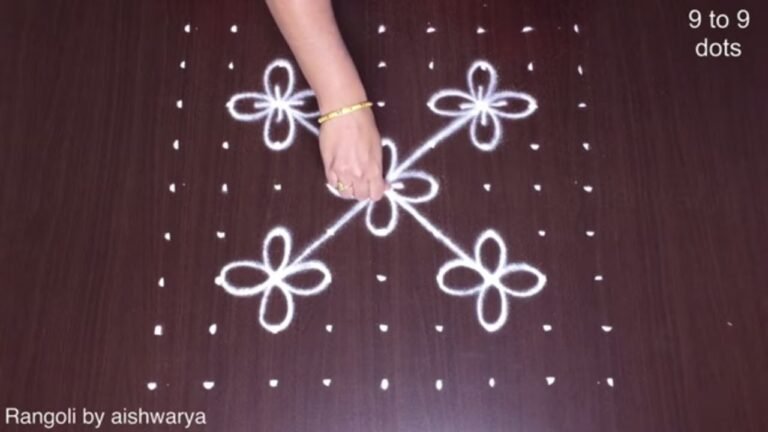
The Wednesday Special Kolam is a delightful design created using a simple 4 by 4 dot grid, making it perfect for beginners. This elegant pattern is often drawn to welcome the mid-week with positivity and creativity. The symmetrical layout allows for various embellishments, adding a personal touch that can reflect the artist’s mood or the season. This design can be a wonderful addition to your collection, especially alongside other easy rangoli patterns like Simple Easy Rangoli for Diwali.
This kolam is especially popular in South Indian households and is often made on Wednesdays as part of the weekly rituals. The design can be enhanced with vibrant colors or left in its traditional white form, showcasing the beauty of simplicity. Incorporating elements from various festivals, you can also explore similar designs like Chukkala Muggulu for Sankranthi to celebrate the festive spirit. For more information on the art of rangoli, you can visit this page.
Wednesday Special Kolam — Step by Step Guide
Each step takes only a moment. The whole design comes together in just a few minutes once the grid is in place.
- Clear a flat surface and set down your dot grid using rice flour or chalk.
- Confirm the dot spacing is even — uneven dots are the biggest cause of wobbly curves.
- Begin tracing from the centre outward, following the curves shown in the video above.
- Fill the petals and sections with your chosen colours, working one area at a time.
- Finish the edges with a fine line for a sharp, photograph-ready result.
What You Will Learn
- Simple Rangoli Designs
- Rangoli
- Muggulu
- Rangoli Designs
- Rangoli Kolam
- Kolam
Frequently Asked Questions
How do I draw this rangoli?
The grid comes first. Use a soft chalk to dot the surface, count twice to confirm the spacing, then start connecting them following the video. Work from the centre outward.
Is this suitable for beginners?
Yes — this design is shaped specifically with newcomers in mind. The dot grid is small enough to manage, and the curves are gentle. Most learners get it right by the second try.
What materials do I need?
Powder (white for outlines, colours for filling), a flat surface, and a dot stencil if you want absolute precision. Beyond that, just your hand and a steady pace.
How long does it take?
About 2 min 43 sec on screen, perhaps 15 minutes for a relaxed first attempt. By the second try most people are noticeably quicker.
Once you get the rhythm of this design, try scaling it up or experimenting with colours. The grid stays the same; the personality changes.

Leave a Reply