3 Into 3 Pulli is the kind of design that looks intricate but is genuinely beginner-friendly once you follow the dot grid.
Rangoli Muggulu Border Designs 🌷 3 into 3 Pulli Kolam Thank you so much for watching Channel
Chapters: 0:00 Intro 0:05 Rangoli Muggulu Border Designs
3:40 3 into 3 Pulli Kolam My Simple Rangoli Designs Channel Contains : Rangoli designs
Sankranthi muggulu Diwali rangoli Kolam designs
Simple rangoli Easy rangoli designs Pongal kolams
New year rangoli designs Ratham muggulu Muggulu designs
Tip: Work from the centre outward. It keeps the symmetry honest and prevents the design from drifting off-balance.
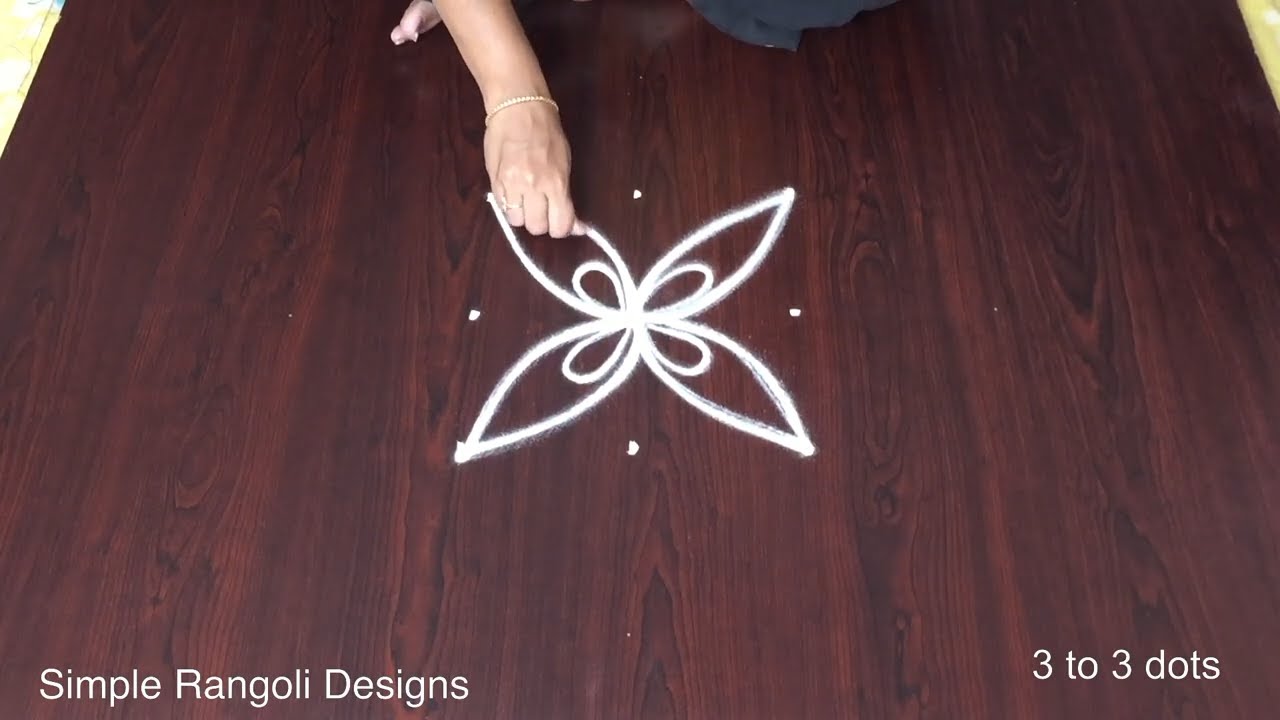
This design belongs to the broader tradition of rangoli and kolam art practised across South India. Explore more in our 3 to 3 dots Rangoli Designs collection.
The 3 into 3 Pulli Kolam is a charming design that beautifully encapsulates the essence of traditional rangoli art. With a simple 3×3 dot grid, this kolam is perfect for beginners looking to explore their creativity. It’s often created during festive occasions, such as Pongal or Diwali, where families gather to celebrate and adorn their homes with colorful patterns. For those interested in more complex designs, the Vibrant 8 Into 8 Big Butterfly Kolam offers a delightful challenge for advanced practitioners.
This particular kolam style emphasizes symmetry and balance, showcasing intricate patterns that can be enhanced with vibrant colors or natural elements like flowers and leaves. The 3 into 3 Pulli design serves as a foundation for various interpretations, allowing artists to experiment with their own flair. For additional inspiration, you can also explore the Traditional Friday Diya Pulli Designs Rangoli, which highlights the use of diyas in rangoli, a common sight during festive celebrations. To learn more about the rich history and significance of this art form, check out this Wikipedia article.
3 Into 3 Pulli — Step by Step Guide
If you have drawn dot rangoli before, this will feel familiar. If you have not, the dot grid will guide you.
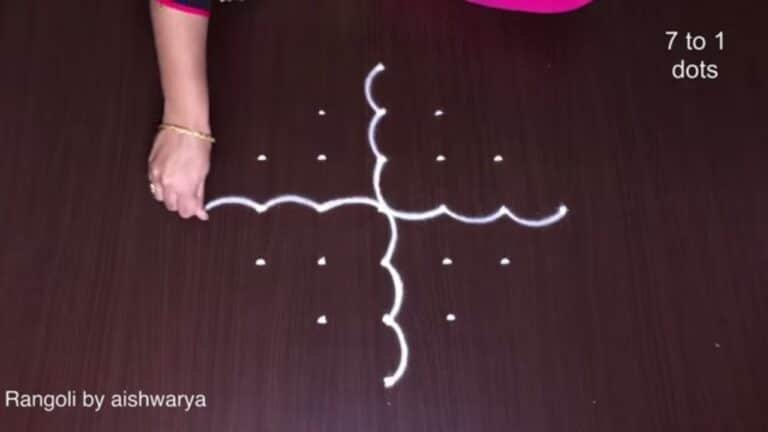
- Clear a flat surface and set down your dot grid using rice flour or chalk.
- Confirm the dot spacing is even — uneven dots are the biggest cause of wobbly curves.
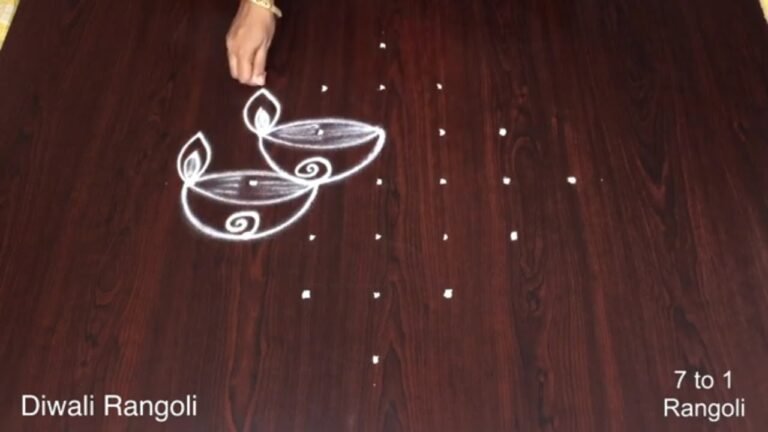
- Begin tracing from the centre outward, following the curves shown in the video above.
- Fill the petals and sections with your chosen colours, working one area at a time.
- Finish the edges with a fine line for a sharp, photograph-ready result.
What You Will Learn
- Simple Rangoli Designs
- Rangoli
- Muggulu
- Rangoli Designs
- Rangoli Kolam
- Kolam
Frequently Asked Questions
How do I draw this rangoli?
Set down the dot grid in pencil or chalk, then follow the loops one petal at a time. If a curve goes off, wipe it and retry — kolam is forgiving.
Is this suitable for beginners?
Absolutely. You can pause and rewind the video at every step. The pattern is straightforward once you have the grid down.
What materials do I need?
Rice flour, coloured rangoli powders, and a clean stretch of floor or paper. Some draw with chalk first to set the grid before powdering over it.
How long does it take?
The tutorial is 6 min 50 sec long. With practice the actual drawing settles around 10 minutes; the first time will likely take twice that.
This is one of those designs that grows on you. The first attempt is for learning; the second is for muscle memory; the third is when it starts to feel like your own.

Leave a Reply