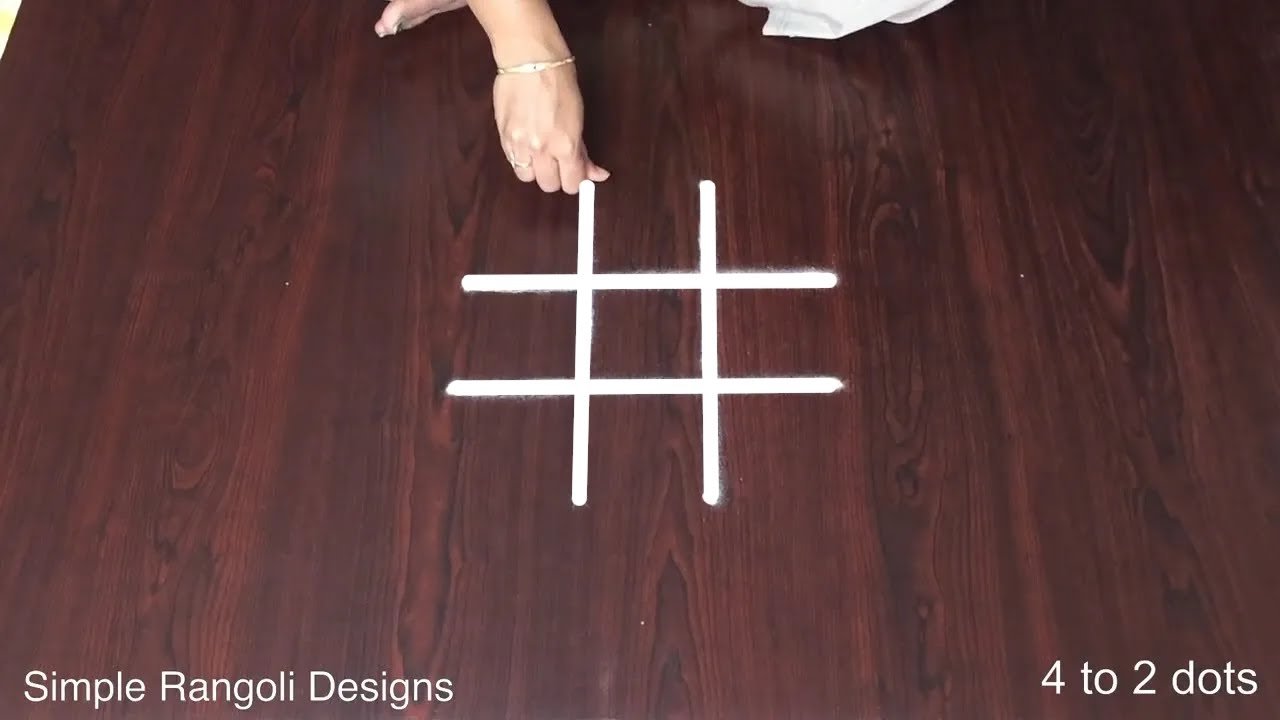
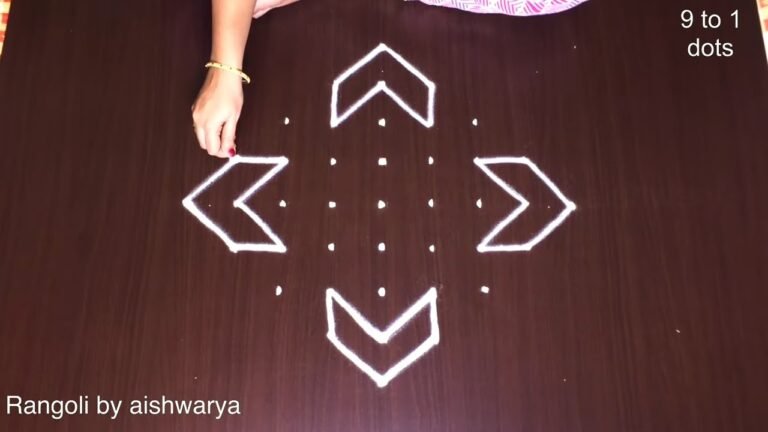
4 Into 2 Dots is a beautiful kolam pattern you can draw right at your doorstep — perfect for beginners and seasoned rangoli artists alike.
Simple and Elegant Rangoli Designs 🌸 Chithirai Matham Special Kolam 🌸 4 into 2 dots Muggulu Thank you so much for watching Channel
My Rangoli Channel Contains : Rangoli Designs Sankranthi Muggulu
Diwali Rangoli Ratham Muggulu Kolam Designs
Muggulu Designs Chukkala Muggulu Easy Rangoli
Simple Rangoli Easy Rangoli Designs Dhanurmasam Muggulu
Melikala Muggulu Geethala Muggulu Sivarathri Muggulu
Tip: Keep your powder bowl close to your dominant hand. Small movements give cleaner curves.
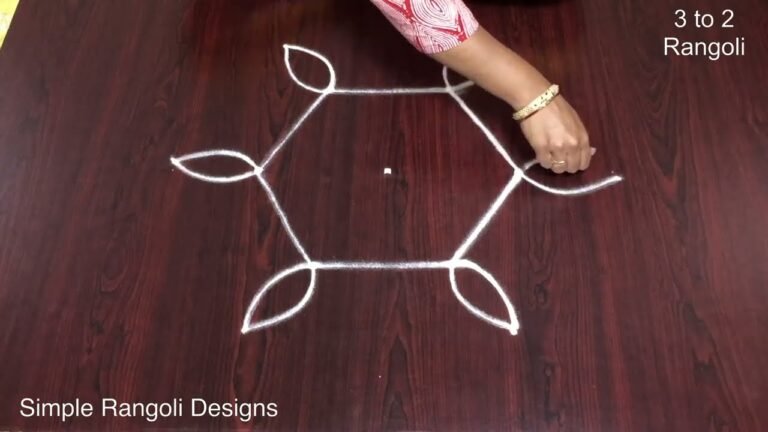
This design belongs to the broader tradition of rangoli and kolam art practised across South India. Explore more in our 4 to 2 dots Rangoli Designs collection.
The 4 into 2 dots muggulu is a charming design that adds a touch of elegance to any setting, especially during festivals like Chithirai Matham. This design typically consists of a simple yet effective pattern that can easily be created by beginners. The beauty of this muggulu lies in its symmetry and the way it can be embellished with colors or flowers, making it versatile for various occasions. For more inspiration, check out the Attractive Beautiful Design Festivals Easy Rangoli post.
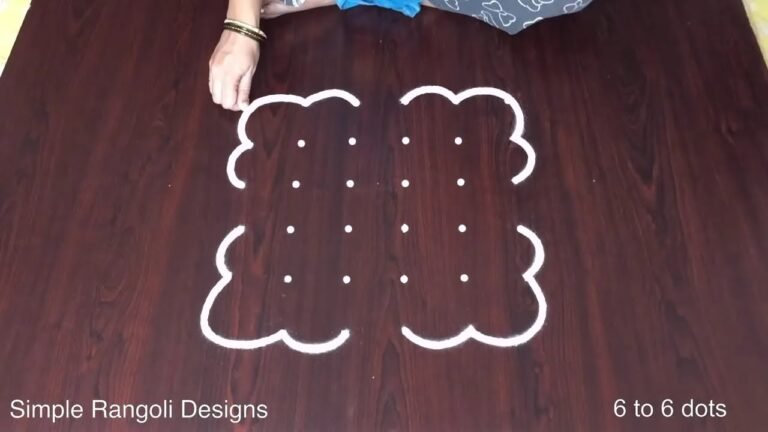
Creating a 4 into 2 dots muggulu can be a delightful way to practice your rangoli skills. The arrangement of dots allows for creativity in the detailing, whether you prefer intricate designs or a more minimalist approach. This style is perfect for daily use, and you can incorporate it into your morning rituals. If you’re looking for additional ideas, the Latest Happy New Year Muggulu post offers a variety of festive designs to explore. For more information about rangoli, you can visit this Wikipedia page.
4 Into 2 Dots — Step by Step Guide
Follow the steps below to recreate this design at home. Pause the video whenever you need — there is no hurry.
- Clear a flat surface and set down your dot grid using rice flour or chalk.
- Confirm the dot spacing is even — uneven dots are the biggest cause of wobbly curves.
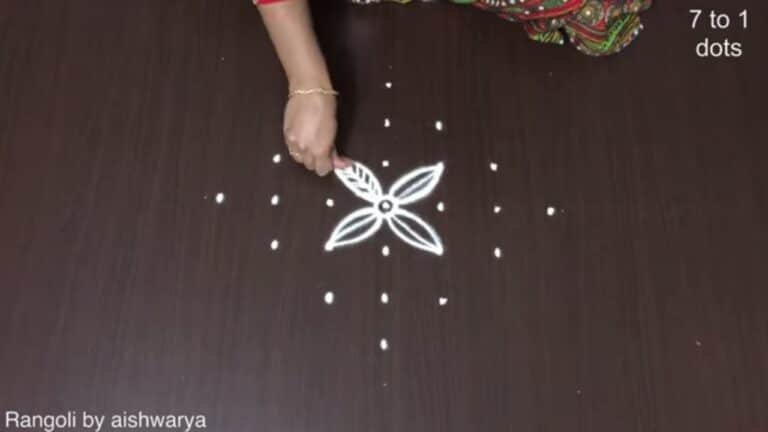
- Begin tracing from the centre outward, following the curves shown in the video above.
- Fill the petals and sections with your chosen colours, working one area at a time.
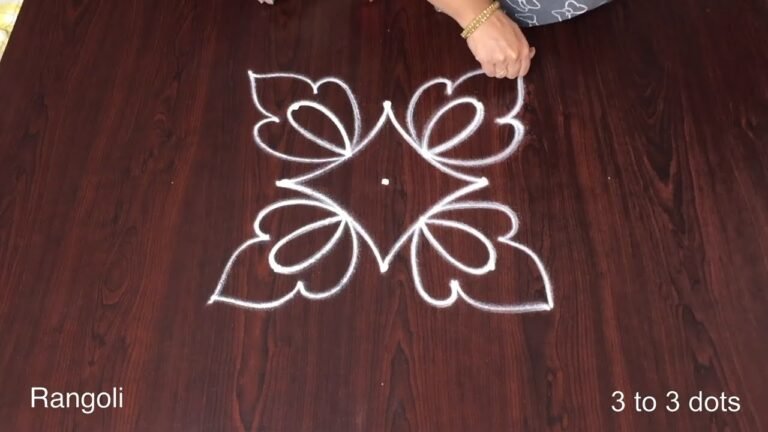
- Finish the edges with a fine line for a sharp, photograph-ready result.
What You Will Learn
- Simple Rangoli Designs
- Rangoli
- Muggulu
- Rangoli Designs
- Rangoli Kolam
- Kolam
Frequently Asked Questions
How do I draw this rangoli?
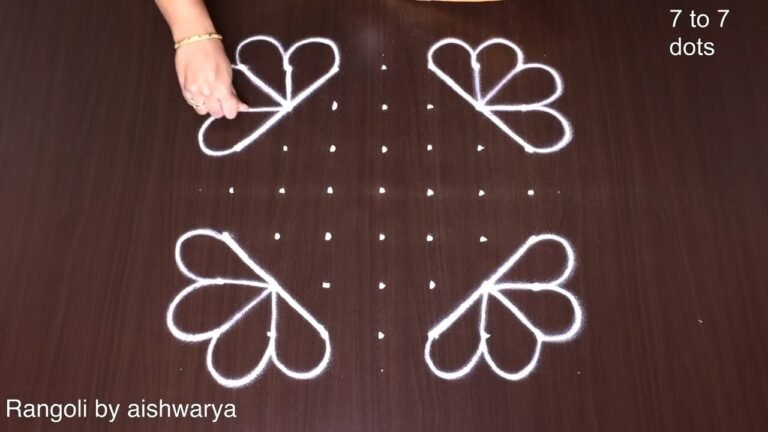
Set down the dot grid in pencil or chalk, then follow the loops one petal at a time. If a curve goes off, wipe it and retry — kolam is forgiving.
Is this suitable for beginners?
Beginner-friendly is exactly the right description. The video walks through every line clearly and you can match the pace.
What materials do I need?
Powder (white for outlines, colours for filling), a flat surface, and a dot stencil if you want absolute precision. Beyond that, just your hand and a steady pace.
How long does it take?
Plan for roughly 3 min 10 sec to watch and 15 minutes to draw. The second attempt is always cleaner than the first — that is the nature of dot kolam.
Once you get the rhythm of this design, try scaling it up or experimenting with colours. The grid stays the same; the personality changes.
Leave a Reply