This to 2 dots kolam tutorial walks you through every step from the dot grid to the final pattern.
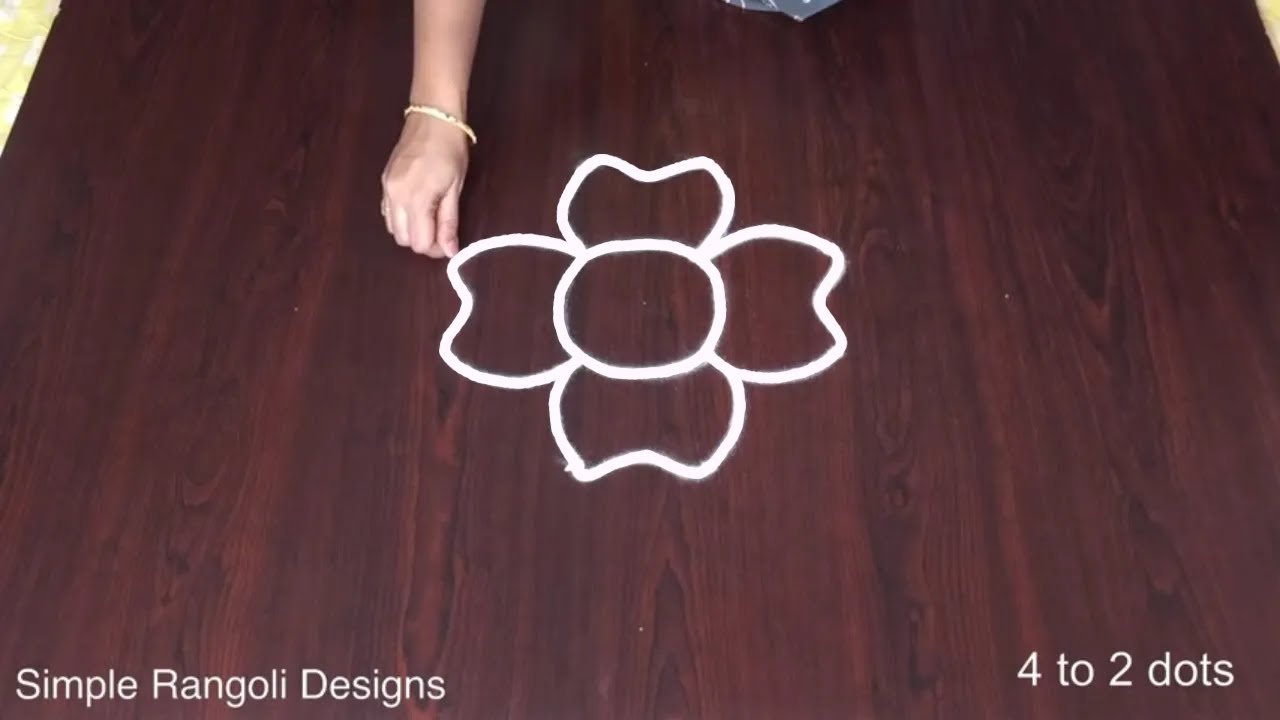
Whether you are decorating for a festival or your daily morning ritual, 4 To 2 Dots 2 is an excellent design to keep handy.
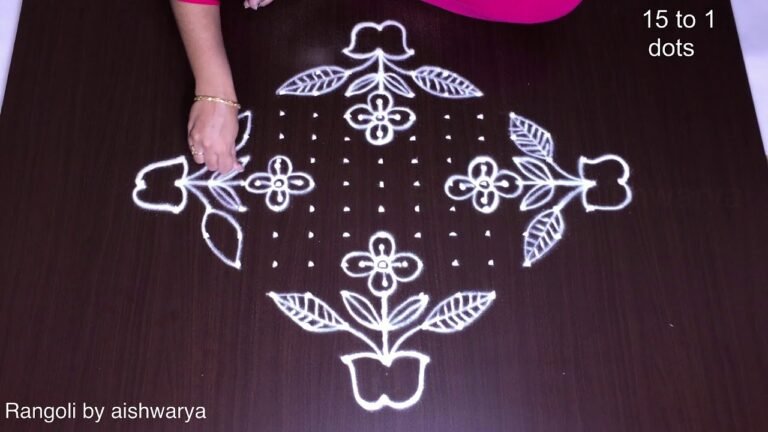
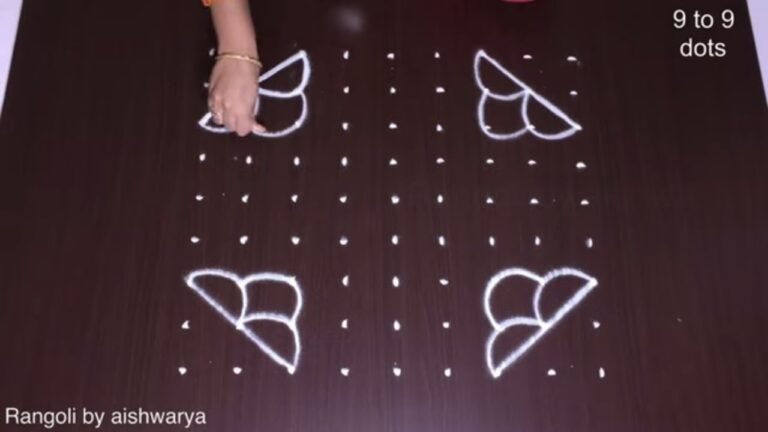
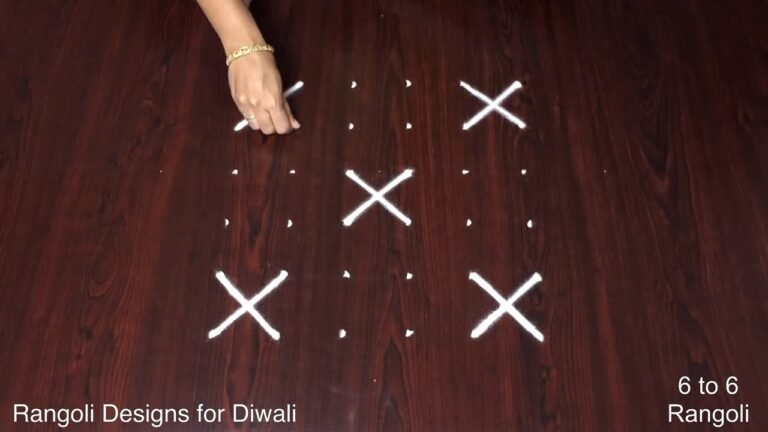
This tutorial will show you how to draw Latest Design of Rangoli patterns using materials such as dry rice flour, colored sand or flower petals Rangoli designs by Aishwarya. Simple rangoli Pulli Kolam pattern is created on the floor in living rooms or courtyards. Draw the Lines step by step as it is shown in this video and will be awesome Rangoli Design. 😲 The 4 to 2 Dots Kolam pattern here is one of the amazing latest kolam designs. Simple Rangoli Designs and Dhanurmasam Sanivaram Muggulu by Aishwarya with dots for beginners and intermediate.
1. Sankranthi Rangoli Designs 2. Pongal Kolam 2025 3. Sankranti Rangoli Designs
4. Pongal Kolam Rangoli 5. New Year Special Rangoli 6. Pongal Kolam
7. Radham Muggulu 8. Sankranthi Special Rangoli 9. Bhogi Muggulu
10. Pongal Kolam With Dots 11. Sankranthi Muggulu 12. Thipkyanchi Rangoli Designs
13. Mattu Pongal Kolam 14. Sankranthi Muggulu 2025 15. ठिपक्यांची रांगोळी
Tip: Practice on paper first if you are new to dot kolam. The grid is the same; only the surface changes.
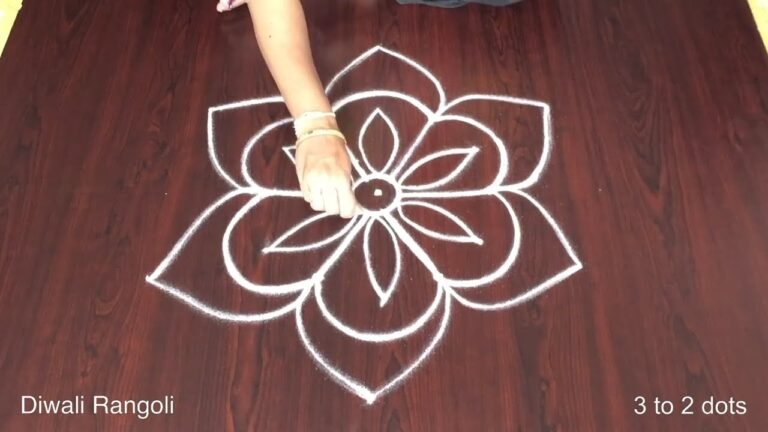
This design belongs to the broader tradition of rangoli and kolam art practised across South India. Explore more in our 4 to 2 dots Rangoli Designs collection.
The 4 to 2 Dots Kolam is a delightful design that showcases the beauty of simplicity combined with creativity. This pattern, which uses four dots in the first row and two dots in the second, is particularly popular during festivals like Pongal and Sankranthi. It serves as a welcoming sight at the entrance of homes, inviting prosperity and happiness. Beginners can find comfort in its straightforward structure, and it can be adorned with colors or flower petals to enhance its appeal. For more inspiration, you might enjoy exploring the Unique Pattern Rangoli Design 12-2 Dots as well.
This kolam style involves a series of loops and curves that come together harmoniously, making it a favorite for festive occasions. The 4 to 2 Dots Kolam can also be a great starting point for those learning the art of rangoli, as it encourages practice in creating symmetry and precision. For detailed guidance on similar designs, the How to Draw 12×2 Deepam Rangoli Designs can be a helpful resource. To learn more about the cultural significance of rangoli, you can visit this page.
To 2 Dots Kolam — 4 To 2 Dots 2 — Step by Step Guide
Below is the step-by-step breakdown. The video covers the same sequence in real time.
- Clear a flat surface and set down your dot grid using rice flour or chalk.
- Confirm the dot spacing is even — uneven dots are the biggest cause of wobbly curves.
- Begin tracing from the centre outward, following the curves shown in the video above.
- Fill the petals and sections with your chosen colours, working one area at a time.
- Finish the edges with a fine line for a sharp, photograph-ready result.
What You Will Learn
- Simple Rangoli Designs
- Rangoli
- Muggulu
- Rangoli Designs
- Rangoli Kolam
- Kolam
Frequently Asked Questions
How do I draw this rangoli?
Start by marking an even dot grid on a flat, clean surface. Once the grid is in place, connect the dots following the curves shown in the video. Even spacing between dots is the single biggest factor for a clean finish.
Is this suitable for beginners?
Yes — this design is shaped specifically with newcomers in mind. The dot grid is small enough to manage, and the curves are gentle. Most learners get it right by the second try.
What materials do I need?
Powder (white for outlines, colours for filling), a flat surface, and a dot stencil if you want absolute precision. Beyond that, just your hand and a steady pace.
How long does it take?
Roughly 2 min 38 sec to watch end-to-end, and 10–20 minutes to draw yourself depending on grid size and how careful you are with the curves.
Try this design tomorrow morning at your doorstep. The compact grid makes it ideal for a daily ritual, not just festival days.
Leave a Reply