There is something timeless about Festival Designs Dots Pulli — the symmetry, the rhythm of the dots, and the soft curves it produces.

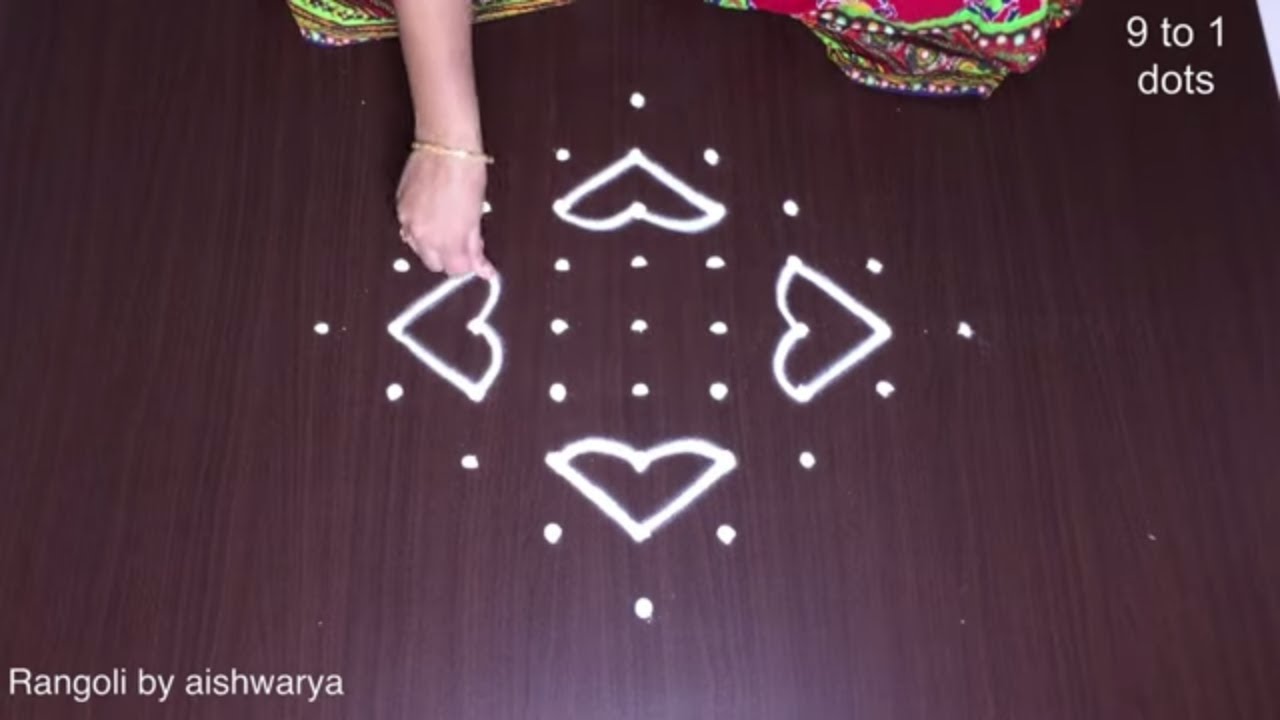
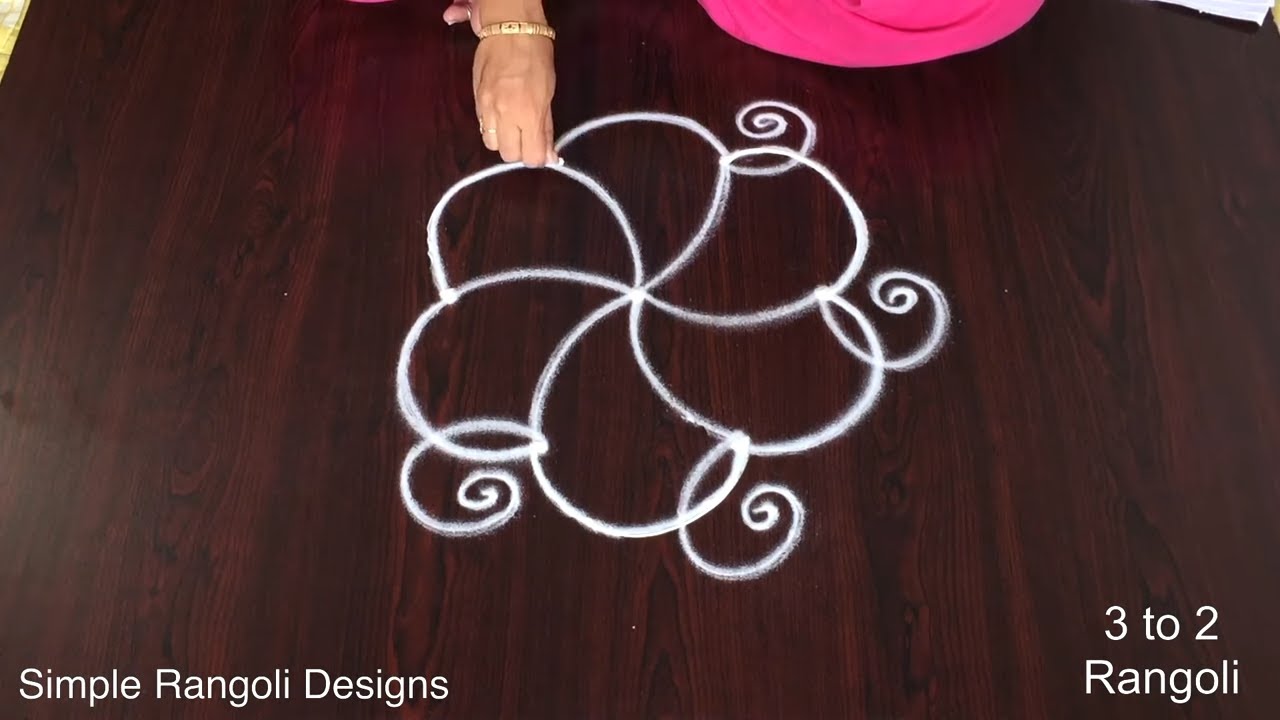
This tutorial will show you how to draw festival rangoli designs with dots patterns using materials such as dry rice flour, colored sand or flower petals Rangoli designs by Aishwarya. Simple rangoli Pulli Kolam pattern is created on the floor in living rooms or courtyards. Draw the Lines step by step as it is shown in this video and will be awesome Rangoli Design. 😲 The 6 x 6 pulli kolam pattern here is one of the amazing latest kolam designs. Simple Rangoli Designs and muggulu with side borders by Aishwarya with dots for beginners and intermediate.
4. Muggulu 5. Rangoli Kolam 6. Kolam and Rangoli
7. Muggulu Sankranthi Muggulu 8. Rangoli Designs 9. Designer Rangoli Design
10. Rangoli De 11. Sankranthi Muggulu 12. Rangoli Design Rangoli
13. Simple Rangoli Designs 14. Thipkyanchi Rangoli Designs 15. Easy Rangoli Design
16. Kolam Designs 17. ठिपक्यांची रांगोळी 18. Diwali Rangoli
Tip: Keep your powder bowl close to your dominant hand. Small movements give cleaner curves.
This design belongs to the broader tradition of rangoli and kolam art practised across South India. Explore more in our 6 to 6 dots Rangoli Designs collection.
The 6×6 pulli kolam design is a delightful choice for festivals, as it beautifully combines simplicity and elegance. The arrangement of dots creates a versatile base that can be enhanced with colorful rice flour or flower petals. Many families use this design during special occasions like Pongal and Diwali, as it symbolizes welcome and positivity. If you’re interested in exploring more festival designs, you might enjoy the Pandaga Muggulu Beautiful Deepam post for inspiration.
Creating this side kolam requires patience and precision, making it an excellent project for beginners and intermediate artists alike. As you draw the intricate patterns, you’ll find that the process is both meditative and rewarding. The 6×6 pulli design can also serve as a canvas for adding personal touches, such as borders or embellishments. To further enhance your skills, consider checking out the 7 Se 7 Dots Rangoli for Learners guide. For more about the rich tradition of rangoli, you can visit this page to learn about its history and significance.
About this design: Festival Designs Dots Pulli is a beginner-friendly pattern that comes together in just a few minutes. Once you have practised the festival designs dots pulli dot grid, you can scale it up for festival mornings or scale it down for a daily doorstep. Many learners on our channel make this festival designs dots pulli their go-to design once they get the rhythm of the curves.
Festival Designs Dots Pulli — Step by Step Guide
These steps are written for absolute beginners. Watch once, draw once, then watch again — that is how the pattern locks in.
- Clear a flat surface and set down your dot grid using rice flour or chalk.
- Confirm the dot spacing is even — uneven dots are the biggest cause of wobbly curves.
- Begin tracing from the centre outward, following the curves shown in the video above.
- Fill the petals and sections with your chosen colours, working one area at a time.
- Finish the edges with a fine line for a sharp, photograph-ready result.
What You Will Learn
- Simple Rangoli Designs
- Rangoli
- Muggulu
- Rangoli Designs
- Rangoli Kolam
- Kolam
Frequently Asked Questions
How do I draw this rangoli?
Begin with the dot grid — this is the skeleton of the design. With rice flour or chalk, place each dot at equal intervals. Then trace the curves slowly, one section at a time.
Is this suitable for beginners?
Yes, and it is one we recommend to first-timers. The small grid keeps the design manageable while still teaching the core technique.
What materials do I need?
You will need rice flour or rangoli powder (white, plus your choice of colours), a flat surface like a clean floor or courtyard, and optionally a dot stencil if you are new to grid-drawing.
How long does it take?
A 2 min 57 sec video shows the complete sequence. On paper or floor, expect to spend around a quarter of an hour from grid to finished pattern.
Pin this for later or share with a friend learning kolam — and let us know in the comments which design you would like next.


Leave a Reply