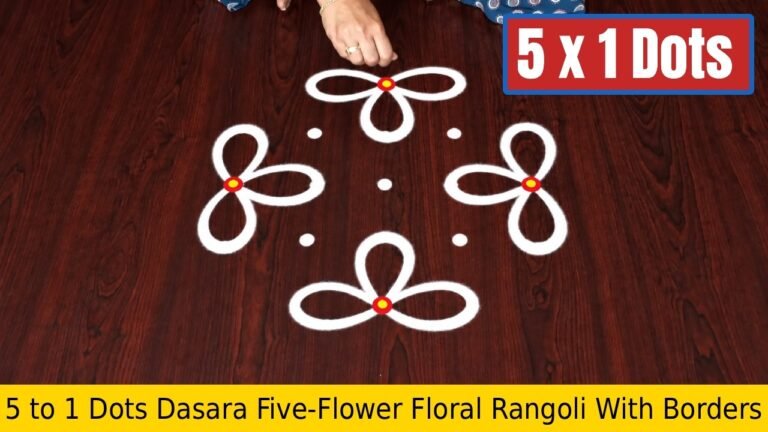
5 Pulli Kolam Poduvathu has become a favourite among learners on our channel — and once you try it, you will see why.
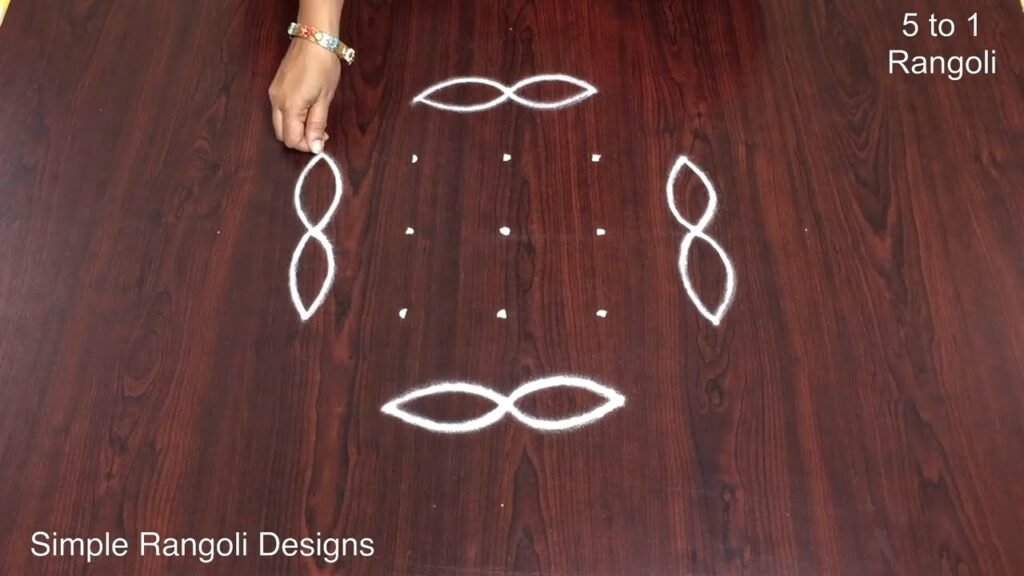
Traditional Simple Muggulu Designs | Outdoor Rangoli | 5 Pulli Kolam Poduvathu Eppadi. This tutorial will show you how to draw Beautiful Indian traditional art sankranthi muggulu patterns using materials such as dry rice flour, colored sand or flower petals Rangoli designs by Aishwarya. Simple rangoli designs with dots Kolam pattern is created on the floor in living rooms or courtyards. Draw the Lines step by step as it is shown in this video and will be awesome Rangoli Design. 😲 The rangoli design for diwali pattern here is one of the amazing latest simple kolam designs. Simple Rangoli Designs and easy rangoli designs by Aishwarya with dots for beginners and intermediate.
1. Diwali Rangoli 2. Pongal kolams 3. Easy rangoli designs
4. Rangoli design 5. Chukkala muggulu 6. Muggu designs
7. Rangoli for diwali 8. Thai madam rangoli 9. Chukkala muggulu sankranthi
10. Kolam designs 11. Simple rangoli design 12. Muggulu designs
13. Navaratri pooja kolam 14. Puratasi madham kolam 15. Simple sankranthi muggulu
Tip: A slightly damp brush along the edges gives a sharper finish, especially for festival photographs.
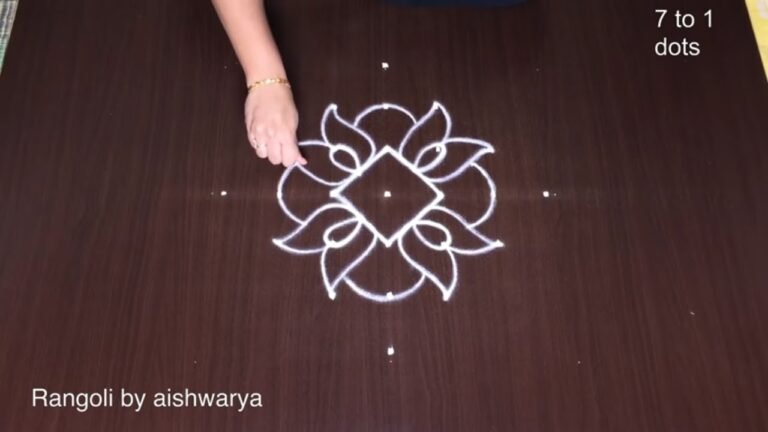
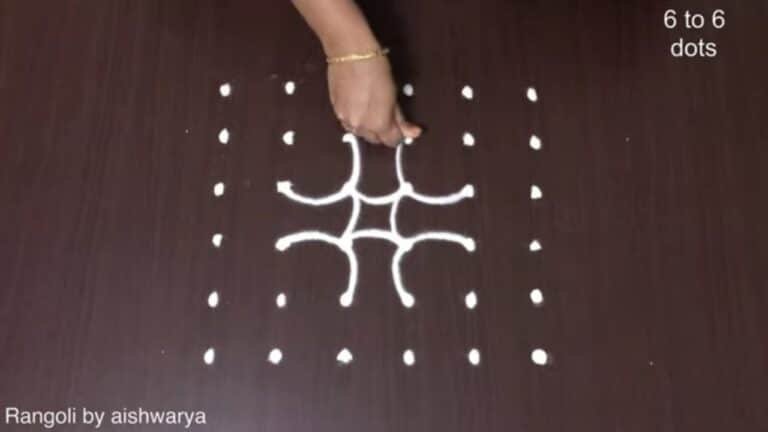
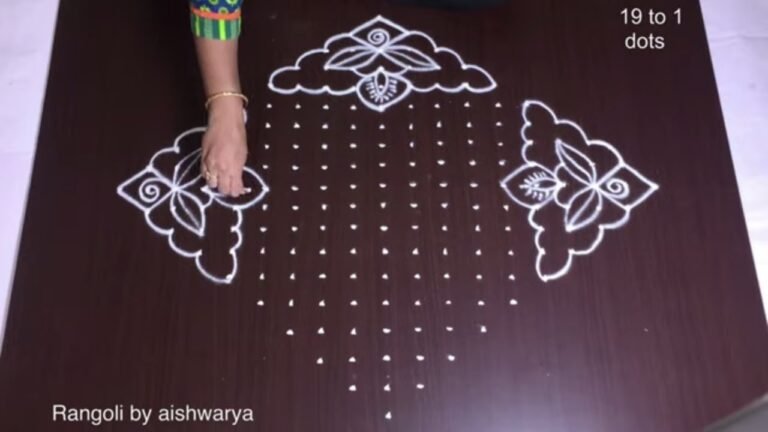
This design belongs to the broader tradition of rangoli and kolam art practised across South India. Explore more in our 5 to 1 dots Rangoli Designs collection.
The 5 pulli kolam is a delightful and simple design suitable for beginners and perfect for festivals like Sankranti. This pattern, made using five dots arranged in a specific manner, allows for creativity with minimal complexity. As you draw the intricate lines connecting the dots, you can incorporate vibrant colors using rice flour or colored sand, enhancing the aesthetic appeal of your outdoor space. For more festive designs, consider exploring the Lotus Flowers Rangoli Designs for Sankranti.
Drawing a 5 pulli kolam not only beautifies your home but also connects you to a rich tradition of Indian art. This form of kolam, or rangoli, is often seen at the entrance of homes, symbolizing welcome and prosperity. As you practice this design, you may find joy in the meditative process of creating patterns, much like other designs featured in our collection of Every Day Morning Rangoli. For more information on rangoli’s cultural significance, you can visit this link.
About this design: 5 Pulli Kolam Poduvathu is a beginner-friendly pattern that comes together in just a few minutes. Once you have practised the 5 pulli kolam poduvathu dot grid, you can scale it up for festival mornings or scale it down for a daily doorstep. Many learners on our channel make this 5 pulli kolam poduvathu their go-to design once they get the rhythm of the curves.
5 Pulli Kolam Poduvathu — Step by Step Guide
If you have drawn dot rangoli before, this will feel familiar. If you have not, the dot grid will guide you.
- Clear a flat surface and set down your dot grid using rice flour or chalk.
- Confirm the dot spacing is even — uneven dots are the biggest cause of wobbly curves.
- Begin tracing from the centre outward, following the curves shown in the video above.
- Fill the petals and sections with your chosen colours, working one area at a time.
- Finish the edges with a fine line for a sharp, photograph-ready result.
What You Will Learn
- Simple Rangoli Designs
- Rangoli
- Muggulu
- Rangoli Designs
- Rangoli Kolam
- Kolam
Frequently Asked Questions
How do I draw this rangoli?
Begin with the dot grid — this is the skeleton of the design. With rice flour or chalk, place each dot at equal intervals. Then trace the curves slowly, one section at a time.
Is this suitable for beginners?
It is one of the more forgiving designs in our collection. Beginners often pick it as a confidence-builder before moving on to larger grids.
What materials do I need?
You will need rice flour or rangoli powder (white, plus your choice of colours), a flat surface like a clean floor or courtyard, and optionally a dot stencil if you are new to grid-drawing.
How long does it take?
Roughly 2 min 26 sec to watch end-to-end, and 10–20 minutes to draw yourself depending on grid size and how careful you are with the curves.
Drawing kolam is as much about the practice as the result. Set aside ten minutes, follow the video, and enjoy the process.

Leave a Reply