Bogi Rangoli Designs combines tradition with simplicity, making it one of the most rewarding designs to practice at home.
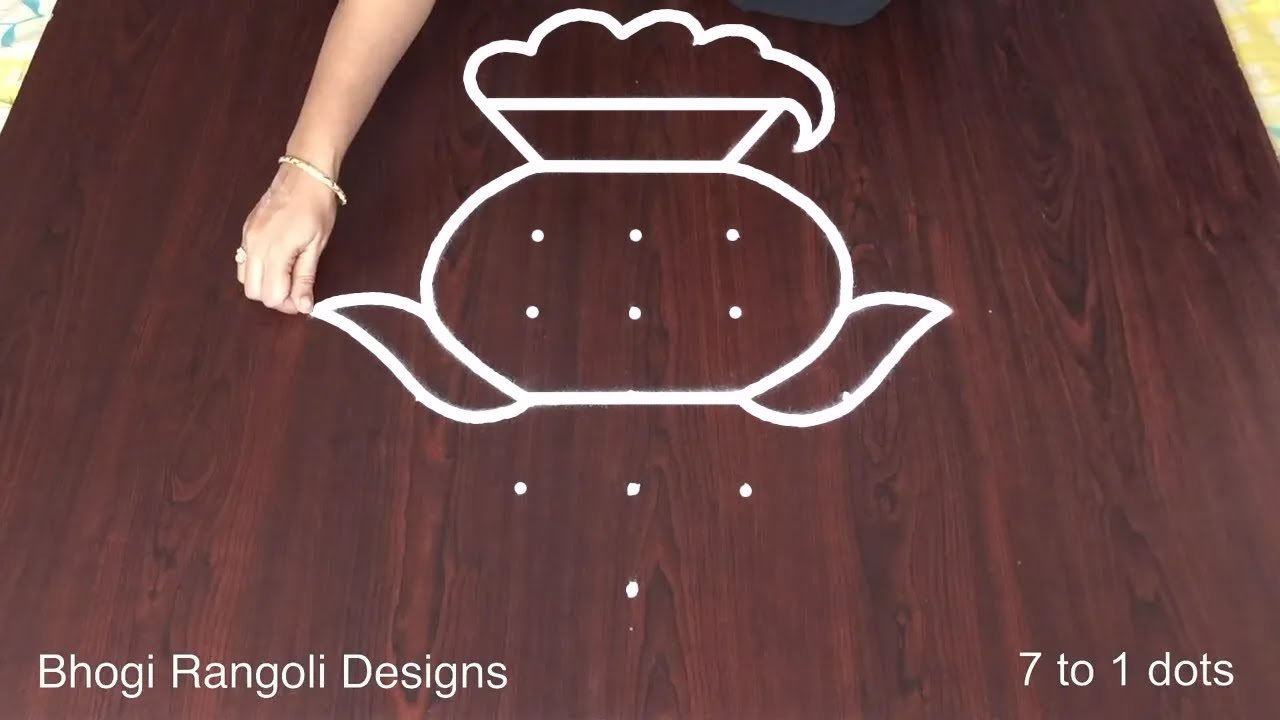
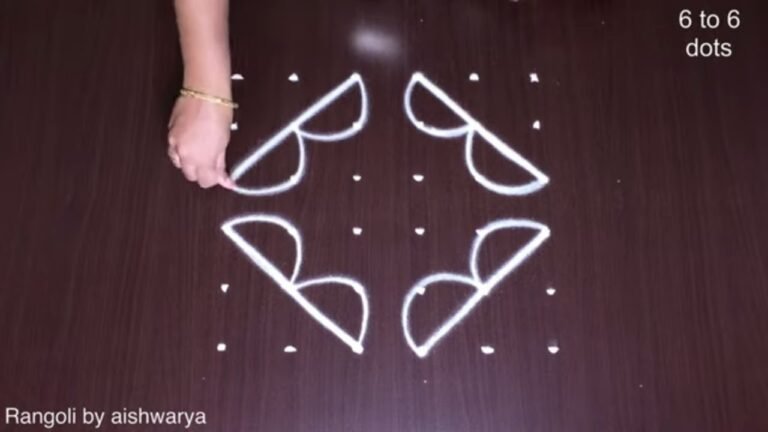
This tutorial will show you how to draw Bogi Rangoli Designs patterns using materials such as dry rice flour, colored sand or flower petals Rangoli designs by Aishwarya. Simple rangoli Pulli Kolam pattern is created on the floor in living rooms or courtyards. Draw the Lines step by step as it is shown in this video and will be awesome Rangoli Design. 😲 The Pot Muggulu With Dots pattern here is one of the amazing latest kolam designs. Simple Rangoli Designs and 7 to 1 Kolam by Aishwarya with dots for beginners and intermediate.
For another beginner-friendly variation, try Sankranthi Pedha Chukkala Muggulu.
1. Sankranthi Rangoli Designs 2. Pongal Kolam 2025 3. Sankranti Rangoli Designs
4. Pongal Kolam Rangoli 5. New Year Special Rangoli 6. Pongal Kolam
7. Radham Muggulu 8. Sankranthi Special Rangoli 9. Bhogi Muggulu
10. Pongal Kolam With Dots 11. Sankranthi Muggulu 12. Thipkyanchi Rangoli Designs
13. Mattu Pongal Kolam 14. Sankranthi Muggulu 2025 15. ठिपक्यांची रांगोळी
Tip: Use chalk to lightly mark your dot grid first — it wipes away cleanly once your rangoli is finished.
Bogi Rangoli designs, typically created during the Bhogi festival, are characterized by their vibrant and intricate patterns made with a varying dot count. These designs often feature traditional motifs inspired by nature, such as flowers and pots, symbolizing new beginnings and prosperity. As you explore this art form, you may also find inspiration from other related designs like 9 to 3 Dots Roja Puvvula Muggulu, which showcases unique patterns suitable for beginners.
The process of creating Bogi Rangoli is both meditative and rewarding, as you learn to draw using materials like rice flour, colored sand, or flower petals. With 7 to 1 dots, this design is accessible for novices and can add a touch of beauty to your home during the festive season. For more ideas to enhance your Rangoli skills, you can look at 11 by 6 Simple Kolam to further develop your technique and creativity. To learn more about this traditional Indian art form, check out Rangoli.
Bogi Rangoli Designs — Step by Step Guide
Follow the steps below to recreate this design at home. Pause the video whenever you need — there is no hurry.
- Clear a flat surface and set down your dot grid using rice flour or chalk.
- Confirm the dot spacing is even — uneven dots are the biggest cause of wobbly curves.
- Begin tracing from the centre outward, following the curves shown in the video above.
- Fill the petals and sections with your chosen colours, working one area at a time.
- Finish the edges with a fine line for a sharp, photograph-ready result.
What You Will Learn
- Simple Rangoli Designs
- Rangoli
- Muggulu
- Rangoli Designs
- Rangoli Kolam
- Kolam
Frequently Asked Questions
How do I draw this rangoli?
Set down the dot grid in pencil or chalk, then follow the loops one petal at a time. If a curve goes off, wipe it and retry — kolam is forgiving.
Is this suitable for beginners?
It is one of the more forgiving designs in our collection. Beginners often pick it as a confidence-builder before moving on to larger grids.
What materials do I need?
Rice flour, coloured rangoli powders, and a clean stretch of floor or paper. Some draw with chalk first to set the grid before powdering over it.
How long does it take?
The tutorial is 3 min 13 sec long. With practice the actual drawing settles around 10 minutes; the first time will likely take twice that.
After you draw this, take a picture before the day blows it away. Kolam is impermanent by design, but a photo lets you revisit the version you drew.


Leave a Reply