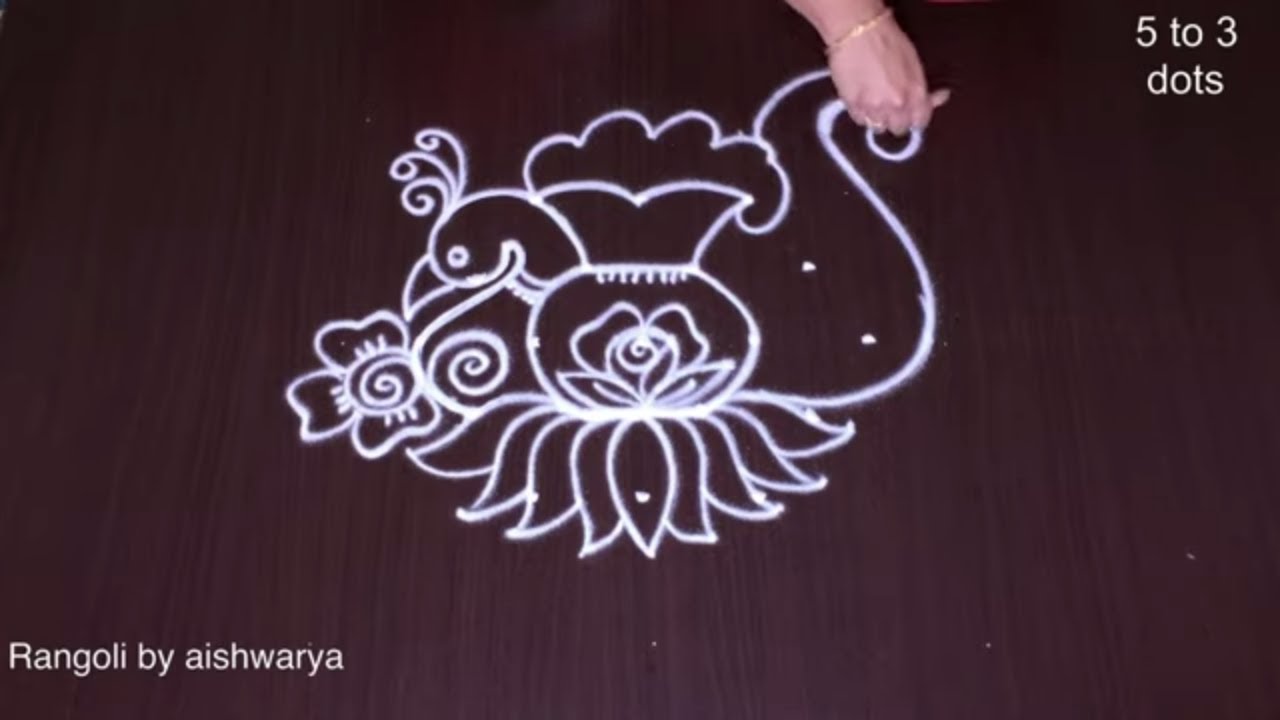
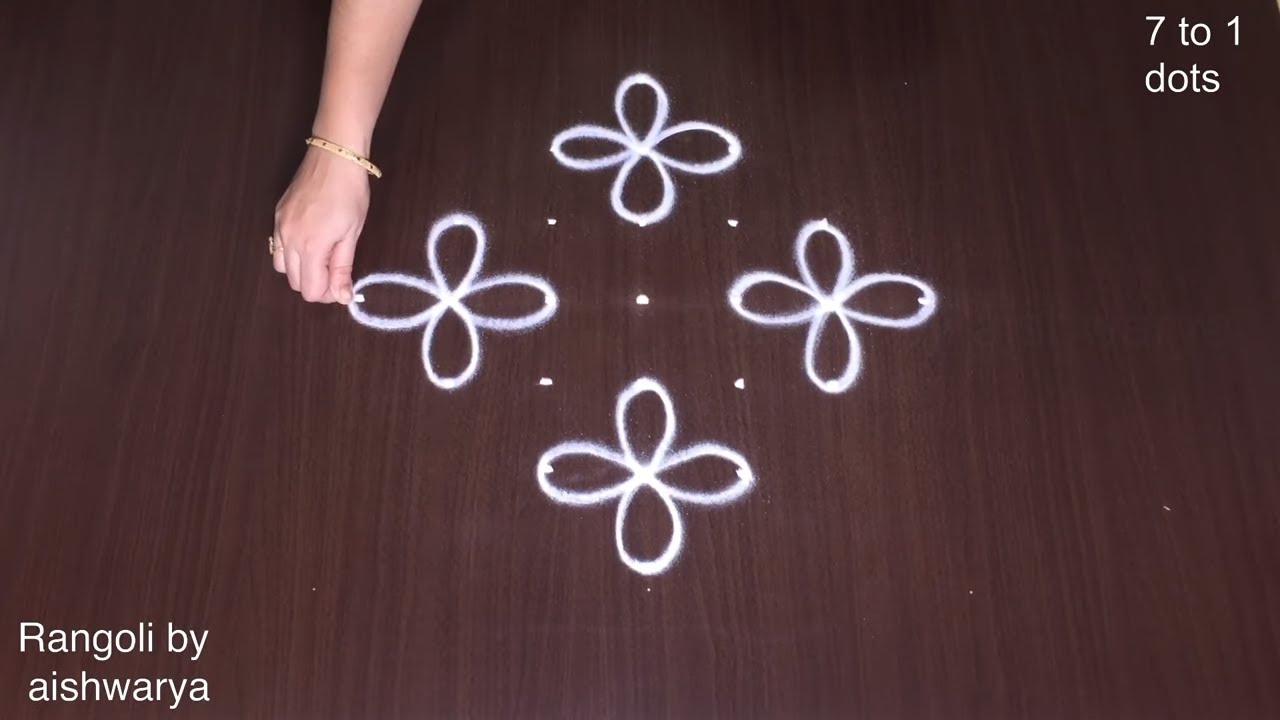
Dotted Kolangal Rangoli Designs is a beautiful kolam pattern you can draw right at your doorstep — perfect for beginners and seasoned rangoli artists alike.

Traditional Muggulu Easy 9x3x3 | Dotted Kolangal Simple Rangoli Designs | RamRangoli Aishwarya Thank you so much for watching Channel
My Ram Rangoli Channel Contains : Rangoli Designs Sankranthi Muggulu
Diwali Rangoli Ratham Muggulu Kolam Designs
Muggulu Designs Chukkala Muggulu Easy Rangoli
Simple Rangoli Easy Rangoli Designs Dhanurmasam Muggulu
Melikala Muggulu Geethala Muggulu Sivarathri Muggulu
Tip: A slightly damp brush along the edges gives a sharper finish, especially for festival photographs.
Dotted kolangal rangoli designs are a beautiful way to celebrate traditions, especially during festivals like Pongal. With a simple yet elegant structure of 9 to 3 dots, these designs allow for creativity while keeping the process beginner-friendly. The use of vibrant colors and patterns in kolam not only enhances the aesthetic appeal of a home but also invites positivity and prosperity. You can explore more festive designs such as the Pongal Rangoli Designs for additional inspiration.
This particular dotted kolangal design can be easily adapted to suit various occasions, making it a versatile choice for both daily adornment and festive celebrations. The rhythmic repetition of dots creates a mesmerizing pattern that captivates onlookers. For those interested in more intricate designs, the 14 to 2 Pongal Special Pot Kolam offers a delightful twist. To learn more about the rich history and significance of rangoli, you can visit this page.
About this design: Dotted Kolangal Rangoli Designs is a beginner-friendly pattern that comes together in just a few minutes. Once you have practised the dotted kolangal rangoli designs dot grid, you can scale it up for festival mornings or scale it down for a daily doorstep. Many learners on our channel make this dotted kolangal rangoli designs their go-to design once they get the rhythm of the curves.
Dotted Kolangal Rangoli Designs — Step by Step Guide
Each step takes only a moment. The whole design comes together in just a few minutes once the grid is in place.
- Clear a flat surface and set down your dot grid using rice flour or chalk.
- Confirm the dot spacing is even — uneven dots are the biggest cause of wobbly curves.
- Begin tracing from the centre outward, following the curves shown in the video above.
- Fill the petals and sections with your chosen colours, working one area at a time.
- Finish the edges with a fine line for a sharp, photograph-ready result.
What You Will Learn
- Simple Rangoli Designs
- Rangoli
- Muggulu
- Rangoli Designs
- Rangoli Kolam
- Kolam
Frequently Asked Questions
How do I draw this rangoli?
The grid comes first. Use a soft chalk to dot the surface, count twice to confirm the spacing, then start connecting them following the video. Work from the centre outward.
Is this suitable for beginners?
Yes, and it is one we recommend to first-timers. The small grid keeps the design manageable while still teaching the core technique.
What materials do I need?
Powder (white for outlines, colours for filling), a flat surface, and a dot stencil if you want absolute precision. Beyond that, just your hand and a steady pace.
How long does it take?
The video runs 8 min 16 sec. In practice, most learners take between 10 and 20 minutes — a little longer the first time, faster as the pattern becomes familiar.
Once you get the rhythm of this design, try scaling it up or experimenting with colours. The grid stays the same; the personality changes.


Leave a Reply