Whether you are decorating for a festival or your daily morning ritual, Easy Bhogi Kundalu Muggulu is an excellent design to keep handy.

Easy Bhogi kundalu muggulu Sankranthi | Pongal pot rangoli designs Kolam Thank you so much for watching Channel
My Rangoli Channel Contains : Rangoli Designs Sankranthi Muggulu
Diwali Rangoli Ratham Muggulu Kolam Designs
Muggulu Designs Chukkala Muggulu Easy Rangoli
Simple Rangoli Easy Rangoli Designs Dhanurmasam Muggulu
Melikala Muggulu Geethala Muggulu Sivarathri Muggulu
Tip: Use chalk to lightly mark your dot grid first — it wipes away cleanly once your rangoli is finished.
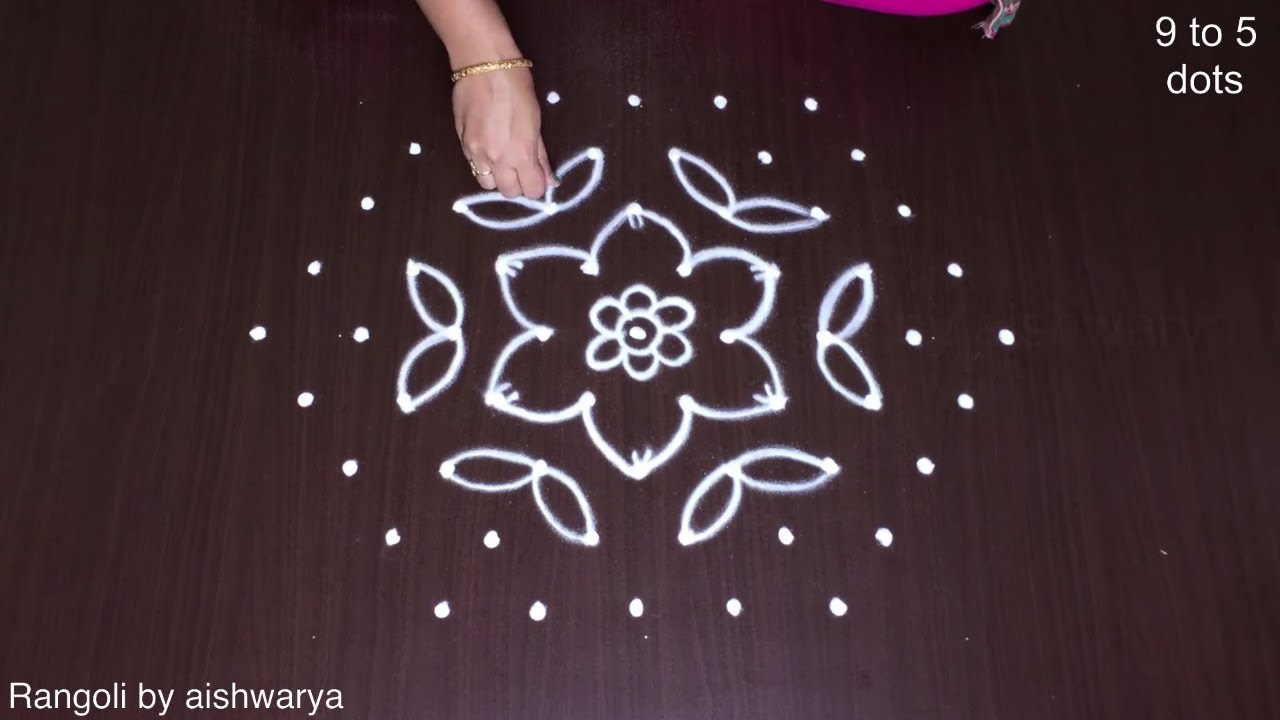
The easy Bhogi Kundalu Muggulu is a delightful design often created during the Pongal festival, symbolizing prosperity and abundance. With its intricate dot pattern, this kolam typically consists of a series of concentric circles that resemble traditional earthen pots. These pots are a representation of the harvest and are usually decorated with vibrant colors, making them a feast for the eyes. This design not only enhances the beauty of your entrance but also sets a festive tone for the celebration. For more inspiration, explore the Vibrant 8 Into 8 Big Butterfly Kolam and the Traditional Friday Diya Pulli Designs Rangoli.
Creating this muggulu can be a wonderful, creative outlet for beginners, as it allows for personal expression through color and pattern. The Bhogi Kundalu design can be easily adapted to fit various spaces, whether in a small courtyard or a larger porch area. As you draw, take a moment to reflect on the significance of the festival and the joy it brings to families. If you’re interested in learning more about this art form, check out the informative details on Rangoli to deepen your understanding of its cultural roots.
Easy Bhogi Kundalu Muggulu — Step by Step Guide
Each step takes only a moment. The whole design comes together in just a few minutes once the grid is in place.
- Clear a flat surface and set down your dot grid using rice flour or chalk.
- Confirm the dot spacing is even — uneven dots are the biggest cause of wobbly curves.
- Begin tracing from the centre outward, following the curves shown in the video above.
- Fill the petals and sections with your chosen colours, working one area at a time.
- Finish the edges with a fine line for a sharp, photograph-ready result.
What You Will Learn
- Bhogi Kundalu Muggulu
- Pongal Pot Rangoli With Dots
- Sankranthi Pongal Kolam
- Kundala Kolam Designs
- Festival Rangoli With Dots
- Rangoli With Dots
Frequently Asked Questions
How do I draw this rangoli?
Start by marking an even dot grid on a flat, clean surface. Once the grid is in place, connect the dots following the curves shown in the video. Even spacing between dots is the single biggest factor for a clean finish.
Is this suitable for beginners?
Yes — this design is shaped specifically with newcomers in mind. The dot grid is small enough to manage, and the curves are gentle. Most learners get it right by the second try.
What materials do I need?
Just three things: powder (white plus any colours you want), a flat dry surface, and a few minutes of focus. A small bowl per colour helps keep things tidy.
How long does it take?
A 5 min 25 sec video shows the complete sequence. On paper or floor, expect to spend around a quarter of an hour from grid to finished pattern.
Beginners often ask which design to start with. Honestly, this one. It is small enough to finish in a sitting and the curves teach you the basics of dot kolam.


Leave a Reply