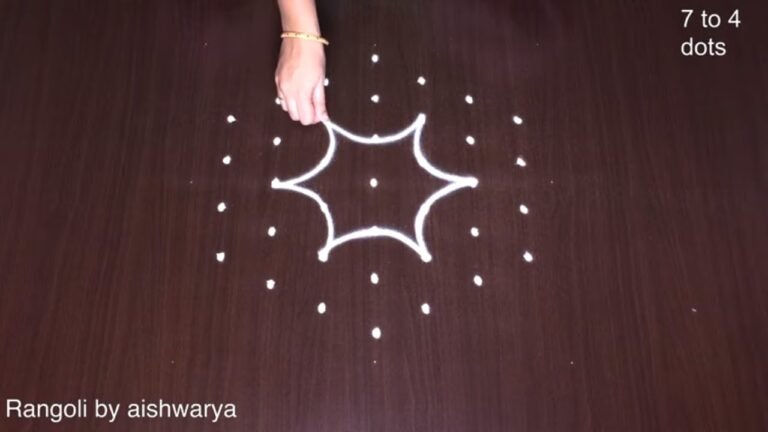
If you enjoy dot-grid muggulu, Easy Flower Rangoli Kolam is a satisfying pattern that comes together in just a few minutes.
For another beginner-friendly variation, try Amazing Big Peacock Muggulu.
Learn more about the tradition of Rangoli on Wikipedia.
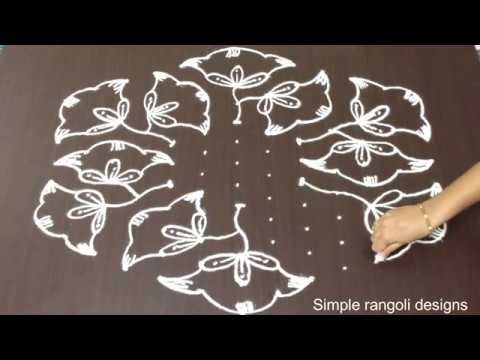
Looking for a bold yet easy 13-7 dots flower kolam? This top floral rangoli design combines symmetry, elegance, and structured detailing. In this video, we create a 13-7 dots easy flower kolam, built on a wide decreasing grid that allows smooth and layered petals to form beautifully. The 13 to 7 format provides enough space to design a grand floral layout while keeping the drawing process simple and organized.
🌸 What You’ll Learn Step by Step: Proper placement of the 13-7 decreasing dot grid Building a balanced central floral base
Extending petals evenly across both sides Clean finishing techniques for a polished look The 13-7 grid is ideal when you want a design that stands out at your entrance without appearing overly complex. The structured dots naturally guide spacing and symmetry, helping you achieve a refined final result.
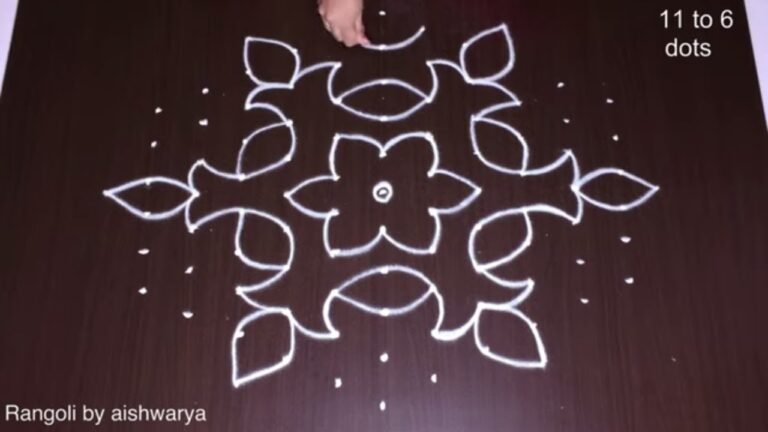
Even though the layout is larger than beginner grids, the step-by-step approach makes it manageable and easy to follow. Watch till the end to see the complete floral reveal — the final symmetrical alignment highlights how the 13-7 dot structure transforms into a stunning and elegant kolam. If you enjoy large floral grids, explore other formats like 11-6 and 15-8 to expand your creative rangoli collection.
Save this design and recreate it to enhance your entrance beautifully.
Tip: Practice on paper first if you are new to dot kolam. The grid is the same; only the surface changes.
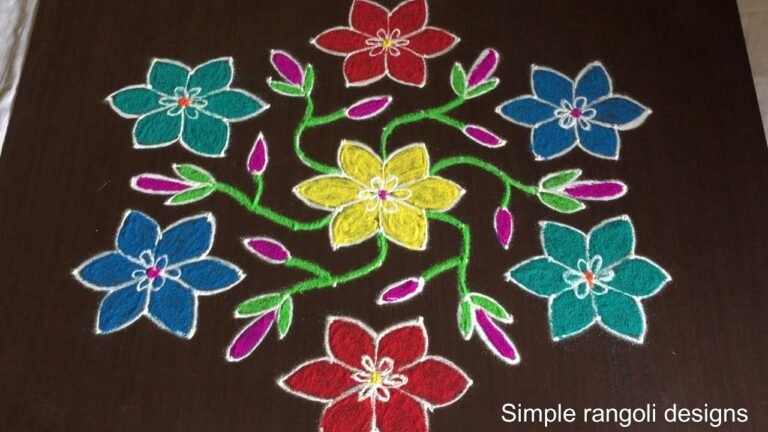
About this design: Easy Flower Rangoli Kolam is a beginner-friendly pattern that comes together in just a few minutes. Once you have practised the easy flower rangoli kolam dot grid, you can scale it up for festival mornings or scale it down for a daily doorstep. Many learners on our channel make this easy flower rangoli kolam their go-to design once they get the rhythm of the curves.
Easy Flower Rangoli Kolam — Step by Step Guide
Here is how to draw it, line by line. Take your time on the corners and the symmetry will take care of itself.
- Clear a flat surface and set down your dot grid using rice flour or chalk.
- Confirm the dot spacing is even — uneven dots are the biggest cause of wobbly curves.
- Begin tracing from the centre outward, following the curves shown in the video above.
- Fill the petals and sections with your chosen colours, working one area at a time.
- Finish the edges with a fine line for a sharp, photograph-ready result.
What You Will Learn
- 13-7 Dots Easy Flower Kolam
- Top Floral Rangoli 13-7
- 13-7 Dots Kolam Design
- Large Grid Flower Rangoli
- Easy 13-7 Muggulu Design
- 13-7 Pulli Kolam
Frequently Asked Questions
How do I draw this rangoli?
Start by marking an even dot grid on a flat, clean surface. Once the grid is in place, connect the dots following the curves shown in the video. Even spacing between dots is the single biggest factor for a clean finish.
Is this suitable for beginners?
Yes — this design is shaped specifically with newcomers in mind. The dot grid is small enough to manage, and the curves are gentle. Most learners get it right by the second try.
What materials do I need?
Just three things: powder (white plus any colours you want), a flat dry surface, and a few minutes of focus. A small bowl per colour helps keep things tidy.
How long does it take?
About 5 min 37 sec on screen, perhaps 15 minutes for a relaxed first attempt. By the second try most people are noticeably quicker.
When you draw this, focus on the first three dots — get those right and the whole pattern follows. The rest is just patience and a steady hand.

Leave a Reply