This 13 to 7 pongal tutorial walks you through every step from the dot grid to the final pattern.

There is something timeless about Kolam With 13 To — the symmetry, the rhythm of the dots, and the soft curves it produces.
Makara sankranti muggulu designs Rangoli | Kolam with 13 to 7 middle dots pongal special kolangal. This tutorial will show you how to draw Beautiful Indian traditional art sankranthi muggulu patterns using materials such as dry rice flour, colored sand or flower petals Rangoli designs by Aishwarya. Simple rangoli designs with dots Kolam pattern is created on the floor in living rooms or courtyards. Draw the Lines step by step as it is shown in this video and will be awesome Rangoli Design. 😲 The rangoli design for diwali pattern here is one of the amazing latest simple kolam designs. Simple Rangoli Designs and easy rangoli designs by Aishwarya with dots for beginners and intermediate.
1. Diwali Rangoli 2. Pongal kolams 3. Easy rangoli designs
4. Rangoli design 5. Chukkala muggulu 6. Dot rangoli designs
7. Rangoli for diwali 8. Rangoli Simple 9. Easy rangoli designs
10. Kolam designs 11. Simple rangoli design 12. Muggulu designs
13. Muggulu designs with dots 14. Small rangoli designs 15. Muggulu chukkala muggulu
Tip: A slightly damp brush along the edges gives a sharper finish, especially for festival photographs.
This beautiful kolam with 13 to 7 dots is a perfect addition to your Pongal celebrations, symbolizing prosperity and abundance. The intricate patterns are drawn using traditional techniques, often incorporating vibrant colors that reflect the festive spirit. This design can be created using materials like rice flour, colored sand, or flower petals, making it a delightful activity for families. For more inspiration, check out this Beautiful Deepam Rangoli Designs 7 that would complement your festive decor.
The artistry of this kolam highlights the beauty of Indian traditions and is accessible for beginners. Its step-by-step creation process allows anyone to participate, fostering a sense of community during the Pongal festivities. As you perfect your technique, you might also enjoy exploring other designs, such as the Attractive Beautiful Design Festivals Easy Rangoli. For those interested in learning more about rangoli, consider visiting this informative page for a deeper understanding of its cultural significance.
About this design: 13 To 7 Pongal is a beginner-friendly pattern that comes together in just a few minutes. Once you have practised the 13 to 7 pongal dot grid, you can scale it up for festival mornings or scale it down for a daily doorstep. Many learners on our channel make this 13 to 7 pongal their go-to design once they get the rhythm of the curves.
13 To 7 Pongal — Step by Step Guide
The video above shows the full sequence; the steps below summarise each stage so you can glance back as you draw.
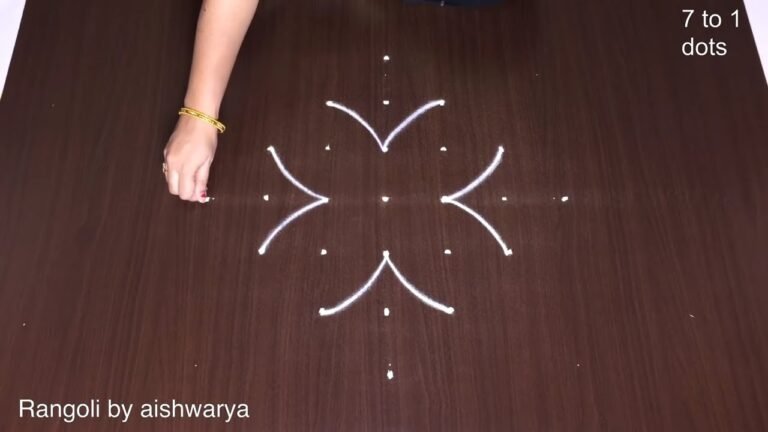
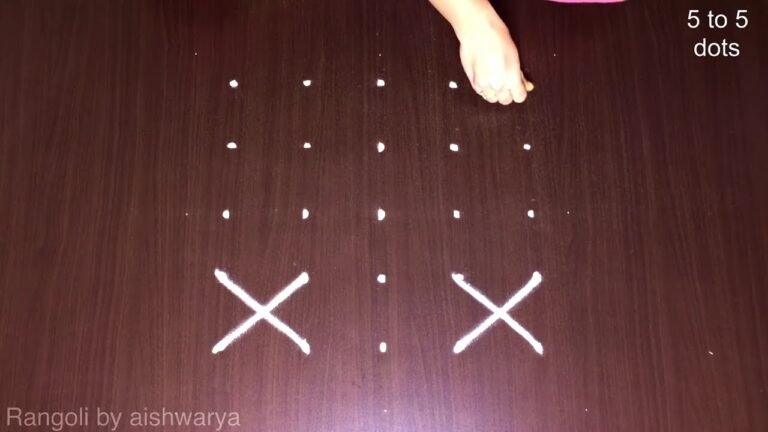
- Mark the 13-to-7 dot grid: a diamond pulli grid with a middle row of 13 dots tapering to 7 at the top and bottom.
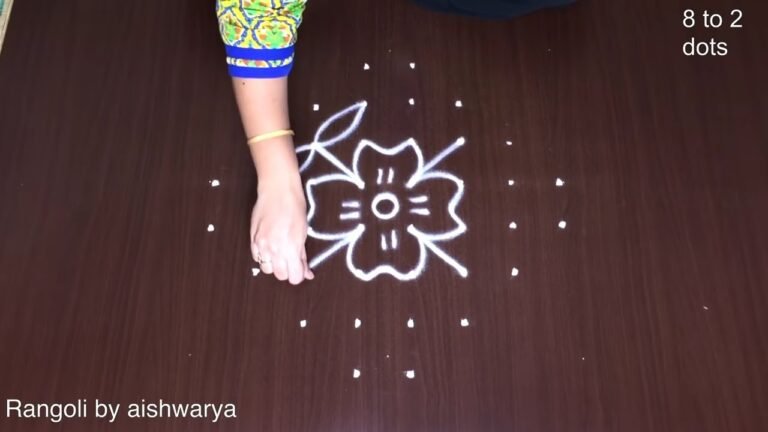
- Over the middle dots draw a small eight-point star flower as the centre.
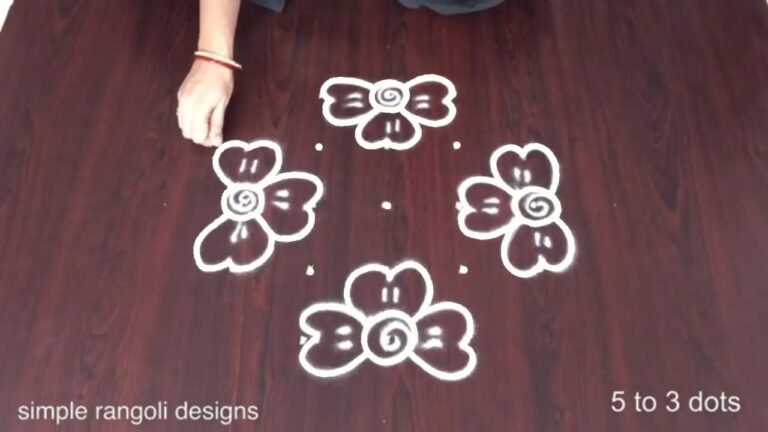
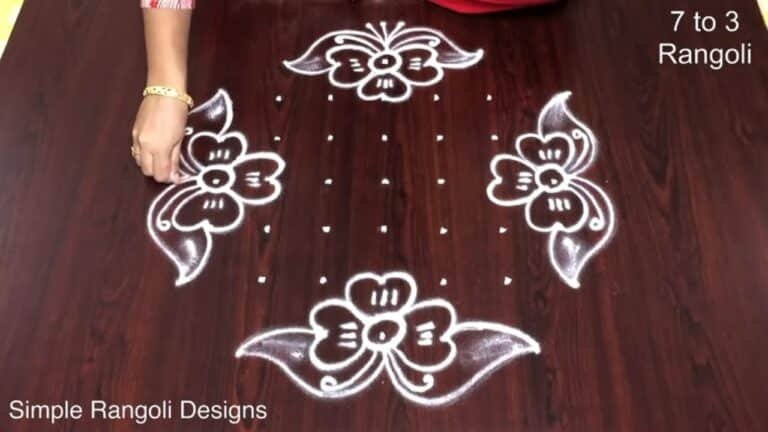
- Around the centre draw a ring of round flowers, each a dotted centre with six looped petals, seated on the grid's main points.
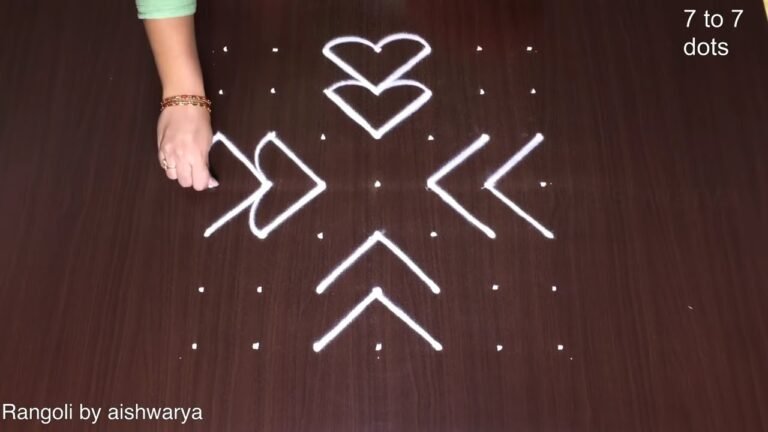
- Between those flowers draw bell/tulip-shaped lily buds curving open toward the border.
- Fill the connecting gaps with paired curl tendrils (spirals) that link the flowers and the bell motifs.
- Add a small round flower at each outer corner and retrace everything in even white.
What You Will Learn
- Simple Rangoli Designs
- Rangoli
- Muggulu
- Rangoli Designs
- Rangoli Kolam
- Kolam
Frequently Asked Questions
How do I draw this rangoli?
It looks complex but follows a simple rhythm: dots first, then loops. Mark the grid, take a breath, and trace the curves at a steady pace. The pattern emerges on its own.
Is this suitable for beginners?
Yes, and it is one we recommend to first-timers. The small grid keeps the design manageable while still teaching the core technique.
What materials do I need?
Just three things: powder (white plus any colours you want), a flat dry surface, and a few minutes of focus. A small bowl per colour helps keep things tidy.
How long does it take?
You will see a 4 min 56 sec walkthrough above. Drawing it yourself is usually a 12–18 minute affair, slightly slower the first time.
Whenever you finish your version, share a photo with us. Seeing your work is the best part of running this channel.
Leave a Reply