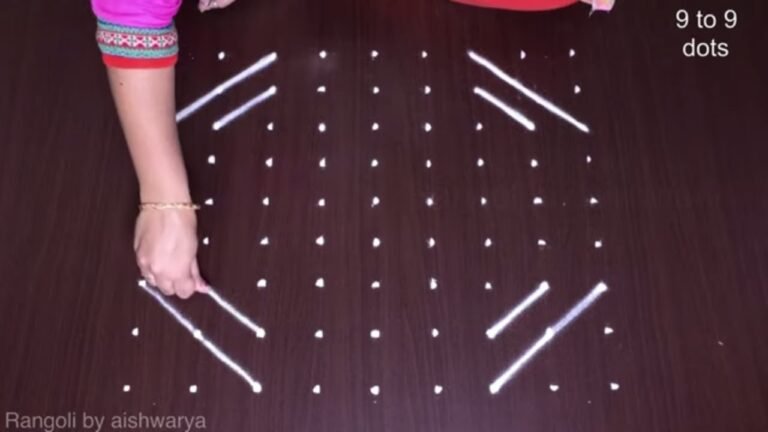
This 13 to 7 dots tutorial walks you through every step from the dot grid to the final pattern.
For another beginner-friendly variation, try 5 To 5 Peacock Rangoli For Diwali.
Learn more about the tradition of Rangoli on Wikipedia.
Add a touch of charm to your doorway with Rangoli Designs For Sankranti 2 — clean lines, balanced symmetry, and easy to scale.
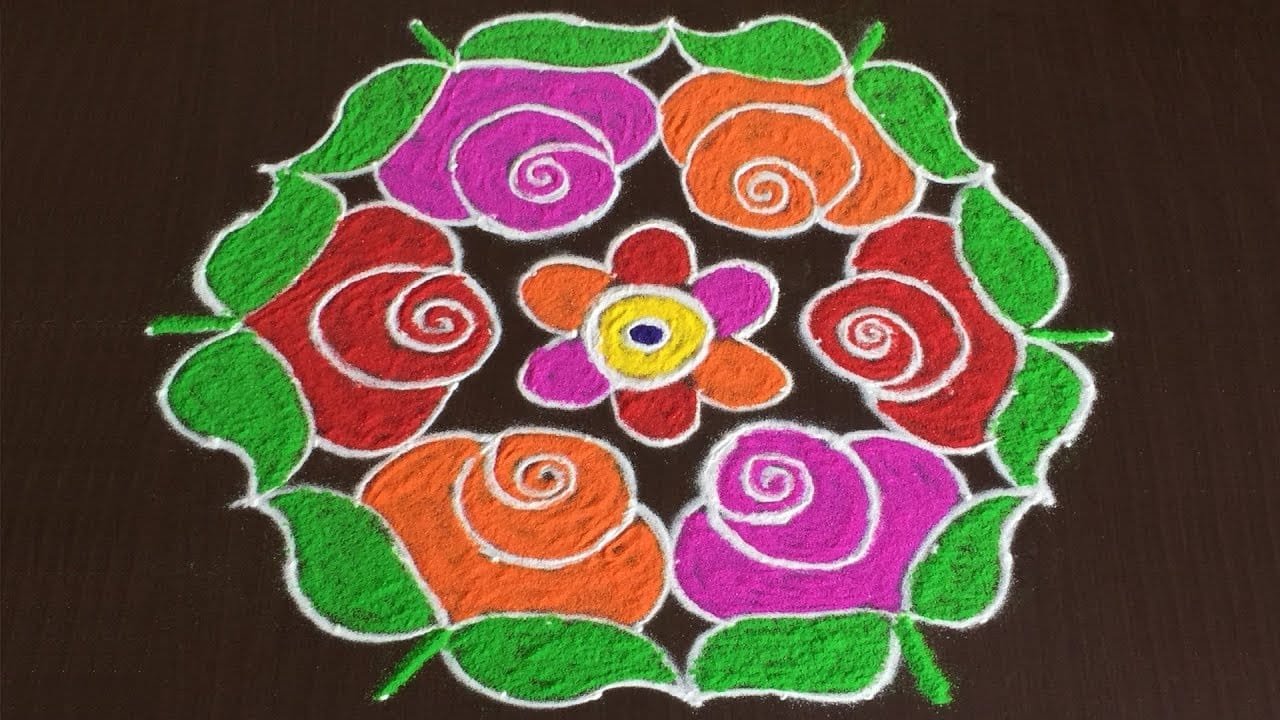
Looking for a graceful 13×7 dots rose kolam for Sankranti? This elegant floral rangoli design brings festive charm and balanced symmetry to your entrance. In this video, we create a 13×7 dots rose flower kolam, using a structured decreasing grid that forms a wide and harmonious base. The 13-7 format provides enough space to craft detailed rose petals while maintaining proportion and alignment throughout the design.
🌸 What You’ll Learn Step by Step: Correct placement of the 13×7 decreasing dot grid Forming layered rose petal patterns smoothly
Maintaining symmetry across the center axis Finishing techniques to enhance the festive appearance Sankranti celebrations are known for large and beautifully detailed kolam designs at the entrance of homes. A 13×7 grid allows you to create a grand floral statement without making the process complicated. The dot structure guides each curve, helping you achieve a clean and polished look.
Even though the layout is larger than beginner grids, the step-by-step method makes it easy to follow and recreate confidently. Watch till the end to see the complete floral transformation — the final symmetrical reveal highlights how structured dots turn into a stunning rose kolam. If you enjoy 13×7 dot designs, explore other Sankranti grids like 11-6 and 15-8 to expand your festive rangoli collection.
Save this design and recreate it to make your Sankranti entrance stand out beautifully.
Tip: A slightly damp brush along the edges gives a sharper finish, especially for festival photographs.
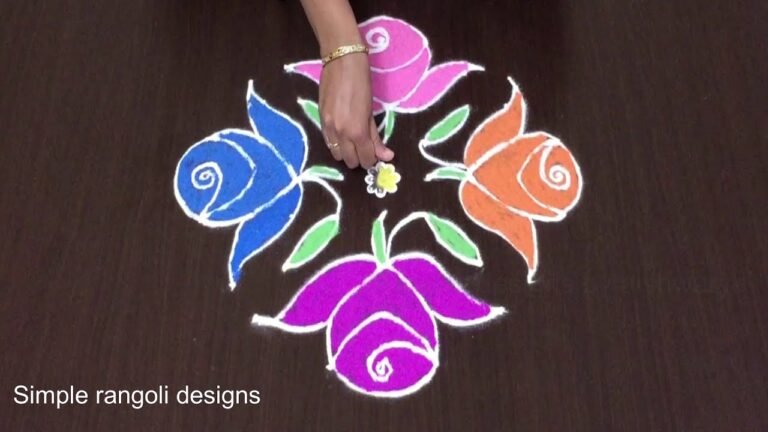
About this design: 13 To 7 Dots is a beginner-friendly pattern that comes together in just a few minutes. Once you have practised the 13 to 7 dots dot grid, you can scale it up for festival mornings or scale it down for a daily doorstep. Many learners on our channel make this 13 to 7 dots their go-to design once they get the rhythm of the curves.
13 To 7 Dots — Step by Step Guide
Here is how to draw it, line by line. Take your time on the corners and the symmetry will take care of itself.
- Mark the 13-to-7 dot grid.
- Draw a small flower in the centre — rounded petals around a dotted centre.
- Ring the centre with six roses — each a spiral centre wrapped by rounded overlapping petals.
- Fill the outer ring, between and around the roses, with pointed green leaves.
- Space the six roses evenly around the centre.
- Colour the roses in alternating shades — red, orange, purple — with green leaves and white outlines.
What You Will Learn
- 13X7 Dots Rangoli
- Rose Rangoli With Dots
- Flower Kolam For Sankranti
- 13X7 Dots Kolam
- Sankranti Flower Muggulu
- Rangoli With Dots
Frequently Asked Questions
How do I draw this rangoli?
Begin with the dot grid — this is the skeleton of the design. With rice flour or chalk, place each dot at equal intervals. Then trace the curves slowly, one section at a time.
Is this suitable for beginners?
It is one of the more forgiving designs in our collection. Beginners often pick it as a confidence-builder before moving on to larger grids.
What materials do I need?
You will need rice flour or rangoli powder (white, plus your choice of colours), a flat surface like a clean floor or courtyard, and optionally a dot stencil if you are new to grid-drawing.
How long does it take?
The video runs 3 min 23 sec. In practice, most learners take between 10 and 20 minutes — a little longer the first time, faster as the pattern becomes familiar.
A reminder that beautiful art does not need expensive materials — just a steady hand, a clean surface, and a few pinches of rice flour.


Leave a Reply