Looking to learn 13 Se 7 Dots? This step-by-step guide walks you through every line, dot, and curve.

For another beginner-friendly variation, try Simple 10 2 Dots Rangoli Design.
Learn more about the tradition of Rangoli on Wikipedia.
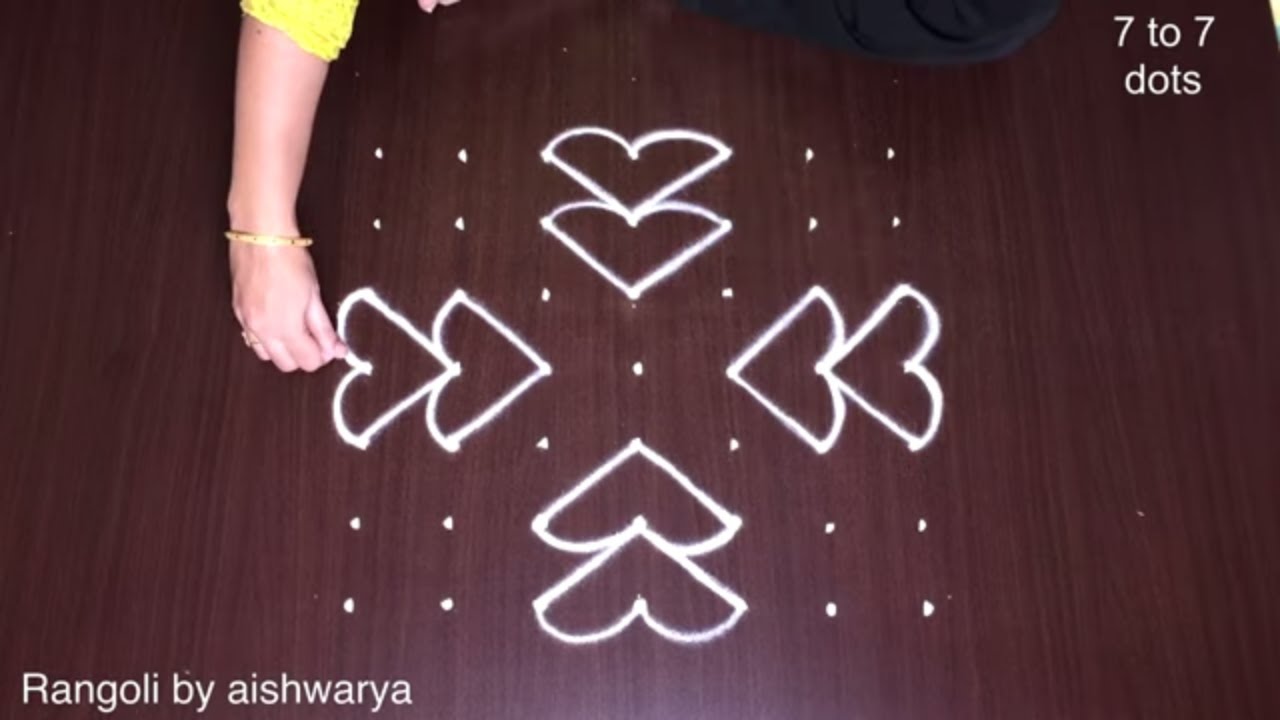
Want to create a grand rose kolam using a 13 to 7 dot grid for Sankranthi? This beautiful new floral muggulu design brings festive elegance and strong symmetry to your entrance. In this video, we create a 13 to 7 dots Sankranthi rose kolam, built on a structured decreasing grid that provides a wide and balanced base. The 13-7 format gives enough space to design layered rose petals while maintaining alignment and proportion.
🌸 What You’ll Learn Step by Step: Proper placement of the 13 to 7 decreasing dot grid Creating smooth, evenly spaced rose petals
Maintaining symmetry across the central axis Simple enhancements to give the design a festive finish Sankranthi entrances are known for large, detailed kolam patterns that symbolize prosperity and celebration. The 13 to 7 grid allows you to create a bold floral statement while keeping the structure organized and easy to follow.
Although the dot count is larger than beginner grids, the step-by-step method makes it manageable and satisfying to complete. The dots guide each curve naturally, helping you achieve a clean and polished result. Watch till the end to see the complete rose formation — the final symmetrical reveal highlights how the 13-7 dot layout transforms into an impressive Sankranthi kolam. If you enjoy larger floral grids, explore formats like 11-6 and 15-8 to expand your festive rangoli collection.
Save this design and recreate it for a stunning Sankranthi celebration.
Tip: A slightly damp brush along the edges gives a sharper finish, especially for festival photographs.
About this design: 13 Se 7 Dots is a beginner-friendly pattern that comes together in just a few minutes. Once you have practised the 13 se 7 dots dot grid, you can scale it up for festival mornings or scale it down for a daily doorstep. Many learners on our channel make this 13 se 7 dots their go-to design once they get the rhythm of the curves.
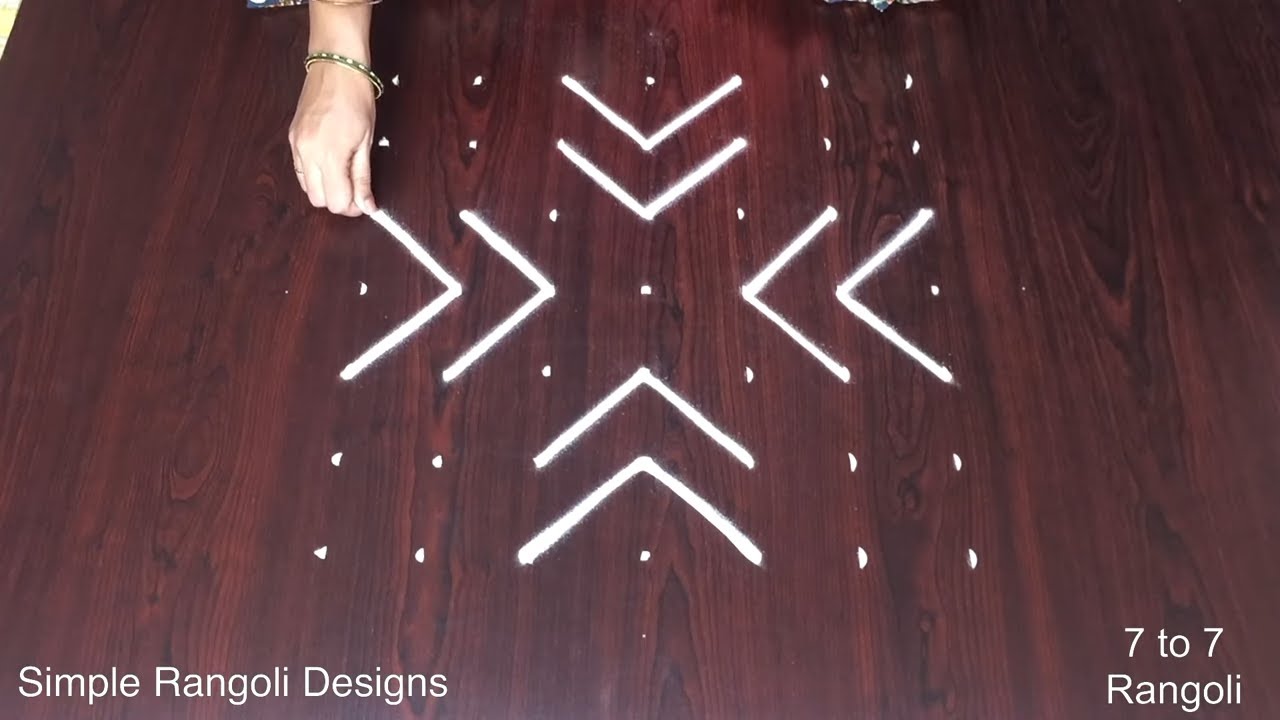
13 Se 7 Dots — Step by Step Guide
Use the steps below as a reference card while the video plays. Most learners finish on the second attempt.
- Clear a flat surface and set down your dot grid using rice flour or chalk.
- Confirm the dot spacing is even — uneven dots are the biggest cause of wobbly curves.
- Begin tracing from the centre outward, following the curves shown in the video above.
- Fill the petals and sections with your chosen colours, working one area at a time.
- Finish the edges with a fine line for a sharp, photograph-ready result.
What You Will Learn
- 13 To 7 Dots Sankranthi Rose Kolam
- Beautiful Floral Muggulu 13-7
- Sankranthi Flower Rangoli 13 To 7
- 13-7 Dots Kolam Design
- New Sankranthi Muggulu 13-7
- 13 To 7 Pulli Kolam
Frequently Asked Questions
How do I draw this rangoli?
Begin with the dot grid — this is the skeleton of the design. With rice flour or chalk, place each dot at equal intervals. Then trace the curves slowly, one section at a time.
Is this suitable for beginners?
Beginner-friendly is exactly the right description. The video walks through every line clearly and you can match the pace.
What materials do I need?
Just three things: powder (white plus any colours you want), a flat dry surface, and a few minutes of focus. A small bowl per colour helps keep things tidy.
How long does it take?
About 2 min 43 sec on screen, perhaps 15 minutes for a relaxed first attempt. By the second try most people are noticeably quicker.
A reminder that beautiful art does not need expensive materials — just a steady hand, a clean surface, and a few pinches of rice flour.


Leave a Reply