Simple Padi Rangoli With combines tradition with simplicity, making it one of the most rewarding designs to practice at home.

Simple padi rangoli with 10dots Geethala muggulu | Dhanurmasam marghazi kolam. This tutorial will show you how to draw Beautiful Indian traditional art sankranthi muggulu patterns using materials such as dry rice flour, colored sand or flower petals Rangoli designs by Aishwarya. Simple rangoli designs with dots Kolam pattern is created on the floor in living rooms or courtyards. Draw the Lines step by step as it is shown in this video and will be awesome Rangoli Design. 😲 The rangoli design for diwali pattern here is one of the amazing latest simple kolam designs. Simple Rangoli Designs and easy rangoli designs by Aishwarya with dots for beginners and intermediate.
1. Diwali Rangoli 2. Pongal kolams 3. Easy rangoli designs
4. Rangoli design 5. Chukkala muggulu 6. Dot rangoli designs
7. Rangoli for diwali 8. Rangoli Simple 9. Easy rangoli designs
10. Kolam designs 11. Simple rangoli design 12. Muggulu designs
13. Muggulu designs with dots 14. Small rangoli designs 15. Muggulu chukkala muggulu
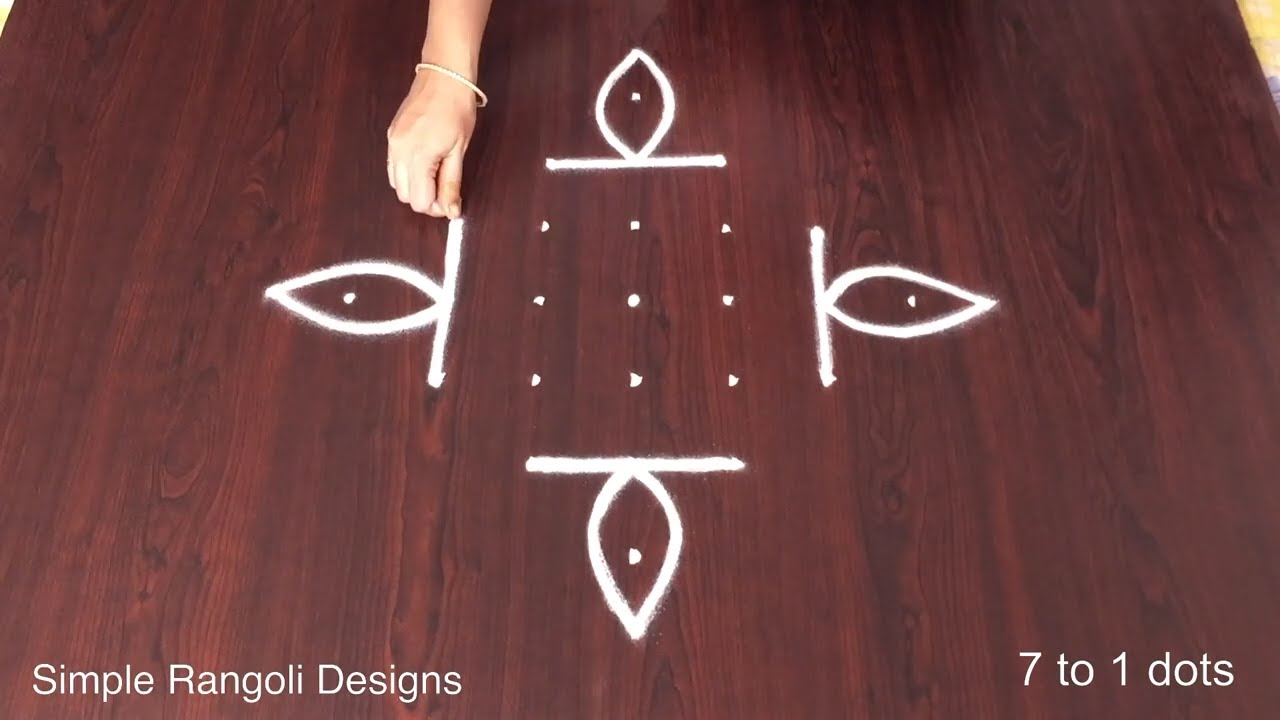
Tip: Work from the centre outward. It keeps the symmetry honest and prevents the design from drifting off-balance.
This simple padi rangoli with 10 dots is a beautiful design that is perfect for celebrating Diwali. The use of 10 dots in the pattern provides a structured base for beginners to follow, making it easier to create this traditional artwork. You can enhance the design with colorful elements like flower petals or colored sand, which will bring vibrancy to your space. For more festive inspirations, you might enjoy exploring the Easy Pongal Pot Kolam and other Happy New Year Rangoli designs that are equally delightful.
Drawing this simple padi rangoli is not only a creative endeavor but also a way to connect with cultural traditions during special occasions. The meticulous process of creating the kolam fosters mindfulness and patience, making it a rewarding experience for practitioners. For those looking to further explore the art of rangoli, you can learn more about its history and significance by visiting this Wikipedia page. This design serves as a great introduction to the world of muggulu, where you can also try your hand at other patterns like the 8×2 Beautiful Small Festival Muggulu.
Simple Padi Rangoli — Step by Step Guide
Follow the steps below to recreate this design at home. Pause the video whenever you need — there is no hurry.
- Clear a flat surface and set down your dot grid using rice flour or chalk.
- Confirm the dot spacing is even — uneven dots are the biggest cause of wobbly curves.
- Begin tracing from the centre outward, following the curves shown in the video above.
- Fill the petals and sections with your chosen colours, working one area at a time.
- Finish the edges with a fine line for a sharp, photograph-ready result.
What You Will Learn
- Simple Rangoli Designs
- Rangoli
- Muggulu
- Rangoli Designs
- Rangoli Kolam
- Kolam
Frequently Asked Questions
How do I draw this rangoli?
Set down the dot grid in pencil or chalk, then follow the loops one petal at a time. If a curve goes off, wipe it and retry — kolam is forgiving.
Is this suitable for beginners?
Yes, and it is one we recommend to first-timers. The small grid keeps the design manageable while still teaching the core technique.
What materials do I need?
You will need rice flour or rangoli powder (white, plus your choice of colours), a flat surface like a clean floor or courtyard, and optionally a dot stencil if you are new to grid-drawing.
How long does it take?
The video clocks in at 4 min 54 sec. Allow about quarter of an hour to draw the design at a comfortable pace.
Pin this for later or share with a friend learning kolam — and let us know in the comments which design you would like next.


Leave a Reply