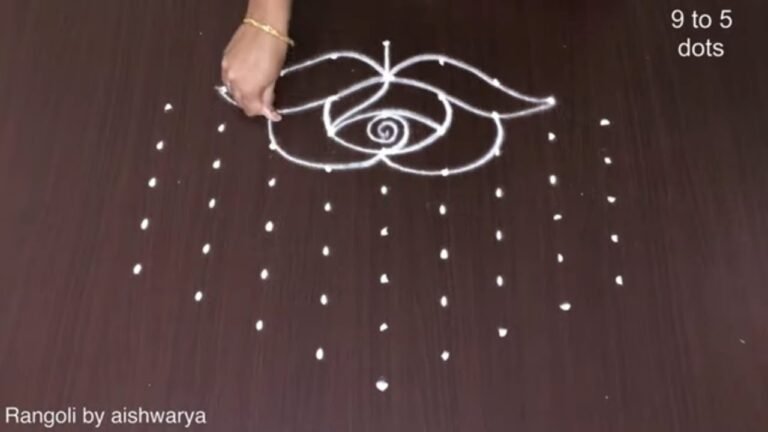
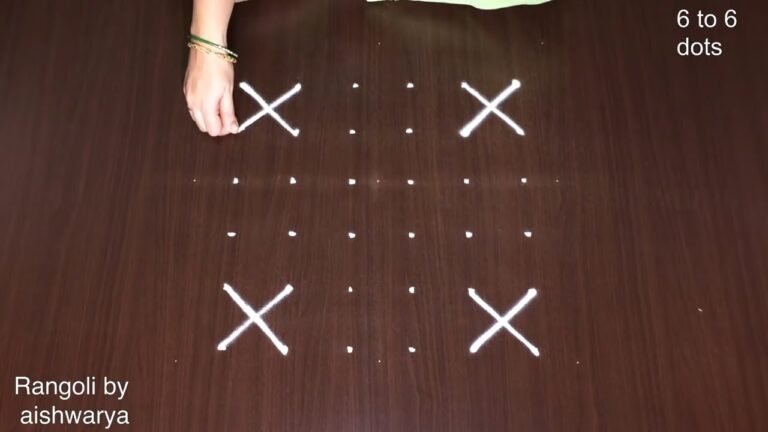
This 6 by 6 small tutorial walks you through every step from the dot grid to the final pattern.

For another beginner-friendly variation, try Happy Pongal Kolam.
There is something timeless about Latest Designs 6 By — the symmetry, the rhythm of the dots, and the soft curves it produces.
Latest Muggulu Rangoli Designs With 6 by 6 Dots | Small Kolam Very Cute Daily Use | Rangoli Thank you so much for watching Channel
My Rangoli Channel Contains : Rangoli Designs Sankranthi Muggulu
Diwali Rangoli Ratham Muggulu Kolam Designs
Muggulu Designs Chukkala Muggulu Easy Rangoli
Simple Rangoli Easy Rangoli Designs Dhanurmasam Muggulu
Melikala Muggulu Geethala Muggulu Sivarathri Muggulu
Tip: Use chalk to lightly mark your dot grid first — it wipes away cleanly once your rangoli is finished.
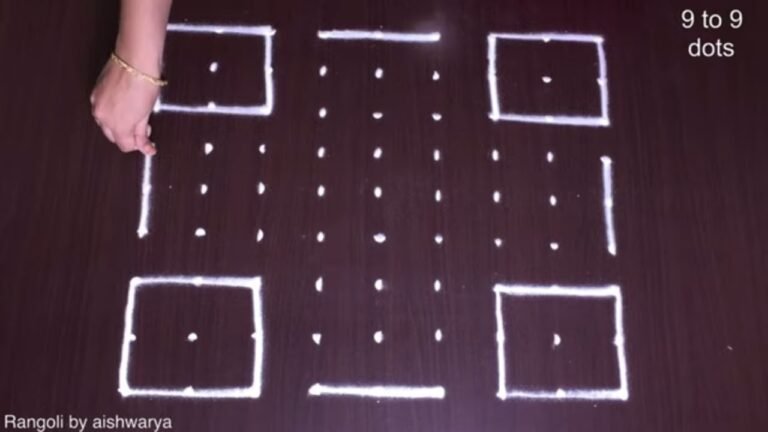
This design belongs to the broader tradition of rangoli and kolam art practised across South India. Explore more in our 6 to 6 dots Rangoli Designs collection.
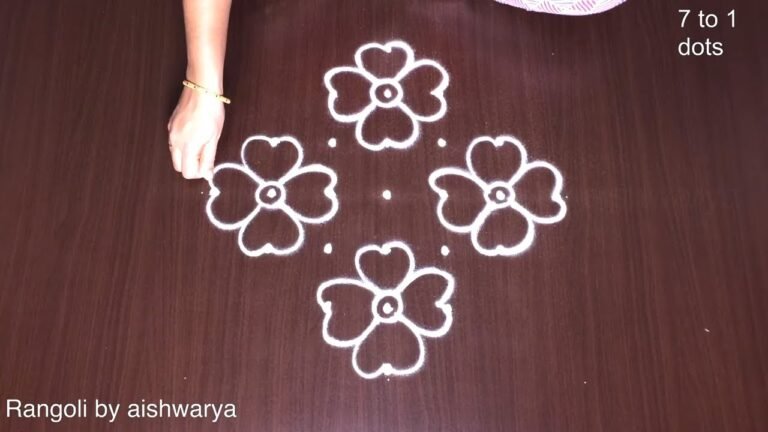
The latest designs featuring a 6 by 6 dot arrangement create charming small kolams that are perfect for daily use. These designs often incorporate simple yet elegant patterns, making them suitable for beginners who want to add a touch of artistry to their homes. The versatility of this design allows for various interpretations, whether you’re celebrating a festival or simply decorating your entrance. You can explore more complex patterns with our 11 by 6 Simple Kolam for inspiration.
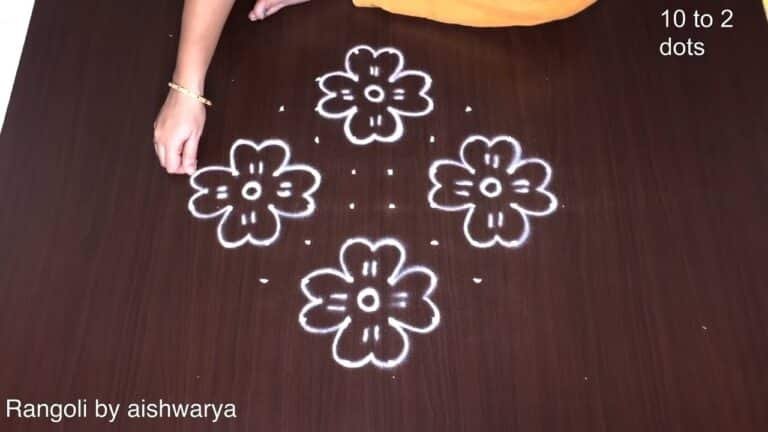
During festivals like Diwali or Sankranti, these small kolams can enhance the festive atmosphere with their intricate designs and vibrant colors. A 6 by 6 kolam not only beautifies your space but also serves as a traditional art form that connects generations. For those who enjoy floral motifs, the 7 Se 7 Flower Rangoli offers another delightful design to experiment with. To learn more about the cultural significance of rangoli, you can visit this page.
About this design: 6 By 6 Small is a beginner-friendly pattern that comes together in just a few minutes. Once you have practised the 6 by 6 small dot grid, you can scale it up for festival mornings or scale it down for a daily doorstep. Many learners on our channel make this 6 by 6 small their go-to design once they get the rhythm of the curves.
6 By 6 Small — Step by Step Guide
The video above shows the full sequence; the steps below summarise each stage so you can glance back as you draw.
- Mark a 6-to-6 dot grid (a 6 by 6 square of evenly spaced dots).
- In the centre, outline a tilted square and fill it with a criss-cross net of parallel lines both ways; drop a tiny four-petal flower in its middle.
- On the four sides of that square, draw pointed leaf-buds (two curved lines meeting at a tip) pointing outward.
- In each of the four corners, draw a rose — rounded, overlapping petals coiling into a spiral centre.
- Fill the mid positions with small four-petal florets that have a dotted centre.
- Join every motif with light curved creeper stems so the kolam reads as one piece, then neaten the outlines.
What You Will Learn
- 6X6 Dots Rangoli
- Small Kolam With Dots
- Daily Use Muggulu Designs
- 6 By 6 Dots Kolam
- Cute Rangoli With Dots
- Rangoli With Dots
Frequently Asked Questions
How do I draw this rangoli?
Start by marking an even dot grid on a flat, clean surface. Once the grid is in place, connect the dots following the curves shown in the video. Even spacing between dots is the single biggest factor for a clean finish.
Is this suitable for beginners?
It is one of the more forgiving designs in our collection. Beginners often pick it as a confidence-builder before moving on to larger grids.
What materials do I need?
Powder (white for outlines, colours for filling), a flat surface, and a dot stencil if you want absolute precision. Beyond that, just your hand and a steady pace.
How long does it take?
The tutorial is 4 min 27 sec long. With practice the actual drawing settles around 10 minutes; the first time will likely take twice that.
If you draw this and would like a follow-up design at the same skill level, leave a comment on the video — we read every one and queue up requests.

Leave a Reply